This post may contain affiliate links. See my privacy policy for details.
With just three ingredients, it’s super easy to whip up this mouth-watering dish packed full of home-cooked goodness. When it comes to cooking an equally nutritious and delicious dinner, this is as low maintenance as it gets! And it’s a really affordable meat to buy, too.
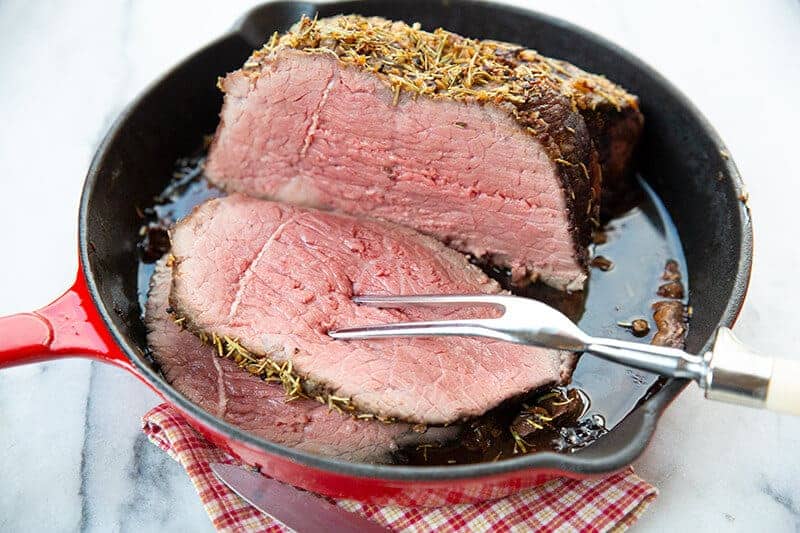
If you’re not a whiz kid in the kitchen just yet, this is a really great way to get started on building your confidence behind the cooker honing those pro-chef skills you have yet to discover! Or, you know, you could just have it for dinner for the rest of your life. I’m not sure anyone could ever get sick of this Buttery Herb and Garlic Bottom Round Roast!
How to Cook a Bottom-Round Roast
- Preheat the oven to 500 degrees Fahrenheit.
- Pat the bottom round roast dry with paper towels to allow the butter mixture to stick.
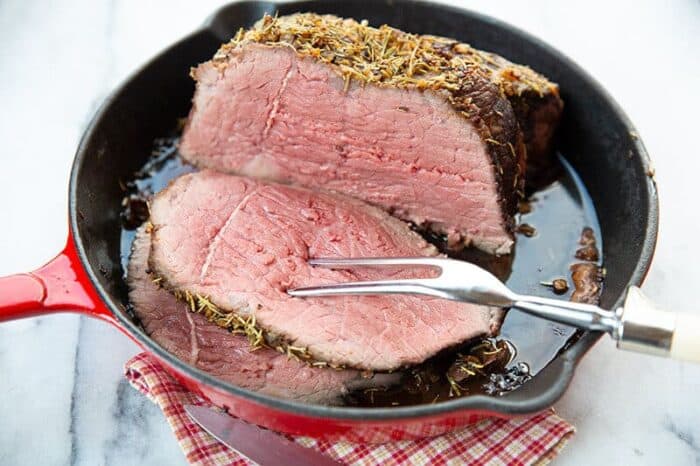
- Place the roast in an oven-safe skillet. Combine butter, rosemary, and minced garlic. Spread the mixture by hand over the roast, covering as much as possible.
- Place the roast in the oven, close the oven door, and reduce the temperature to 475 degrees Fahrenheit.
- Roast for 7 minutes per pound, and then turn the oven off completely (keeping the oven door closed).
- After 1 hour, turn the oven on to 200 degrees Fahrenheit and cook for approximately 1 hour or until the internal temperature of your roast reaches your desired temperature (rare, medium, etc).
Is Bottom Round Roast Very Tough?
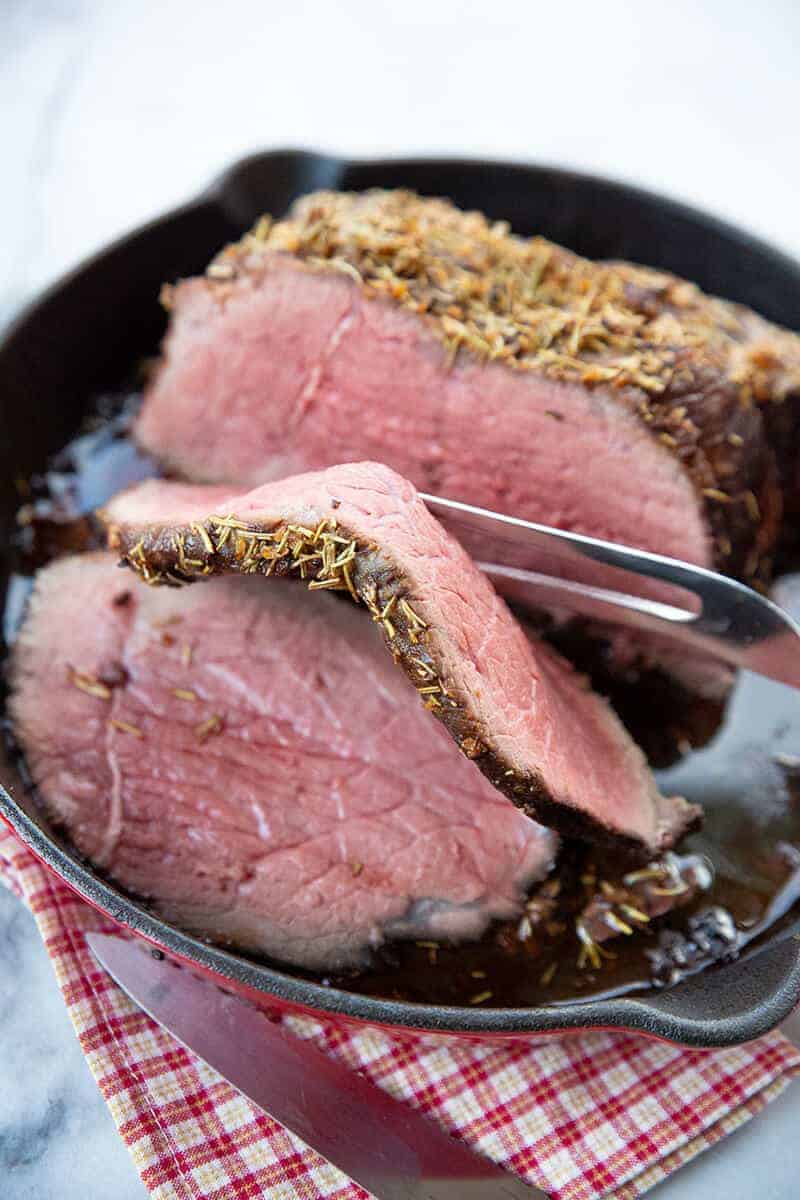
Bottom Round Roast is affordable so that it can be pretty tough. I mean, it literally comes from the bottom of a cow, so that makes sense! But if you cook it correctly, your Buttery Herb & Garlic Bottom Round Roast can be pretty tender and delicious. It won’t be as tender as a fillet, but close enough for what you pay for it! Contrary to what many people think, it’s also full of flavor.
Note
It’s still worth investing in an electric knife (if you don’t have one) for slicing this roast, as it’s still going to be a little tougher than a more expensive roast.
Bottom Round Roast is One Of The Healthier Red Meats
Bottom Round Roast is tough for a reason. The bottom end of a cow has less intramuscular fat because it’s highly exercised (those cows have been doing their glute activation work!). If you’re a fan of red meat but want to stay healthier, this is an excellent option for you and your family.
What Should I Serve With a Bottom Round Roast?
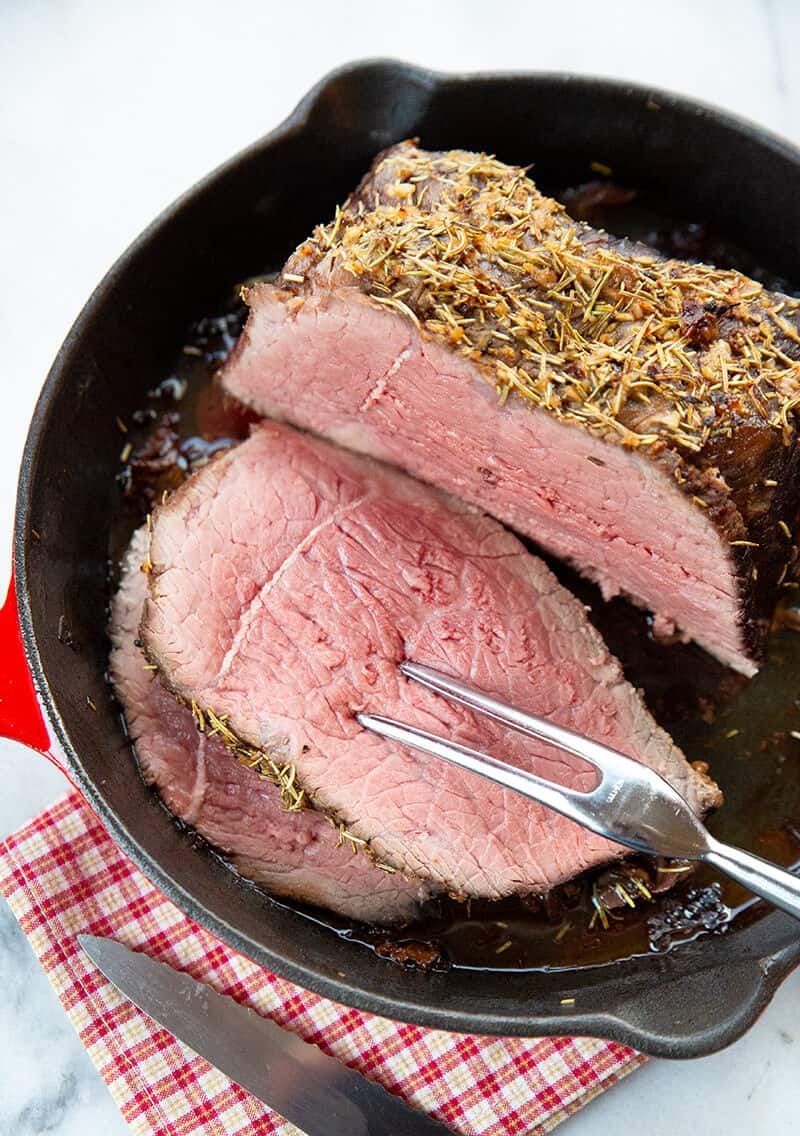
My advice here is to keep it simple. Why complicate something that’s already super easy to cook? Simply serve it with a side dish of potatoes and vegetables for a hearty and satisfying meal!
Can You Freeze Your Leftover Buttery Herb & Garlic Bottom Round Roast?
Your cooked Bottom Round Roast can last up to 4 days in the refrigerator. But if you want it to last a bit longer, you can freeze it in covered, airtight containers or tightly wrap it with freezer wrap or heavy-duty aluminum foil.
This easy-to-make Buttery Herb and Garlic Bottom Round Roast is jam-packed with flavor, and I’m 99% sure it’ll end up on your regular dinner list once you give it a go (and only because 1% of you might be vegetarian!). Enjoy!
Other Roast Recipes To Try
- Prime Rib Roast: this juicy cooked prime rib roast is culinary heaven!
- Top Sirloin Roast: cook up a fabulous family dinner with this economical roast option!
- Dutch Oven Pot Roast: This yummy recipe cannot be beaten! It is especially nice to make during colder months.
- Creamy Mushroom Beef Chuck Roast: this is the ultimate crowd-pleaser for mushroom and roast lovers with minimal time to spend in the kitchen!
- Dill Pickle Pot Roast & Pickle Gravy: for all of the pickle fans out there, why not get adventurous with this delicious Dill Pickle Pot Roast?
Happy cooking!
Love,
Karlynn
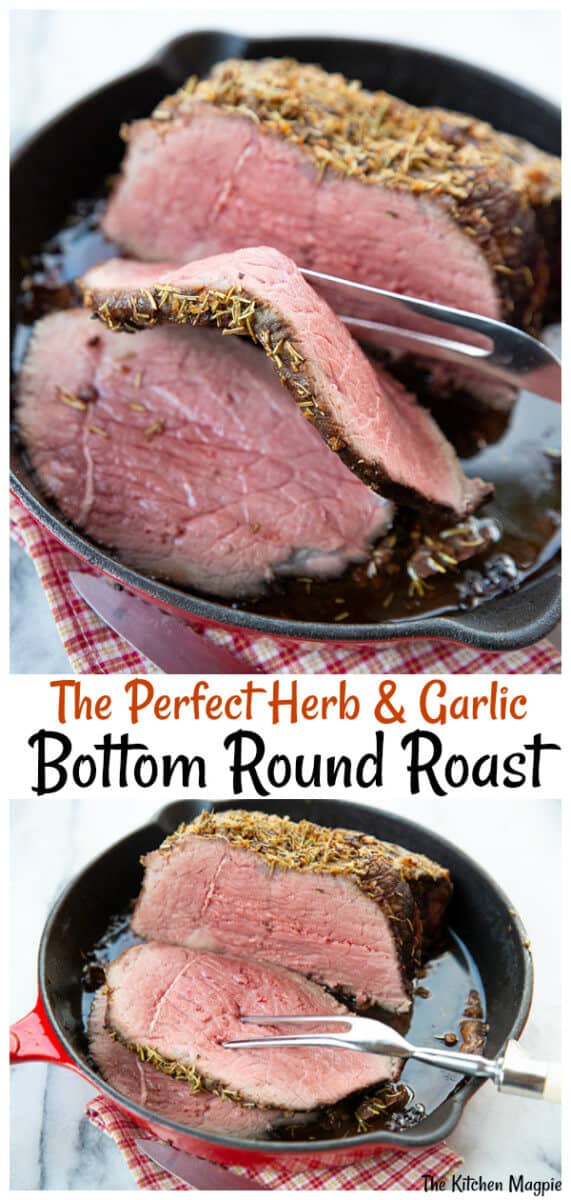
The Perfect Herb & Garlic Bottom Round Roast Recipe
Ingredients
- 1 four pound beef bottom round roast
- 1/4 cup butter
- 1 tablespoon rosemary
- 1 tablespoon minced garlic
Instructions
- Preheat the oven to 500 degrees Fahrenheit.
- Pat the bottom round roast dry with paper towels to allow the butter mixture to stick.
- Place the roast in an oven safe skillet. Combine butter, rosemary and minced garlic. Spread the mixture by hand over the roast covering as much as you can.
- Place the roast in the oven, close the oven door and reduce the temperature to 475 degrees Fahrenheit.
- Roast for 7 minutes per pound and then turn the oven off completely (keeping the oven door closed).
- After 1 hour, turn the oven on to 200 degrees Fahrenheit and cook for approximately 1 hour or until the internal temperature of your roast reaches your desired temperature (rare, medium, etc).
Nutrition

PIN THIS RECIPE to your DINNER RECIPES Boards and Remember to FOLLOW ME ON PINTEREST!





Laurie says
This was simple and delicious! I melted the butter and mixed the rosemary and garlic in then let it set in the fridge with the bottom round roast I was “draining” in some paper towel. Warmed the meat to room temp on the counter; warmed the butter mixture a little to make it spreadable; and, voila!
I must warn that I used a tried and true method of roasting but in the cast iron skillet, it got well done and was a bit dry, rather than medium-rare in a glass casserole dish or steel rack in a roaster.
Still delicious with some gravy I made by simmering a top round steak for shredding. I added some of the melted butter and herbs. Everyone loved it, including my young grandson!
My method: 500 degree oven, 4 minutes/pound for rare, 5 for medium, 6 for well, turn off oven after the cooking times and don’t open for 2 hours.
Deb says
Excellent recipe. We really liked how the roast turned out. I even let it cook a little too long. Thank you for sharing this delightful recipe.
Linda says
Timing sucks for this recipe while flavor is good. I have to remind myself to always read comments which I didn’t do this time with such a high rating. I have no idea how that many people thought it was a good recipe as written!
Marius Pepin-Krause says
The temperatures and timing have to be changed, as per the above comments.
SIV says
Most of these “oven off” recipes are copied from one that will result in overcooking the roast
5 minutes per pound at 500 degrees
shut the oven off and leave in (don’t open the door!) for 15 minutes per pound for medium rare
Subtract 5-10 minutes for rare let it rest for 15 minutes before slicing
Chef Willy says
Modify your recipe to state. Cook at 475* for 7 minutes per pound. Turn off oven leave roast in oven, with the door closed for 15 minutes per pound or 1.5 hours. If roast not cooked to your desired doneness as evidenced by meat thermometer, place back in oven at 200* until desired doneness is achieved. Do not overcook!
Linda says
Get yourself a meat thermometer and you won’t have to live and breathe by the timeframe of a recipe – any recipe. Every oven is different as is every cut of roast. Some roasts are thicker than others, some are thinner. Don’t just tell people not to follow a recipe because it didn’t work out for you. Give helpful tips and suggestions instead or just say that it didn’t work for you.
For example: I’ve made quite a few cuts of high-end meat in the high heat / low finish method. I’ve found that starting at 500, cooking for 7 minutes per pound, then turning it down to 300 works best for me. I don’t like rare cuts of beef, I prefer a slightly pink medium but not bloody. To ensure I’ve cooked the meat the way I like it, my husband bought me a fancy meat thermometer. I would have never bought it for myself, but I love that it is App based and it keeps track of the meat temperature for me via my cell phone so that it always turns out perfect!
Maria says
You are so right, and another thing I have learned over the years is that if your meat is right out of refrigerator, you need to add more time, if it is room temp you will need less time. That goes for just about anything you cook, it will even mess with the time you need to boil eggs to get them the way you want!!
Rose says
karlynn,
do you add the time you roast the meat (7 min a lb.) to the hour of roast being turned off?
Mary R says
I can’t make this is my apartment oven. It sets off all the smoke alarms in the building.
JB says
Did any of you read that you set the oven temp to 500, put the meat in the oven then TURN THE OVEN TEMP DOWN TO 475? I did exactly that today, followed the rest of the directions as best I could, but my oven only goes down to 275. My roast was very rare!
Michele Prestbo says
I made this roast yesterday almost to the exact time. I did have a 2 1/3 lb roast so I only left it for about 15 minutes for the first 475. I also put some prime rib rub on it. It turned out great. I didn’t leave it in the whole last hour. This type of roast is not the most tender but it had good flavor. I cut relatively thin slices when serving it with roasted potatoes and gravy.
Kim Thompson says
I cooked a 4 lb roast 7 min per pound at 500
Turned oven off and left in for 50 minutes. Turned out great! Next time I will leave it in for 40- 45 minutes with oven off. No need to turn the oven back on to cook more.
AJ says
Stay away from this recipe! The recommended cooking time is WAY to much. If you insist on using this one, read all the comments on how to change it so you don’t end up with shoe leather for dinner.
AJ says
After scrolling through several pages of comments, I now see why this recipe has such high reviews.
Almost every time the creator of this site comments on someone’s post, she rates it at 5 stars!
No wonder SO many people say this recipe doesn’t work, but it still has high reviews. What a crock!
Flagging this site so I won’t use recipes from it again.
Nancy says
Exactly!!! Came here to say this!! My roast was done before the hour turned off.
Julia C says
Two pound roast. I should have taken it out after resting in oven for 1/2 hour.
It was way overdone even though I didn’t cook at 200 at all.
Hannah says
tough
Chris says
Easiest recipe ever (I used the timer on my stove to prompt me to make temperature changes as required). I was worried it might dry out but it remained moist even to the eye as it came out.
I did NOT run into problems with ads, I am also older generation.😉
Stella says
I’m trying this recipe out now, but only have a 2 lb bottom round roast, so not sure how long cooking time needs to be adjusted. I’m gonna try for 1/2 an hour with the oven off m, then 1/2 an hour @ 200 degrees. Will that work?
Barbara says
meat was tough…I agree…all the pop-ups and ads are so distracting and hard to get thru the recipe…won’t use this site again!
Chris says
Roast was tough despite following directions to the letter. Website has too much going on for me to want to use; popups, ads, lots of big blocks between info about recipe. Since folks have monetized their blogs this is folk’s biggest complaint. We already donate 20% of our assets to food banks, childcare centers & local homeless shelter so I appreciate you give to food bank etc but it’s just not for me.
I’ll stick with what used to be called recipezaar.com now known as food.com
Older folks like me prefer accessible, easy to read/use, straight forward written recipes without all the banners, ads & popups. Just our personal preference.
Wish you & yours the best in 2023.
Plantfreek
Prettyfly says
Hello, did everything as directed and my bottom round was still tough. It’s just the cut of meat. All is not lost, it’s nice and rare inside, I will just slice it super thin for French dips, philly’s and alittle thicker cut up in cubes for soups. Thank you for the recipe though and have a nice day💕
Chris says
I ran a jaccard over the meat, added ground thyme, fresh pepper, and kosher salt to the compound butter. My roast was 7.15 lbs, if I used a 4 lb roast it would have been over done, especially when I go closer to rare than mr.i also trussed the meat really well for a more even temp. if not for the cooking times, I’d say it’s a simple and delicious recipe with room for some customization.
Used for French dips.
Greg says
by the time I went to turn the oven back on to 200 the roast was already 149 degrees. not sure why it was already so overdone.
Nancy says
Exactly the same!!!
Linda funk says
it was very tough
Donna says
I really messed this up because I got side tracked😡🤦♀️🤬
Donna says
I haven’t made one good piece of beef yet! I was so hoping this was going to be it! 😡🤦♀️🤷♀️🤬
Chez Rafael (my kitchen nom de guerre) says
Hey Donna, fear not of ur disappointments with a roast beef … top and bottom rounds are finicky.
Keep in mind a 500° oven is pretty darn hot. A standard oven can do some serious cooking even at 475°. With all that in mind follow a few thoughts here.
Really get yourself a decent readable thermometer… manual or instant read. I’ve been using a simple Taylor one for 50 years that I used to calibrate things at a McD … my first job.
One, take the roast out of the fridge for 1-2 hours first. 65-70° room temp. Make sure it’s well trussed. Re-tie to make as uniformly thick as possible.
I season with garlic slivers in 1” deep slits. 8-12 is good for 3-4 lb roast. Use your other seasonings with some olive oil or butter over the dried outside.
Two, preheat your oven to 450°. So, a 3-4 lb roast needs No more than 15-20 mins to brown up on the outside. Never cover the roast and keep it in the middle of the oven.
Third, You don’t need to shut off the oven. Open door and turn the pan to check for even browning and Drop your temperature to 250° at the same time.
You can check the meat temperature to see if it is over or under 100°. If you are running under check again in 30 minutes. Over 100° probably 15-20 minutes. Once you hit 120° on a top or bottom round that’s as close as you can get to being good to go.
Measure temp in 2-3 spots where it’s the thickest. Take it out and tent with a piece of foil for 15 minutes or so the juices set up in the meat. Carve with a really sharp knife as thin as possible.
Best of luck.
You can salvage most any beef roast if over cooked by repurposing it into a slow cooked stew. Best to use some acidity in the stew. Tomatoes are great and/or a small splash (tsp or so) of balsamic vinegar go a long ways to help tenderize things. You can dice or shred the meat as necessary. Low and slow add veggies at the end of the stew … otherwise it’s mush.
My motto… eat your mistakes. You learn faster that way. Or make the best of them. (Well, unless you burn them completely).