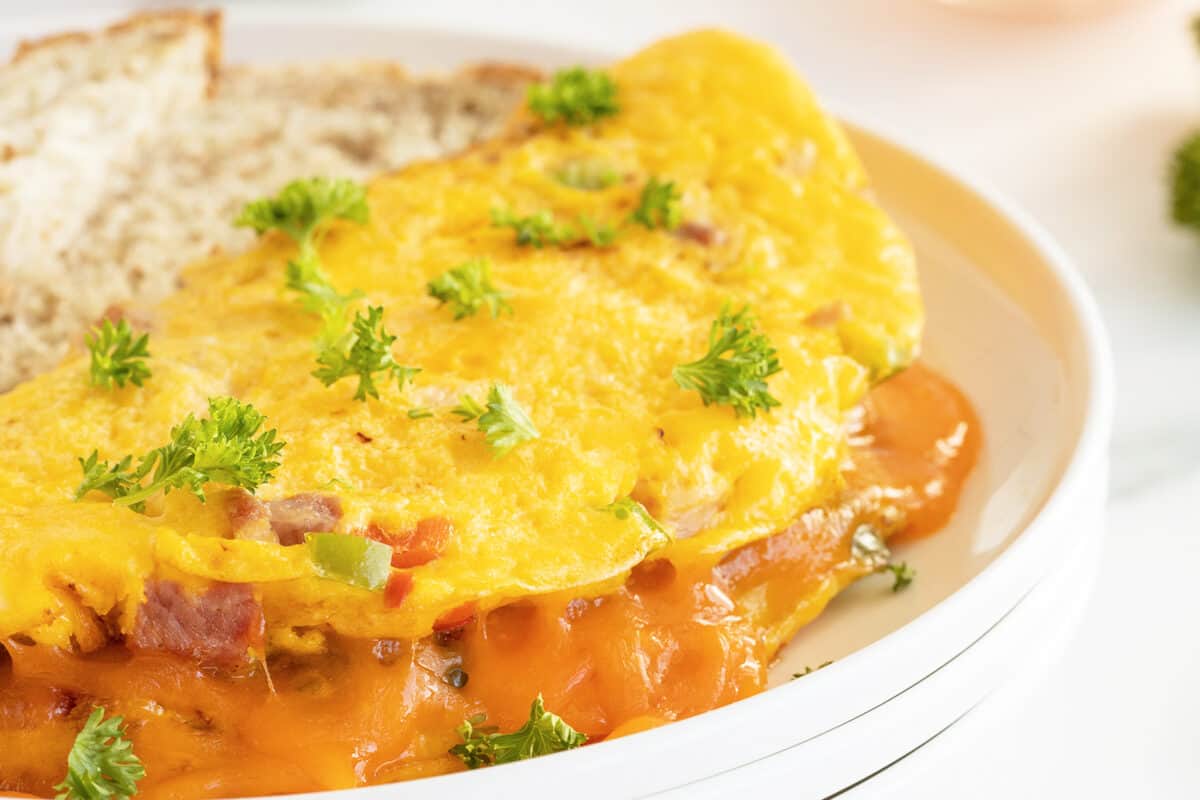
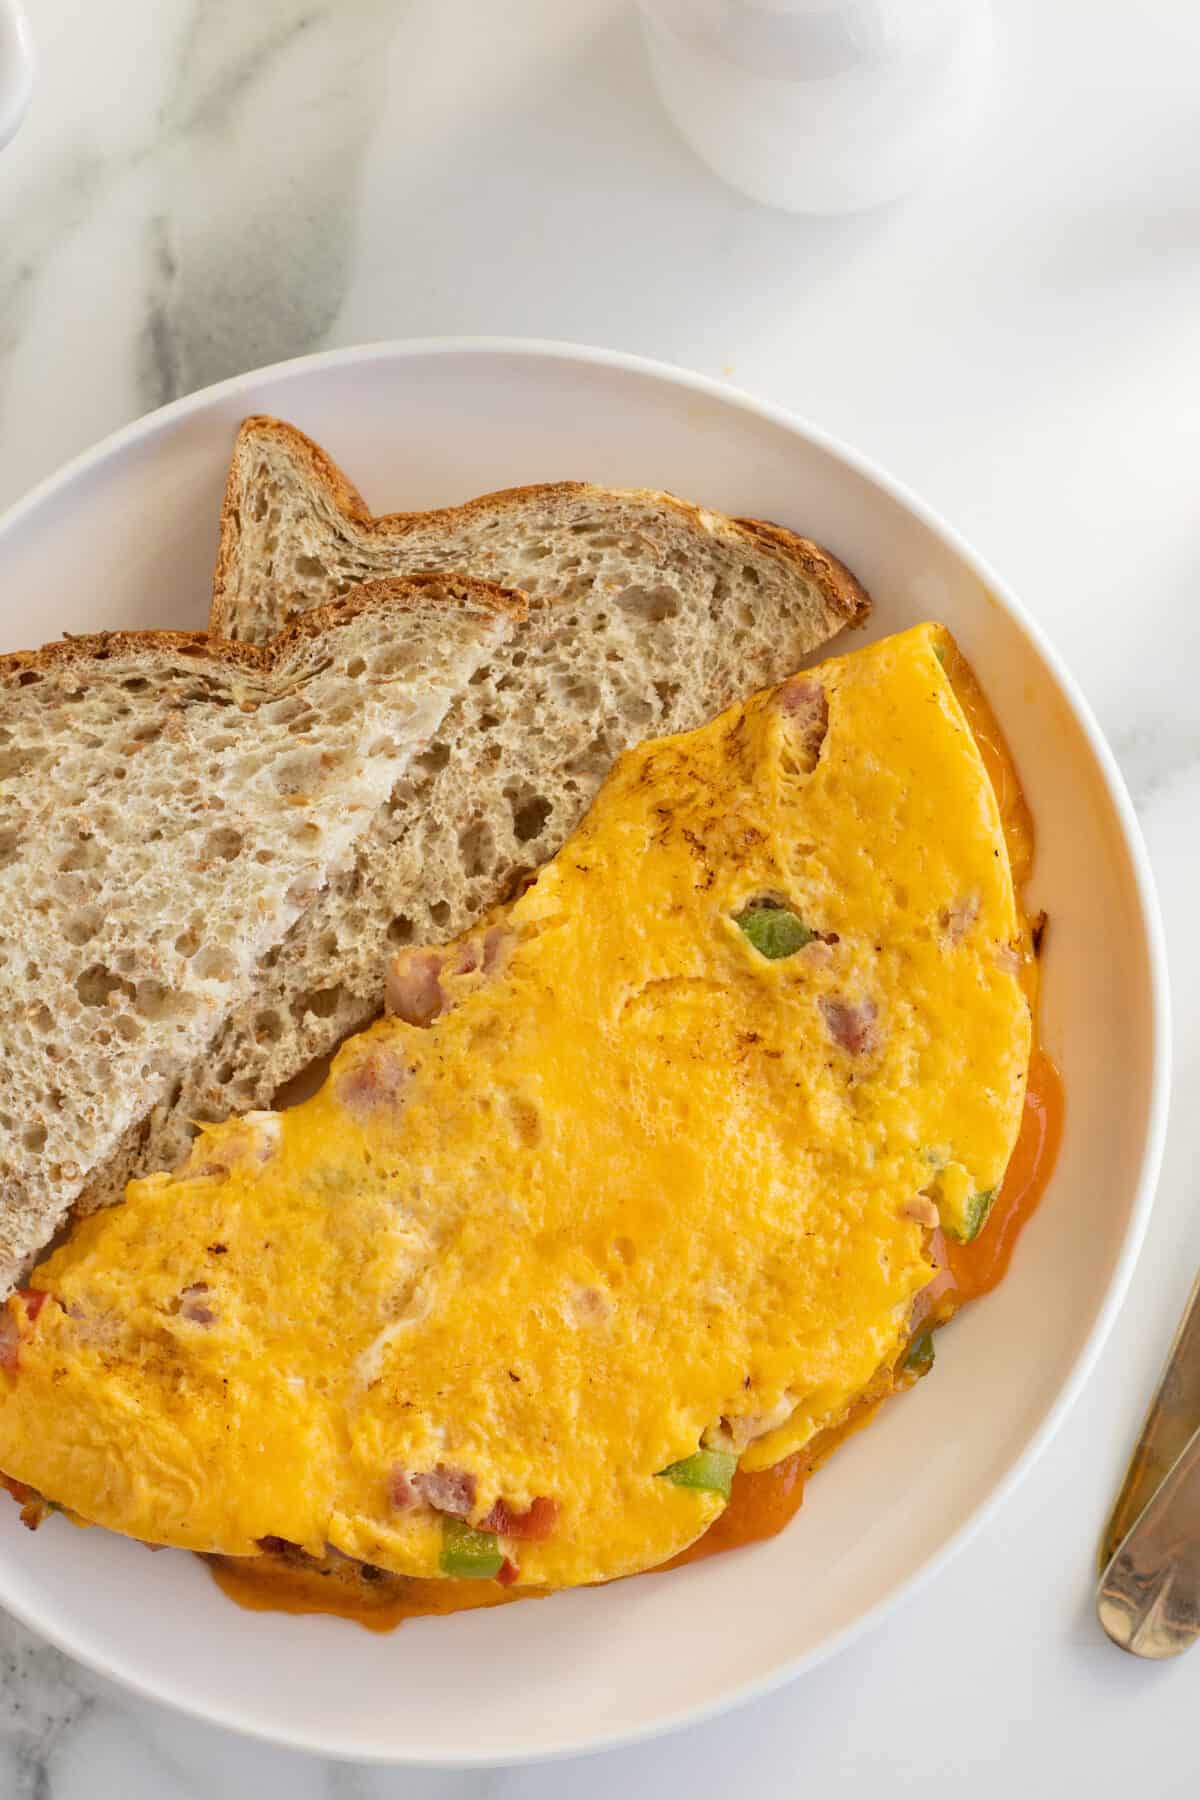
A diner staple for a good reason, the Denver omelet is one of the best breakfasts there is. But instead of having to get up and go to your favorite diner, why not learn how to make an incredible one at home instead?
If you love eating eggs for breakfast try these Perfect Sunny Side Up Eggs . Also don’t forget to learn How to Make Bacon in the Oven to serve on the side!

Denver Omelet
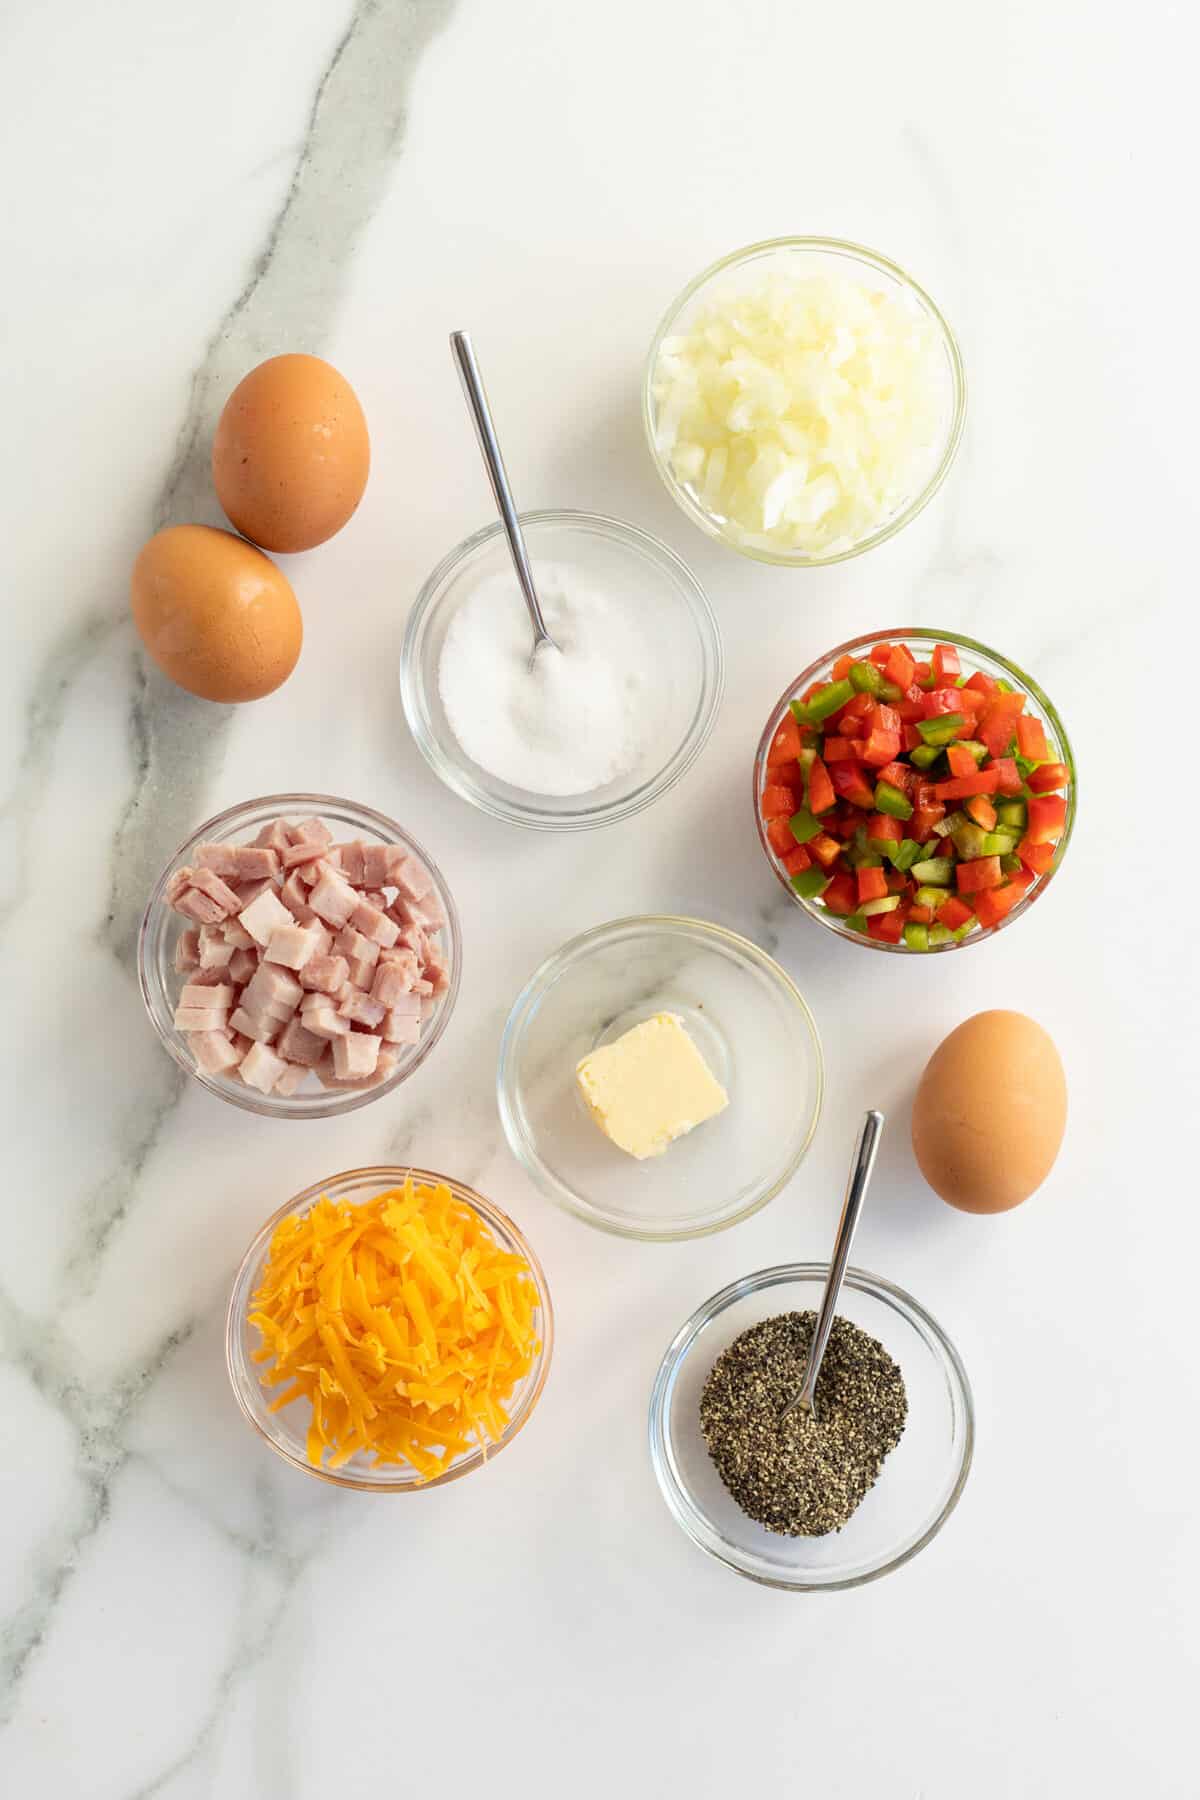
A great Denver omelet should consist of a few things: eggs (obviously,) peppers, onions, ham, and cheese.
From that simple laundry list of tasty ingredients, the specific texture and density of your omelet, from how creamy you want it, to how hard you like your omelet cooked, are up to you.
For a great introduction to the absolute classic that is the Denver omelet, this recipe should teach you everything you need to know.
However, so long as you don’t burn it, and only use ingredients that you know you’ll like, it is pretty hard to mess up a good Denver omelet.

How To Flip Your Omelet Without Making A Giant Mess
The biggest difficulty imaginable when making an omelet at home is trying to flip it without the whole thing falling apart.
We would all love to be impressive TV chefs, capable of flipping the omelet with nothing more than a gentle flick of the rest and the whole omelet flips gracefully in the pan. However, for most of us, we need something a little more practical.
First of all, before you flip your omelet, it’s important to understand why you flip it, to begin with.
If you didn’t flip your omelet, you would likely find that the underside is leathery and dry, while the top of the omelet is uncomfortably wet and sticky. Flipping it ensures that everything gets a chance to evenly cook.
The only trouble is, all of those sticky, wet ingredients seem to want to spray all over the place when you try and flip them.
The secret is to not try to flip the whole omelet at all, but instead, only flip half of it.
Simply run a spatula underneath the omelet about halfway, and then gently flip it up and over, folding it over the other half of the omelet. The remaining undercooked parts which are now touching each other in the middle should help seal the whole thing, and they should begin to cook together, finishing beautifully.
If you find that the side that is still touching the pan is starting to get overcooked, you can try and flip your now semi-circular omelet onto its other side, as it should be a whole lot easier now that everything is bound together.

How To Stop Your Omelet From Sticking To The Pan
One of the big risks when cooking an omelet, or really any kind of egg dish, is the tendency of the eggs to want to stick to the pan, no matter what you do.
It seems that, because of the dense protein structure of eggs that have been stirred together, eggs just really want to cling to basically everything as they cook, usually leading to a cooked-on, burnt mess at the bottom of your pan.
One of the ways that you can avoid this is by using a suitably nonstick surface to cook your eggs in. Whether this is a perfectly clean flat-top grill like in a diner restaurant, or a non-stick Teflon pan, you want to minimize the chances that your eggs will stick by using a pan that naturally repels foods.
Omelets, however, will tend to stick even to a brand-new Teflon pan, so what can you do?
Well, though it might sadden the more health-conscious among us, the secret is to use lots and lots of fat.
The more fat that you use in a pan when cooking your eggs, the less chance there is of your omelet from sticking. The butter in this recipe isn’t just for giving your omelet a ton of flavor; the fat naturally helps to separate the eggs from the pan, cooking it evenly, but also keeping the omelet layers separate from the pan.
Another thing you can do to avoid your omelet sticking to the pan is to be careful with your heat.
If you try and cook your omelet too hot, you run the risk of the bottom layer of your omelet burning onto the pan, resulting in a hot, crumbly, disgusting mess that won’t come off in the sink no matter how hard you scrub.
Stick to a low temperature, even if it takes a long time, and you should be a lot less likely to need to scrap off bits of dried egg when it comes to cleaning-up time.

Why You Add The Cheese At The End
This recipe, and in fact most recipes involving omelets and cheese, has you add the cheese near the end, just before flipping, and not mix it in with the rest of the ingredients.
Well, while you could certainly just throw the cheese in when you first add the eggs, you will be losing out on a lot of that great cheesy textural contrast that is basically the whole to-add cheese in the first place.
When you add your cheese in just before you flip, you ensure that the cheese fully melts, but doesn’t integrate into everything else, instead staying as a nice, cheesy layer.
This means that, when you cut into your omelet, you get that cheesy, stretchy layer, instead of nothing, while still getting all of that great cheesy taste.
Another reason to add it towards the end is that, if you tried adding it before you added your eggs, you would probably find that the cheese would start to burn onto the bottom of the pan, or at the very least, begin to break down and separate, leaking that distinctly off-putting orange goo that separated cheese tends to leak.
So make sure to add the cheese at the right time, to end up with the best possible cheesiness that you can.
Looking for more delicious Breakfast and Brunch recipes? Try these out:
Happy Cooking!
Love,
Karlynn

Pin this recipe to your Breakfast Recipes Boards and Remember to FOLLOW ME ON PINTEREST!

Learn to cook like the Kitchen Magpie

A Very Prairie Christmas Bakebook
Vintage Baking to Celebrate the Festive Season!

Flapper Pie and a Blue Prairie Sky
A Modern Baker’s Guide to Old-Fashioned Desserts

The Prairie Table
Suppers, Potlucks & Socials: Crowd-Pleasing Recipes to Bring People Together
Subscribe to The Kitchen Magpie on YouTube
One click and you’ll get notified of new videos added to our YouTube account!
Subscribe on YouTube
How to make an Omelet

- Prep Time
- 5 minutes
- Cook Time
- 5 minutes
- Course
- Breakfast
- Cuisine
- American
- Servings
- 1
- Calories
- 470
- Author
- Karlynn Johnston
Ingredients
- 1 tablespoon butter
- 3 large eggs
- 1/2 cup onion finely chopped
- 1/4 cup green bell pepper/red bell pepper finely diced
- 1/4 cup cooked ham chopped
- 1/4 cup sharp cheddar cheese
- salt/pepper to taste
Instructions
- In a medium bowl beat the eggs well. Set aside.
- In an 8 inch skillet, melt 1 tbsp of butter. Add in the onion and saute until tender.
- Add in the bell peppers and fry until the onions are softened to your liking and the bell peppers are tender crisp.
- Add the ham and cook for one more minute, stirring.
- Pour the eggs mixture over top of the fried ham/vegetables mixture.
- Turn down the stove heat to low and cover with a lid for about 4-5 minutes.
- Once the eggs are solid and cooked almost through, flip the entire circle and cook for one more minute.
- Place the cheese on one side of the omelette and fold over the omelette into a half circle shape.
- Let the cheese melt inside and garnish with some fresh parsley if desired. Serve hot.


Linda says
I’m 71 and never ever had cheese in a Denver omelet.first time I have seen it in a recipe. Would not call it a denver