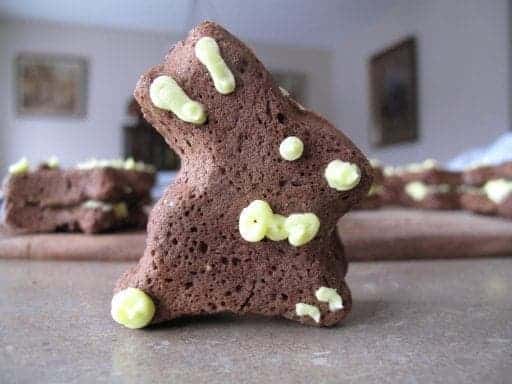
This is a product review, recipe, what-is and how-to all rolled into one post. It sort of just took off in a completely different direction that usual, and that’s ok.
Mainly because I really didn’t like this recipe. It’s so very meh.
Weird, I know, to post a recipe I didn’t like, but this is so much more than a recipe.
I decided to delve into the world of Whoopie Pies.
What are Whoopie Pies you ask?
They are two dome shaped pieces of cake that you sandwich together with frosting or a other creamy filling between.
It is thought that the Berwick Cake Company of Boston was the first to start making them commercially,around 1926.
How can that be bad?
Well. Wilton’s recipe that came with the bunny tin was not what I wanted. Sorry Wilton, but I expected something so much more chocolately and cakey.
This is the recipe I tried:
- 1/2 cup (1 stick) butter, softened
- 1 cup firmly packed brown sugar
- 1 egg1 teaspoon pure vanilla extract
- 2 cups all-purpose flour
- 1/3 cup cocoa powder
- 1 teaspoon baking powder
- 1 teaspoon baking soda
- 1/2 teaspoon salt
- 1 cup buttermilk
Preheat oven to 350°F and either spray or grease the tins.
Beat butter and sugar until light and fluffy, about 3 minutes. Add in the egg and vanilla; beat until well combined.
In another bowl, sift together the dry ingredients. . Add half the dry ingredients into the butter mixture and mix on low speed. When they are combined completely, add the buttermilk.
Mix on low speed until all ingredients are just incorporated, then add the remaining dry ingredients. Mix on low till just barely combined.
Bake for 8-10 minutes or until the top of the cake springs back when touched and then allow the cakes to cool a couple of minutes in the pans.
To assemble the pies spread some filling on one cake and sandwich with another cake.
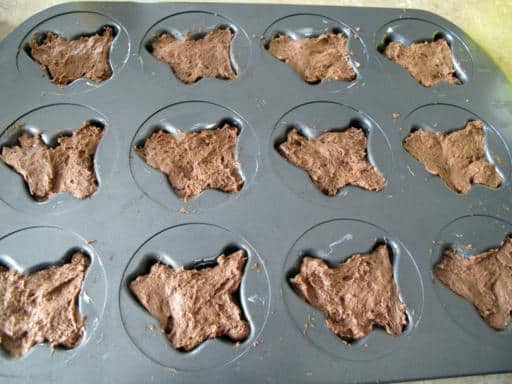
It was gooey. It was impossible to put into the tins. I had to spread it out with my fingers, not easy as pie. I couldn’t even pipe the batter in, now THAT is too gooey!
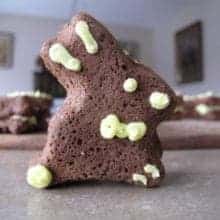
They baked up all right, though, the pan is adorable!
So.
Recipe = meh.
Pan- OMG so cute I want to scream.
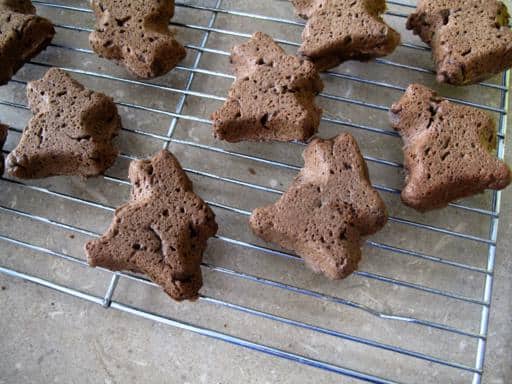
The texture of the cakes was good but the taste was not what I wanted. I used a good quality cocoa, real butter and vanilla, I have no idea what went wrong, unless the recipe I guess, is just not that good.
Whoopie Pies have been described as Devil’s Food cake-like, this is not even close!
I used my lemon buttercream icing left over from my Lemon Ruffle Cake, and that saved the day, taste-wise.

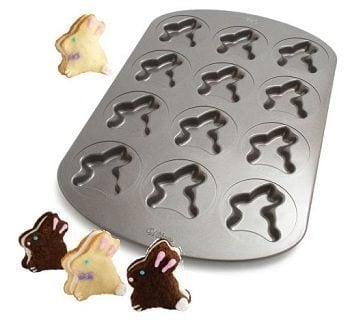
The pan itself is easy to use, makes adorable shapes and is so perfectly adorable for Easter.
It does only 12 at a time, so you have to have patience and make quite a few batches if you are looking to make a substantial amount.
You could also make cookies, just simply press the batter into the cavities.
I wasn’t that creative in my decorating, you could have far more fun.
I foresee better, more chocolate and traditional round Whoopie Pies in my baking future, with a whippier filling.
Easter Whoopie Pies: Bunny Style
Ingredients
- 1/2 cup butter softened
- 1 cup firmly packed brown sugar
- 1 egg
- 1 teaspoon pure vanilla extract
- 2 cups all-purpose flour
- 1/3 cup cocoa powder
- 1 teaspoon baking powder
- 1 teaspoon baking soda
- 1/2 teaspoon salt
- 1 cup buttermilk
Instructions
- Preheat oven to 350 degrees Fahrenheit and either spray or grease the tins.
- Beat butter and sugar until light and fluffy, about 3 minutes.
- Add in the egg and vanilla; beat until well combined.
- In another bowl, sift together the dry ingredients.
- Add half the dry ingredients into the butter mixture and mix on low speed.
- When they are combined completely, add the buttermilk.
- Mix on low speed until all ingredients are just incorporated, then add the remaining dry ingredients.
- Mix on low till just barely combined.
- Bake for 8-10 minutes or until the top of the cake springs back when touched and then allow the cakes to cool a couple of minutes in the pans.
- To assemble the pies spread some filling on one cake and sandwich with another cake.





A Canadian Foodie says
Well, if you are not just the MOMMY of the century!!! Building a new home AND making Easter Bunny whoopie pies! I want to be one of your children! OH, happy days!. These would be cool in savory form, too!
🙂
Valerie