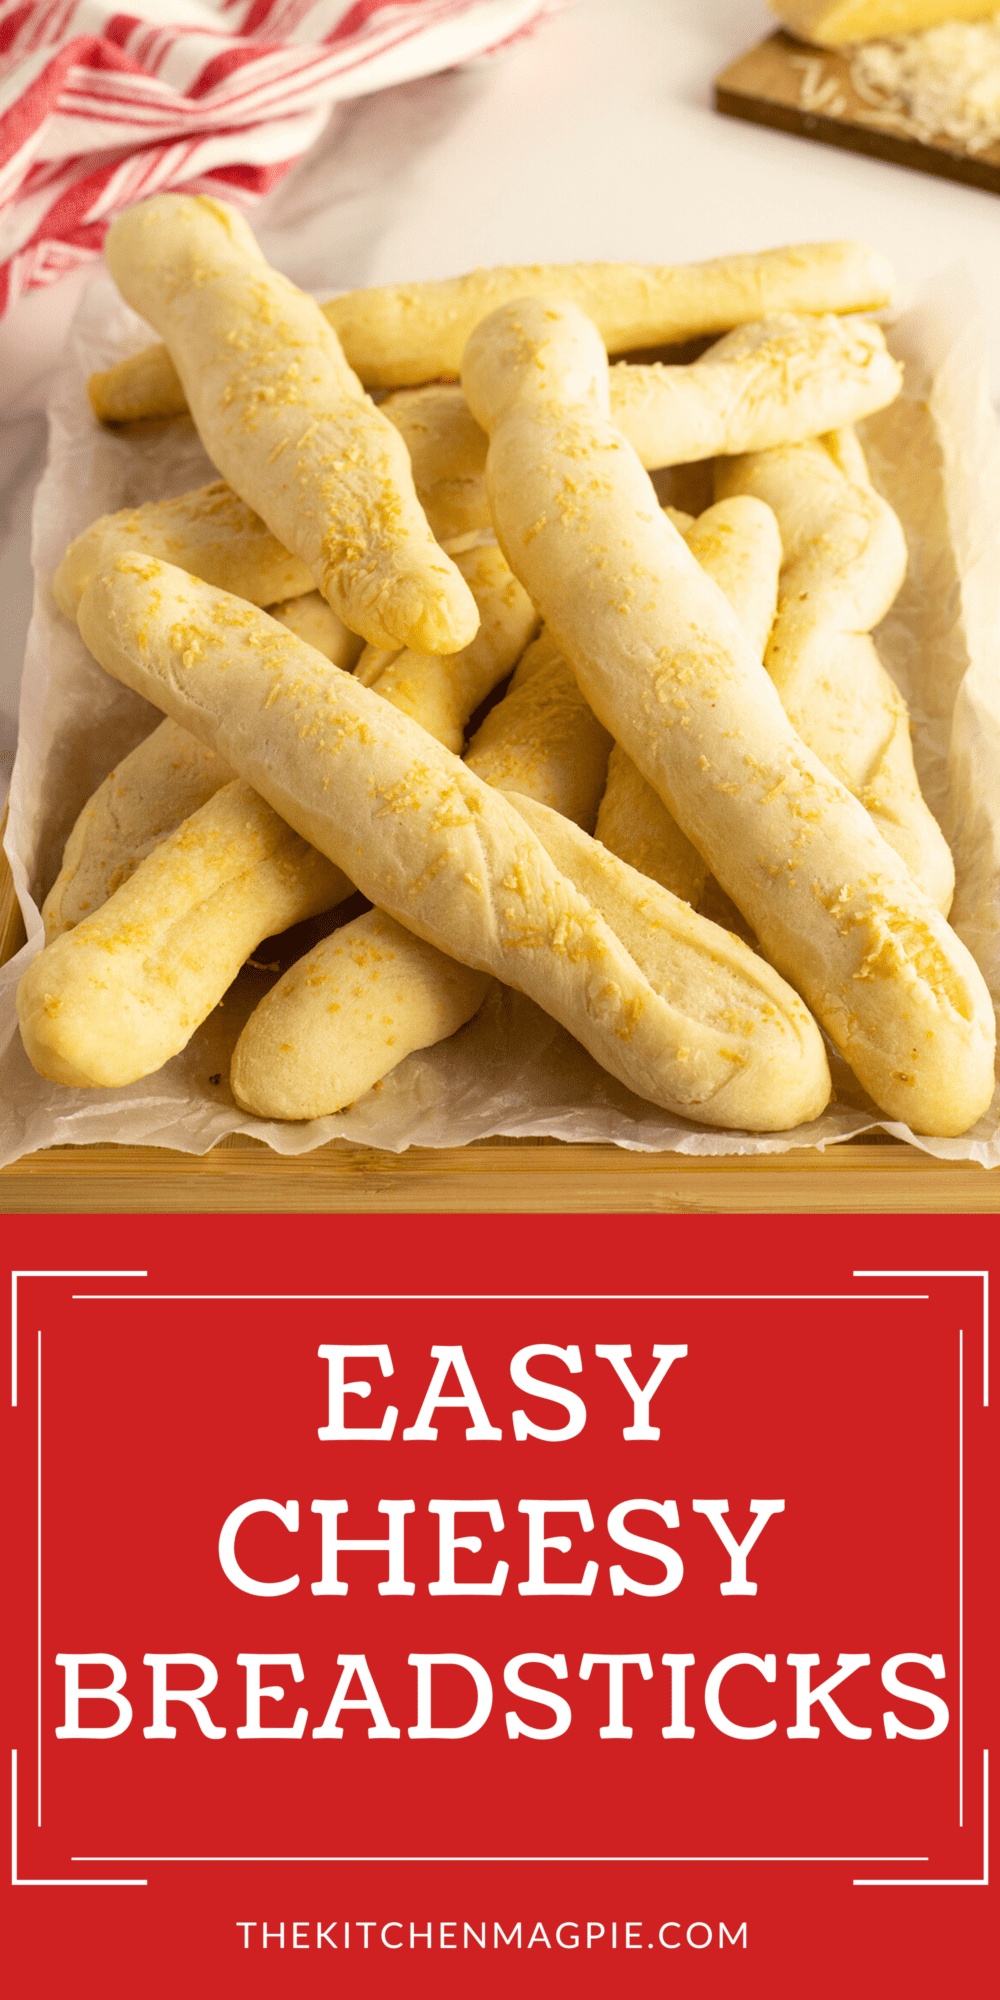
Breadsticks don’t have to just be for restaurants anymore. With a great recipe for these home made breadsticks, anyone can make some tasty and filling breadsticks as a side to a pasta dish, or as a light snack all on their own!
Why not try serving your breadsticks with a side of Whipped Feta Dip? Or add some veggies with this Baba Ganoush (Roasted Eggplant / Aubergine Dip)!
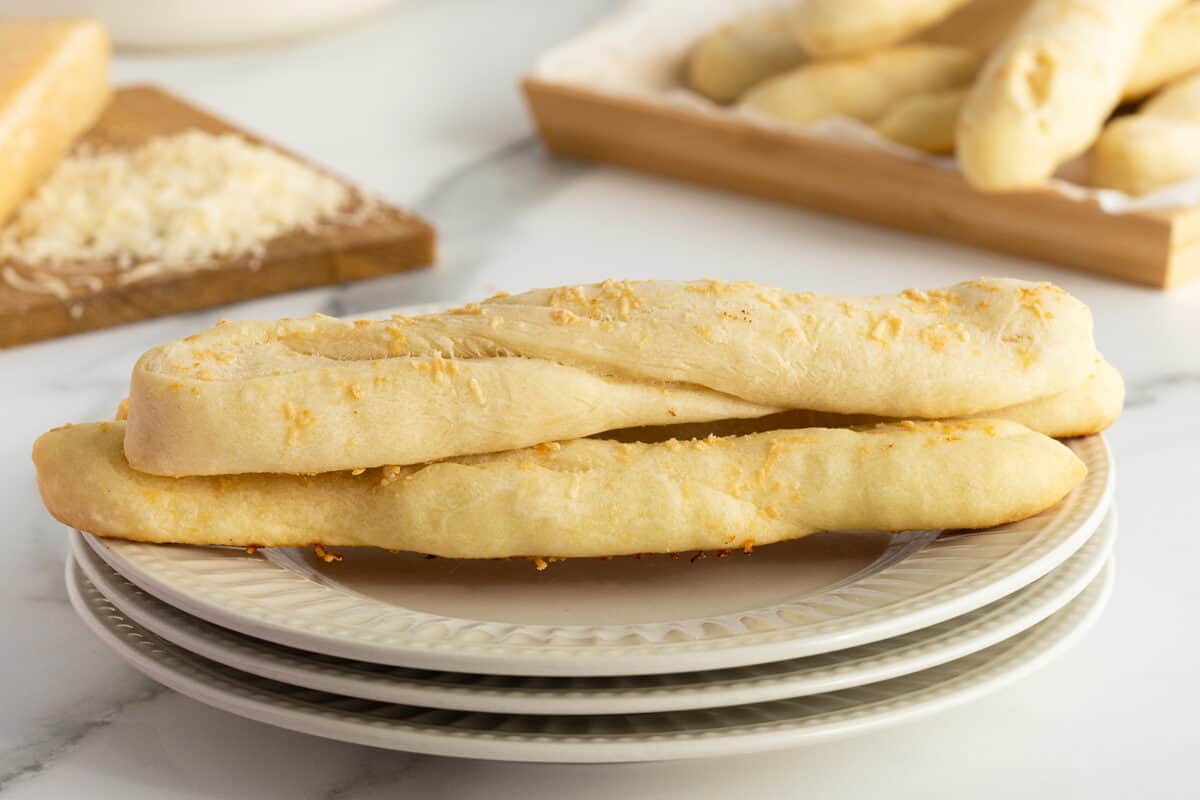
Home Made Breadsticks
Breadsticks are one of those things that people generally only think about in the context of a snack at a restaurant.
While unlimited breadsticks at your local Italian-adjacent dinner spot are perfectly fine, there is nothing stopping you from making the very best breadsticks you could make all on your own.
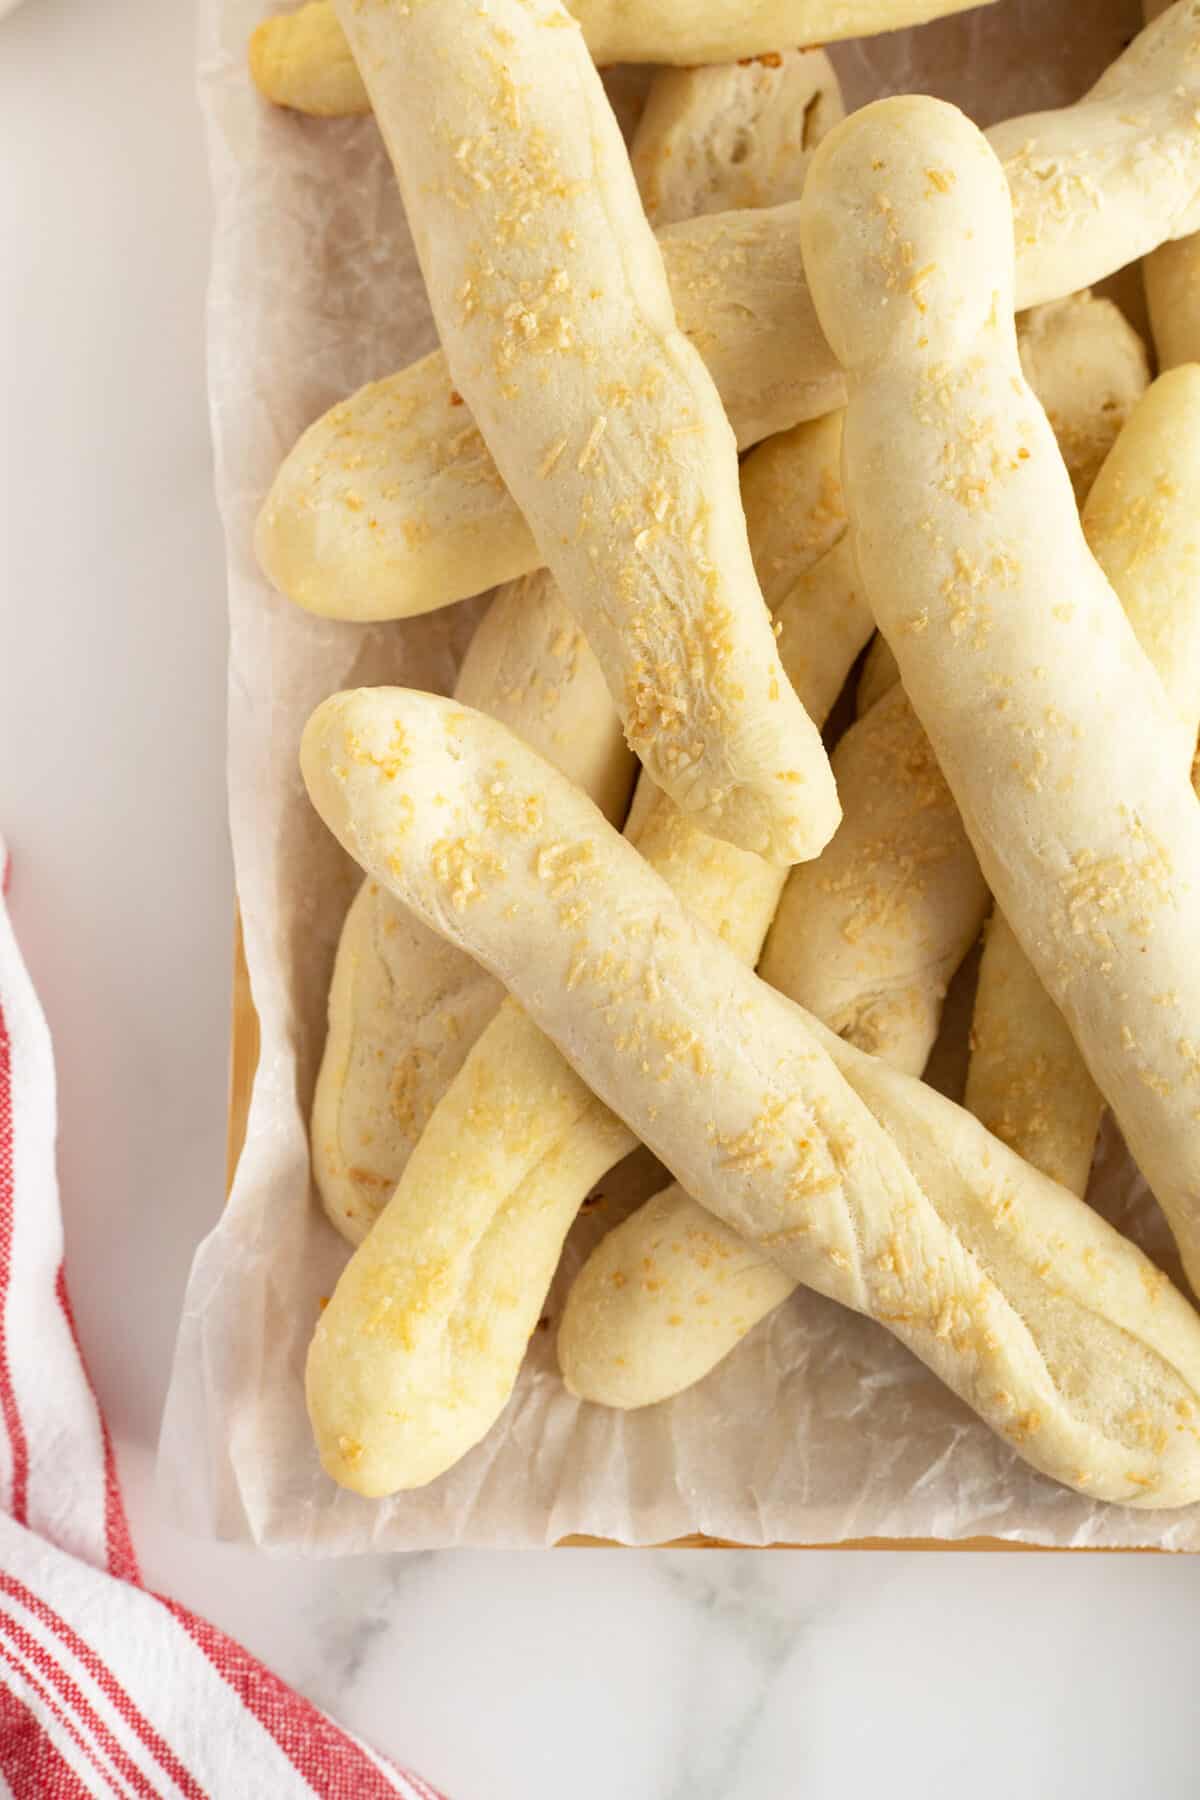
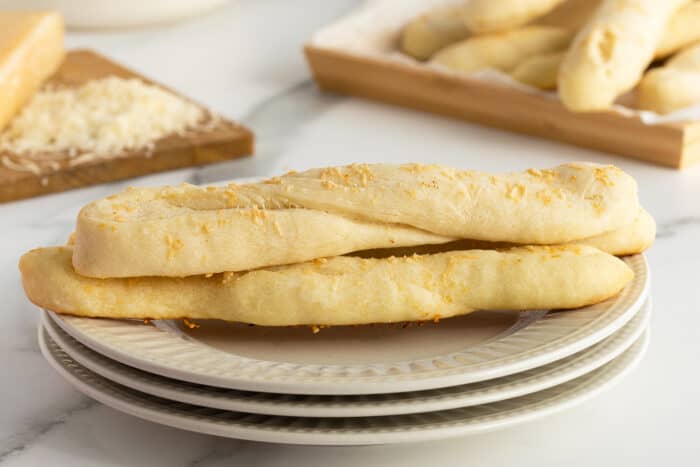
This recipe produces a crunchy, tender, and doughy home made breadstick that has a ton of flavor, alongside being texturally awesome.
Feel free to play around with the flavorings and additions to this recipe to produce the breadstick of your dreams.
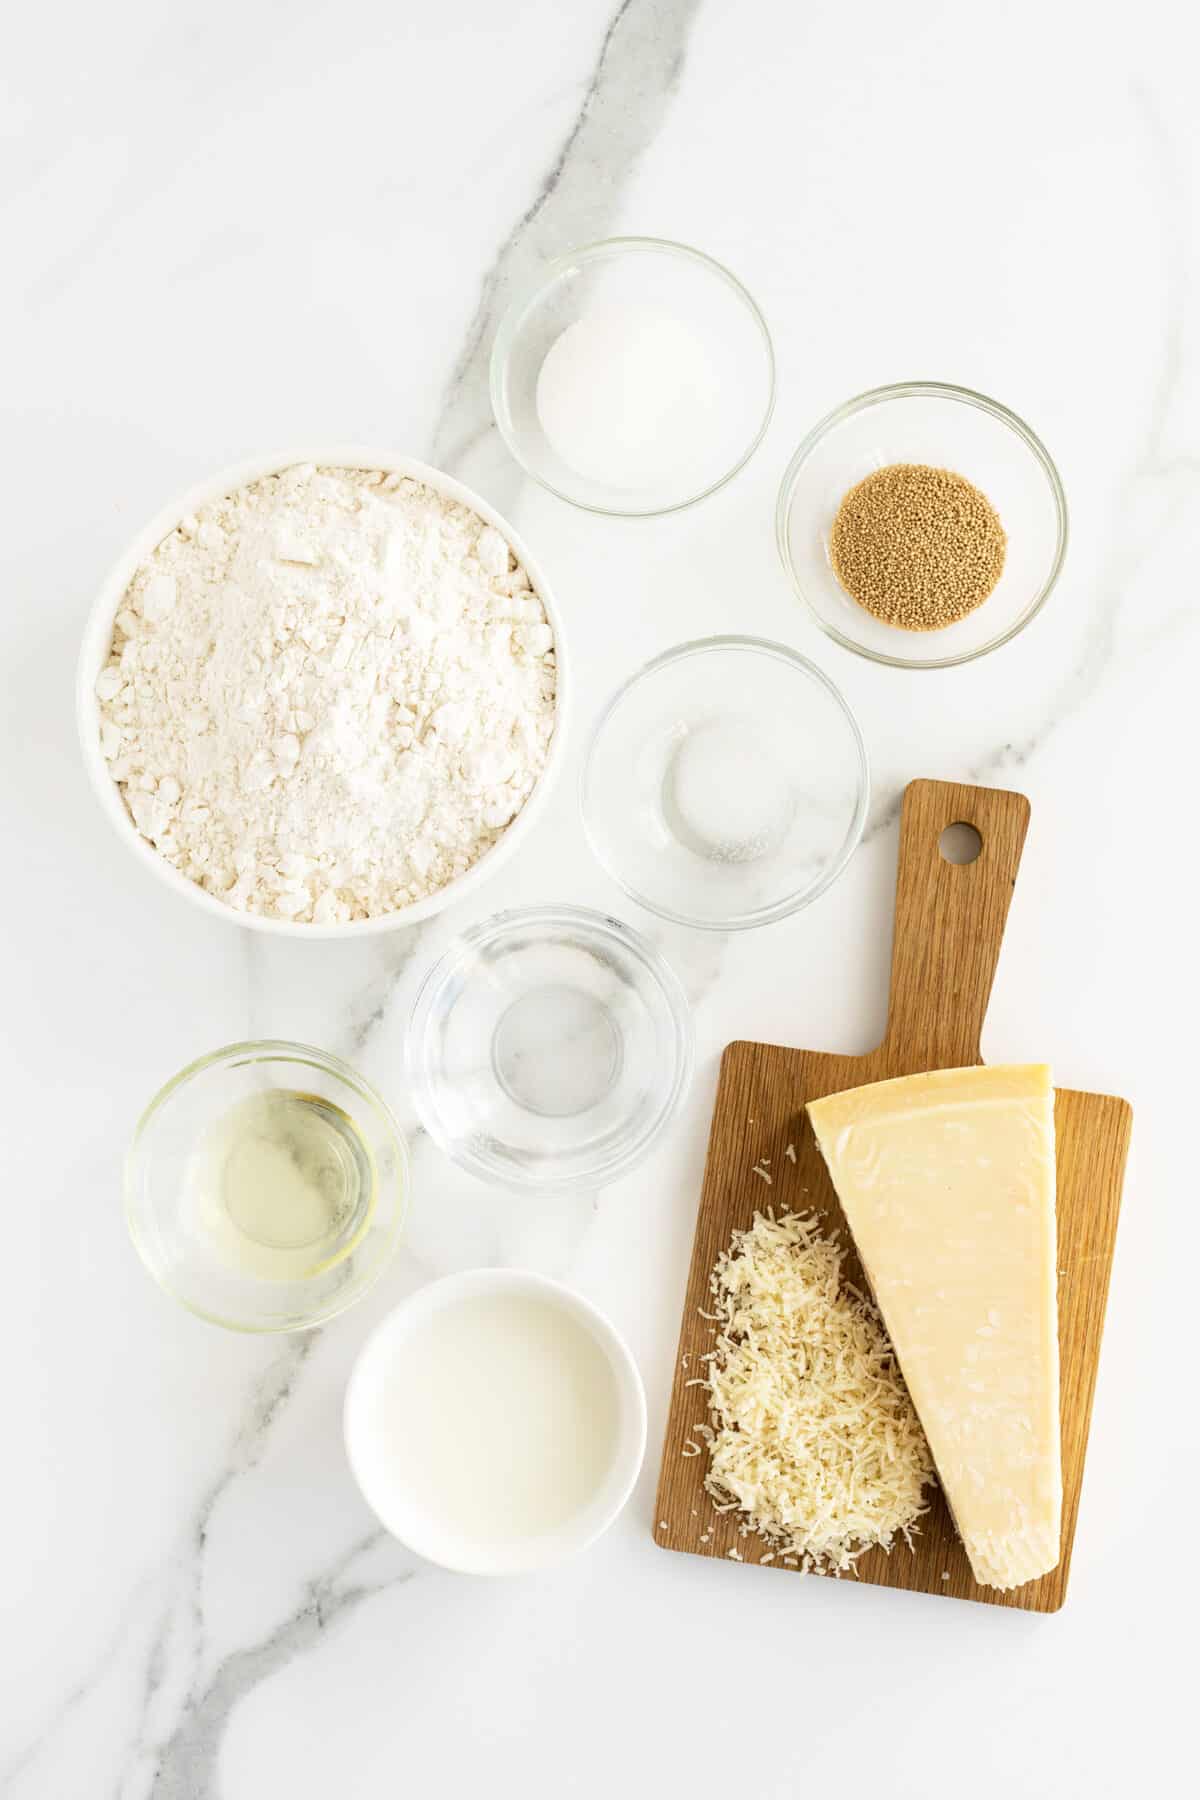
How To Tell If Your Yeast Is Alive
One of the frequent perils of baking anything bread-related at home is the risk that your yeast doesn’t work.
Whether it’s because of a faulty batch, or just because you’ve kept that box of dried yeast in your pantry for the last 5 years, sometimes yeast just isn’t alive anymore.
The best way to avoid your breadsticks totally failing to rise whatsoever is to make sure to test your yeast to ensure it will do its job.
To test your yeast, simply take the amount of yeast listed in the recipe and mix it with the water beforehand and let it stand for 5 minutes. To help speed it up a bit, you can also add sugar to help encourage the yeast back into activity.
If your yeast is healthy, it should start to froth and bubble gently. This means that your yeast is alive and well, and ready to begin rising your breadsticks.
If it doesn’t bubble, you might need to go out and buy some replacement yeast, as if that yeast is dead, the rest of the yeast in your carton of yeast is probably dead as well.
Could You Use A Blend Of Flours?
This recipe of home made breadsticks calls for the use of regular, all-purpose flour. All-purpose flour is the easiest to work with, and has a normal amount of protein; giving anything you make with it a lighter texture than regular bread flour.
However, one of the problems with all-purpose flour is its high glycemic index. Due to the fact that all-purpose flour is highly processed and refined, it is super high in sugar, and it can cause some problems for those at risk of things of diabetes.
While this isn’t something the average person needs to worry about, it is always a good idea to be picking the healthier option when available.
For a healthier alternative, why not substitute some of the flour in this recipe for something like wholemeal, or rye flour?
Both wholemeal and rye are much lower on the glycemic index, as well as adding a ton of really good fiber to your diet.
Plus, it actually tastes really good as well! Try subbing about 5-10% of the flour with wholemeal, and you can expect a really nutty, almost toasty flavor in your breadsticks that makes them taste way better than store-bought breadsticks.
Why You Should Always Check The Temperature Of The Milk And Water
When a recipe calls for “warm” water or milk, there is always the temptation to just zap it in the microwave until it gets super hot and call it a day.
However, you really do want to make sure that your liquids are no hotter than around 115 Fahrenheit; as otherwise, you might actually end up ruining your breadsticks!
For starters, if your water is too hot, then when you add your yeast to it, the water will actually kill the yeast completely. You want it to be in that perfect range of 105 to 115 Fahrenheit for the yeast to be happy, otherwise, your breadsticks probably won’t rise.
The other reason to watch your temps is that if you accidentally boil your milk, you will denature the proteins in the milk, turning it slightly lumpy and ruining its flavor.
When in doubt, err on the side of slightly underheating your liquids than overheating them, as having your water a little cold is better than it being too hot.
Different Ways To Flavor Your Bread Sticks
While these breadsticks are super tasty, there is nothing stopping you from adding a few additions in the form of a couple of powders or seasonings to make for some really interestingly flavored breadsticks.
- Onion Granules
Onion granules are one of those things most people keep in their cupboard until they expire, but dusted over your breadsticks fresh from the oven, they give every bite a super pleasant little oniony hit.
- Spice Blend
Instead of any one seasoning, why not try your favorite spice blend to flavor your breadsticks? Whether it’s garam masala or a chipotle Tex Mex blend, dust whatever you like over your breadsticks to get the flavor you want.
- Cinnamon Sugar (For Sweet Bread Sticks)
An alternative to all of the savory options here, why not try turning your breadsticks sweet instead?
A mix of cinnamon and white sugar dusted over the top of your breadsticks makes them almost a dessert, but with all of that same crunch! Try dusting them over the breadsticks in the last part of cooking them to help caramelize the sugars and end up with an even crunchier breadstick!
Looking for more delicious Bread and Quick Bread recipes? Try these out:
• Easy Cheese Stuffed Garlic Knots
• Pretty Darn Perfect Sweet Dinner Rolls
Happy Cooking!
Love,
Karlynn

Pin This Recipe To Your Appetizer Recipes Board and Remember to FOLLOW ME ON PINTEREST!
Home Made Breadsticks
Ingredients
- 1 package active dry yeast (or 2 ¼ teaspoons)
- ¼ cup warm water (105° – 115°)
- 1 Tablespoon canola or vegetable oil
- 1 Tablespoon sugar
- ¼ teaspoon salt
- ½ cup warm 2% milk (105° – 115°)
- 3 cups all purpose flour
- ¼ cup parmesan cheese (powdered)
Instructions
- In a large mixing bowl add the 1/4 cup warm water and sprinkle the yeast overtop. let it stand for 5 minutes.
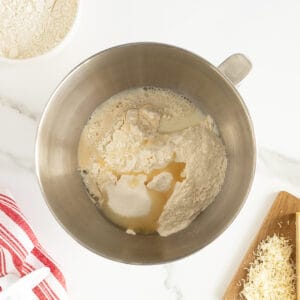
- Add in the oil, sugar, salt, milk and 2 cups of flour. Mix with a dough hook for 5 minutes or just until the dough pulls from the sides of the bowl in stretchy strands.
- Add in the last cup of flour to form a stiff dough. knead for about 7-9 minutes until smooth.
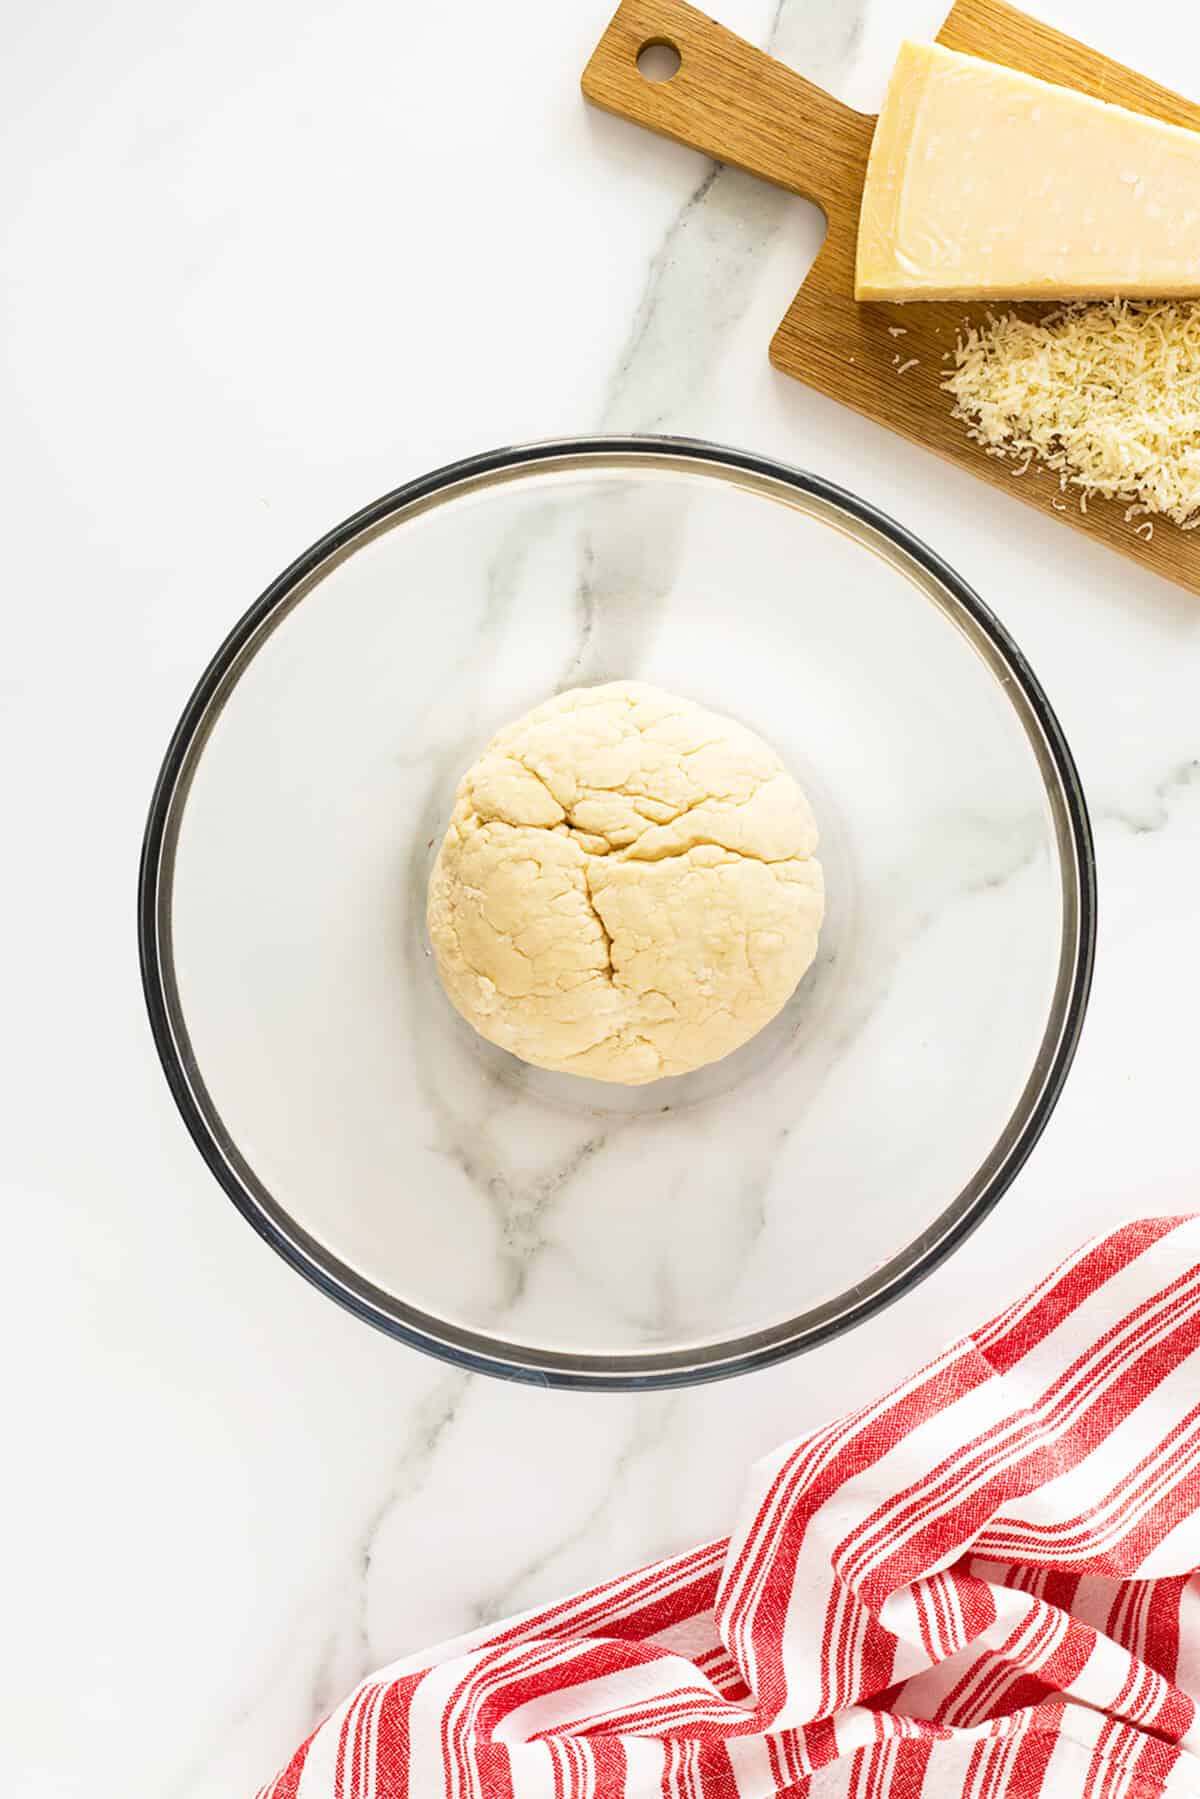
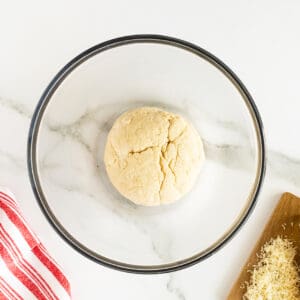
- Lightly grease a large bowl and turn the dough into the bowl. cover with plastic wrap and let it rise in a warm place for 1 hour or until doubled in size.
- Turn the dough out onto a floured surface and knead to expel trapped air.
- Cut the dough into 12 equal pieces, cover and let it rest for 5 minutes.
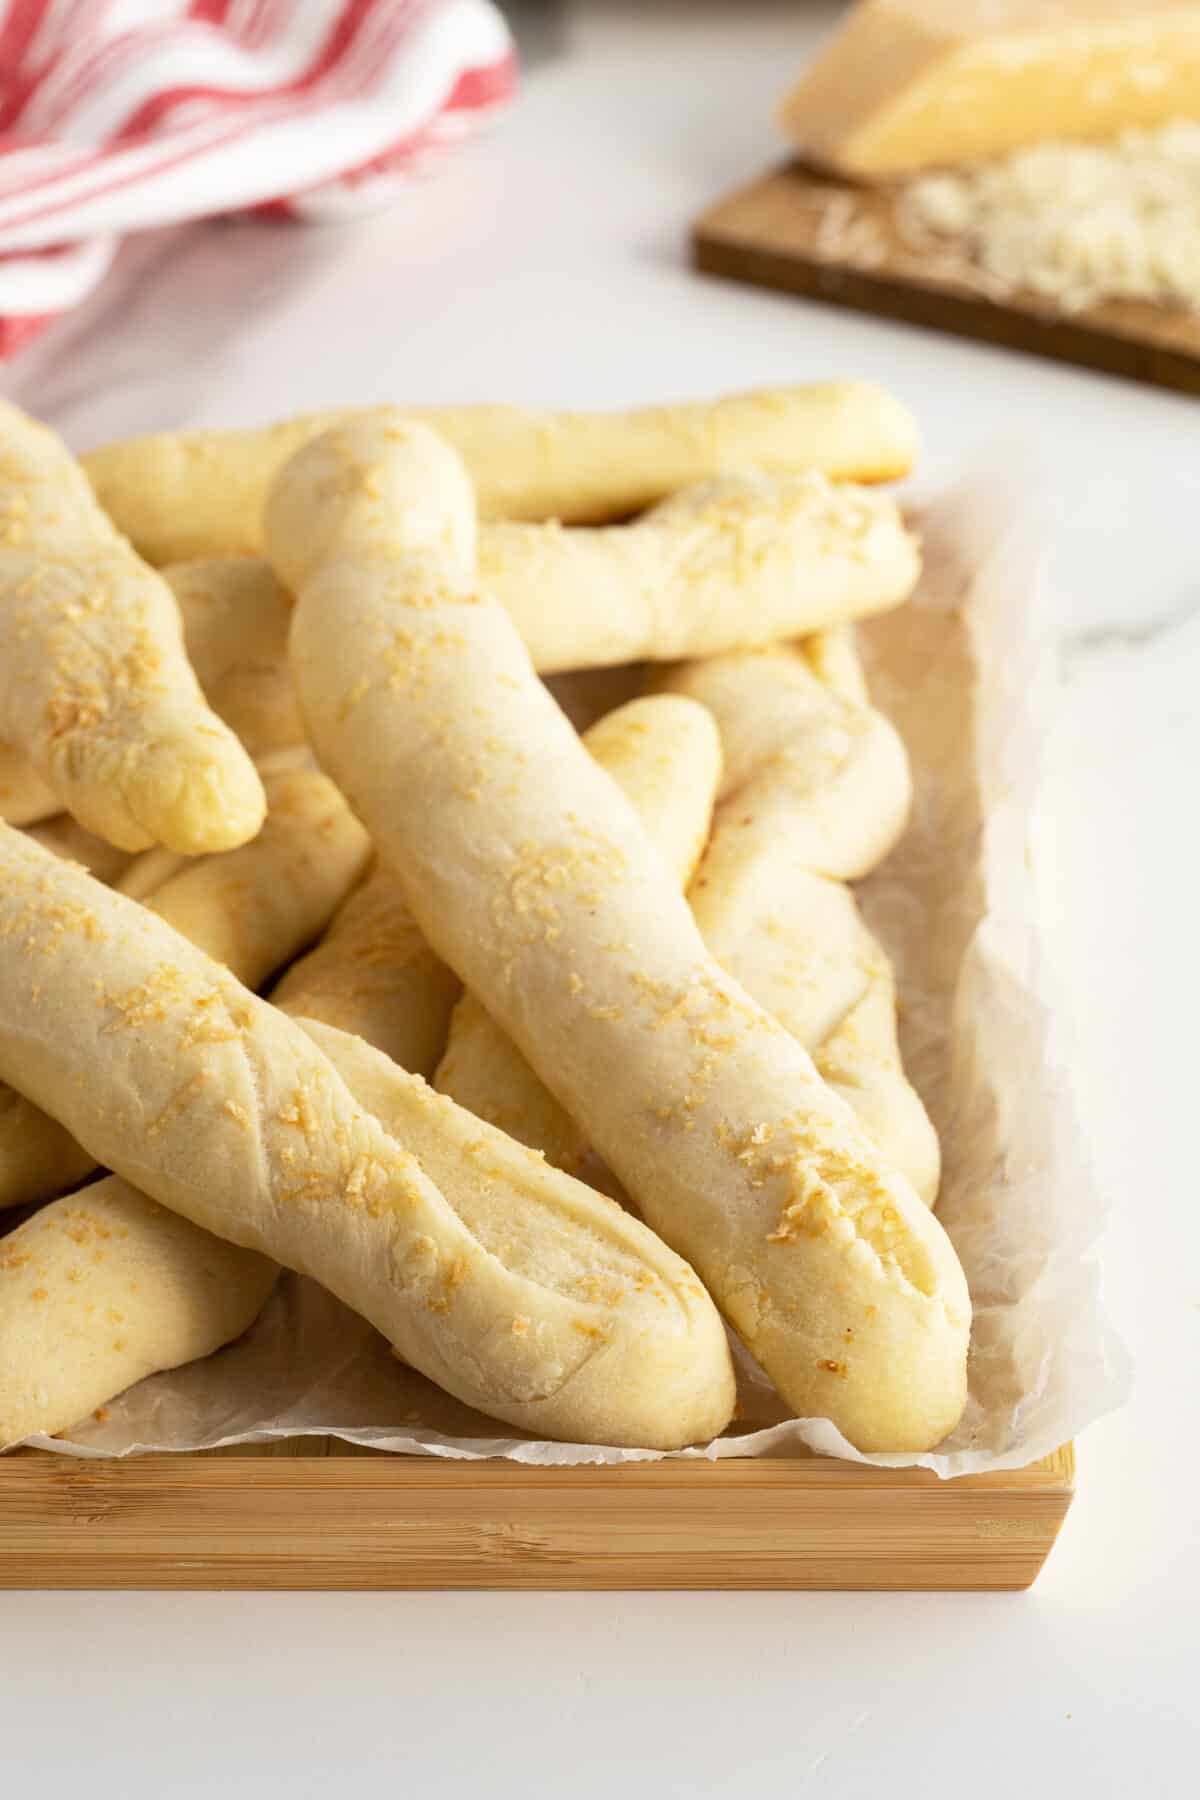
- Roll each piece into a stick about 12 inches long. Place onto a parchment lined baking sheet about 1 inch apart. Brush bread sticks lightly with oil and sprinkle with your choice of powdered Parmesan cheese, garlic powder, or caraway seeds.
- Preheat your oven to 350°
- Let the bread sticks rise in a warm place about 20 minutes until they are nice and puffy.
- Bake for 15-20 minutes until they are lightly golden. cool on the pan for 2 minutes and serve warm.




Sue Doering says
Tried to make the home made bread sticks. After mixing the first 6 ingredients and 2 cups of flour with the dough hook the mixture was so stiff my mixer bowl was jumping off the stand. No way I could add another cup of flour. I checked other breadsticks recipes and they were using at least half a cup more liquid to 3 cups of flour than this recipe. Was there a mistake in the recipe?