I recently learned how to cook the juiciest, most tender oven roast turkey EVER – and it has changed the way I am going to cook my turkeys from now on. No more arguing with my Mom over when the turkey is done, this method of cooking a turkey is SO forgiving that I would bet the white meat will NEVER dry out!
Not a fan of Turkey? Try my Pork Loin Roast or Sirloin Tip Roast instead!
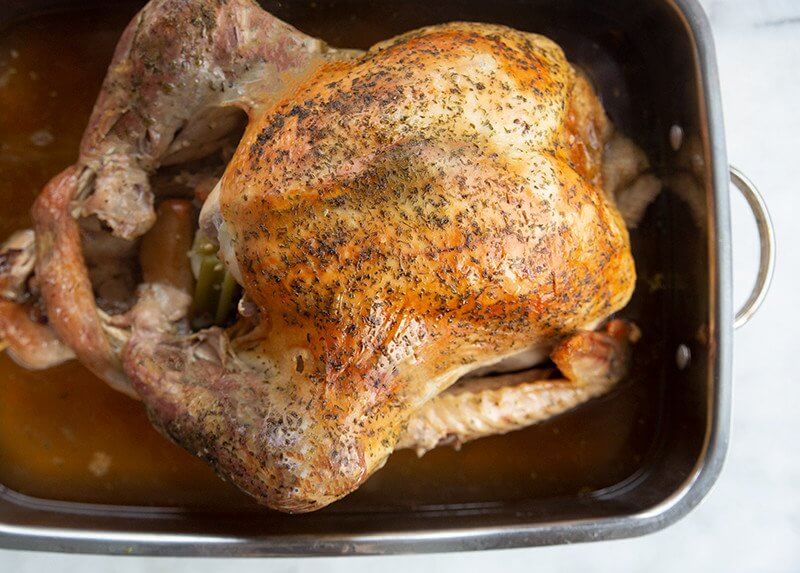
The Juiciest, Most Tender Oven Roasted Turkey In the History of Roast Turkeys
This recipe is up there with my deconstructed turkey recipe and my roast turkey breast recipe as one of my faves.
It fell off the bones when I went to carve it. That makes it utterly fantastic for eating. Not that good when I need to take photos.
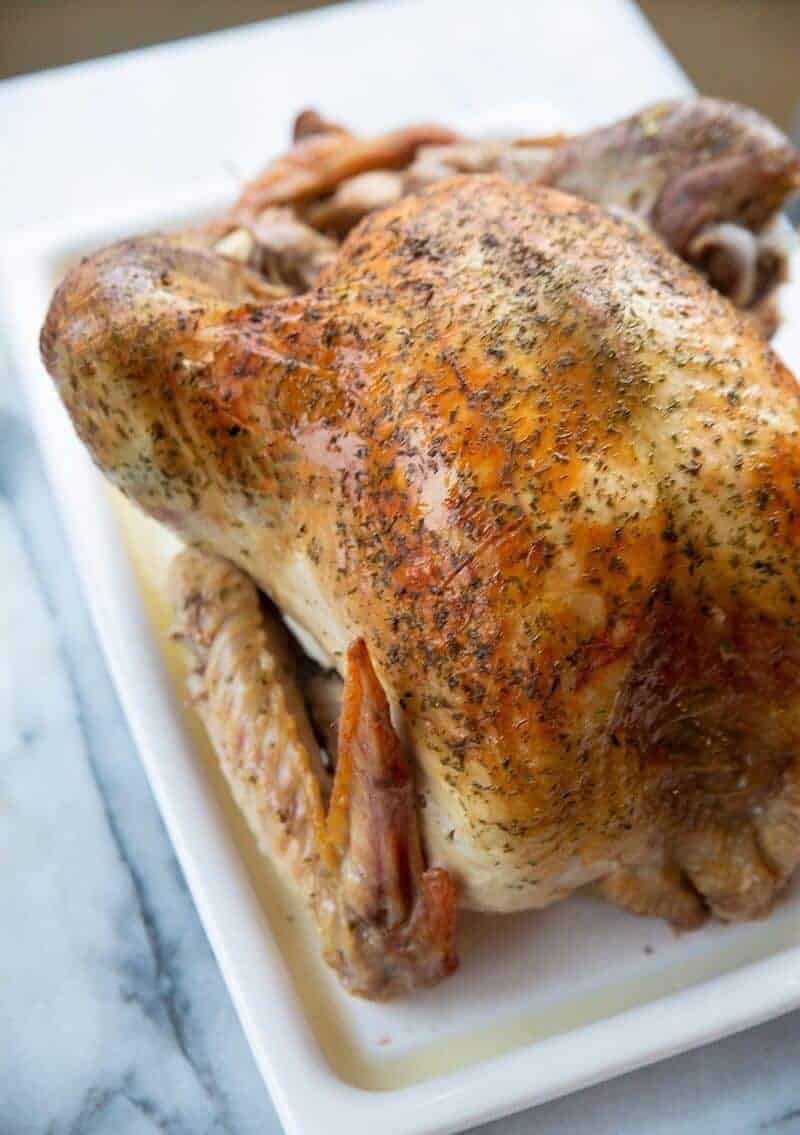
The Secret
The simple secret here is Turkey sized oven roasting bags. Let’s be clear here it’s NOT brown paper bags! Brown paper bags are actually toxic! Using a tried and tested safe food grade oven bag is better overall for roasting a turkey in a bag. It makes sense, companies put glue and chemicals into paper bags that are not meant for high heat OR for food to cook in and have no regulations with their production because of it. Oven bags are meant for food and heat. Using one twice a year to make the best turkey ever is not a big deal, but if you think it is, then this isn’t the turkey recipe for you. The oven bag is key! Now, let’s move on to the step-by-step directions to get this bird in the oven for your big day!
How to Cook A Turkey
Let’s walk through this step by step, as some of you may be making your first turkey ever – or heck, you are like me and have been spending your life trying to master roasting a turkey. If you don’t need these photos, just pop on down to the bottom where the recipe awaits you, you turkey pro! The turkey shown in these photos is 13 lbs, but the first one I made was 20!
- Pre-heat your oven to 300 °F. Yes, we are cooking this bird low and slow all day. For hours. (The USDA RECOMMENDS that you cook at a minimum of 325°F oven temp, which you can also do and the turkey cooks faster. The choice is up to you.)
- Pat the tops and sides of the turkey dry with paper towels and throw them out. Wash your hands. (I am a kitchen safety NUT when it comes to bacteria, sorry!) Place your turkey so that it’s completely in the oven bag BUT so that the opening is slanted more towards the top instead of straight across This will make sense later in in my directions.
- Take your chosen onions quarters, celery, apple etc and place them into the turkey cavity. Wash your hands.(I know, I know)
- Take one tablespoon of sea salt flakes or coarse salt (I always have the flakes so that’s what is on mine) and a tablespoon of parsley and mix them in a bowl. IF you have a larger turkey you can double this. Set aside for now, you just had to get this ready because now your hands are getting dirty again!
- Take a bottle of olive oil and drizzle a small stream across the skin on the breast of the turkey and some on the thighs and legs. Gauge how much you need to cover the surface area in a nice coating. Put the bottle away and roll up your sleeves.
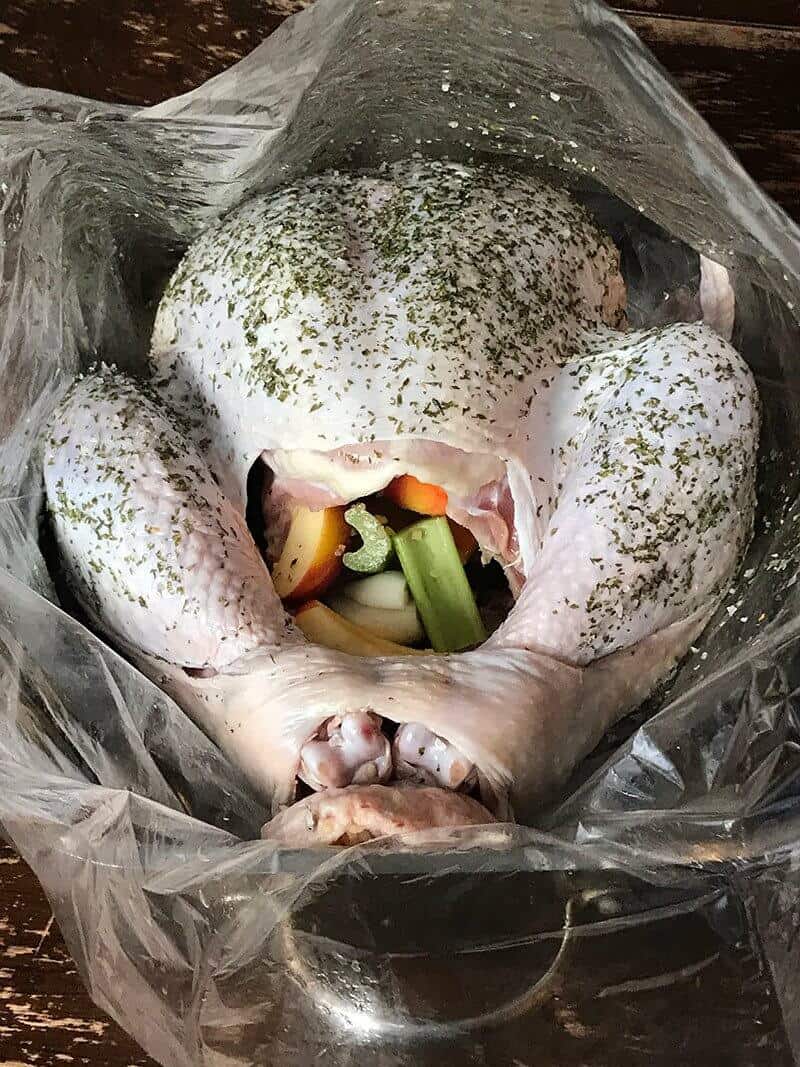
- Rub the olive oil all over the turkey skin, covering it well. You don’t have to do the bottom.
- Take the salt/parsley mixture and rub it all over the turkey in an even layer. The olive oil will help it stick. It should look like the photo above. Then, wash your hands and move on to the next step.
- Pour the turkey or chicken broth into the bottom of the bag, ensuring not to wash off the spices.
- Seal the bag using the little tie that comes with your oven bags. Cut small holes into the top of the roasting bag to let steam out.
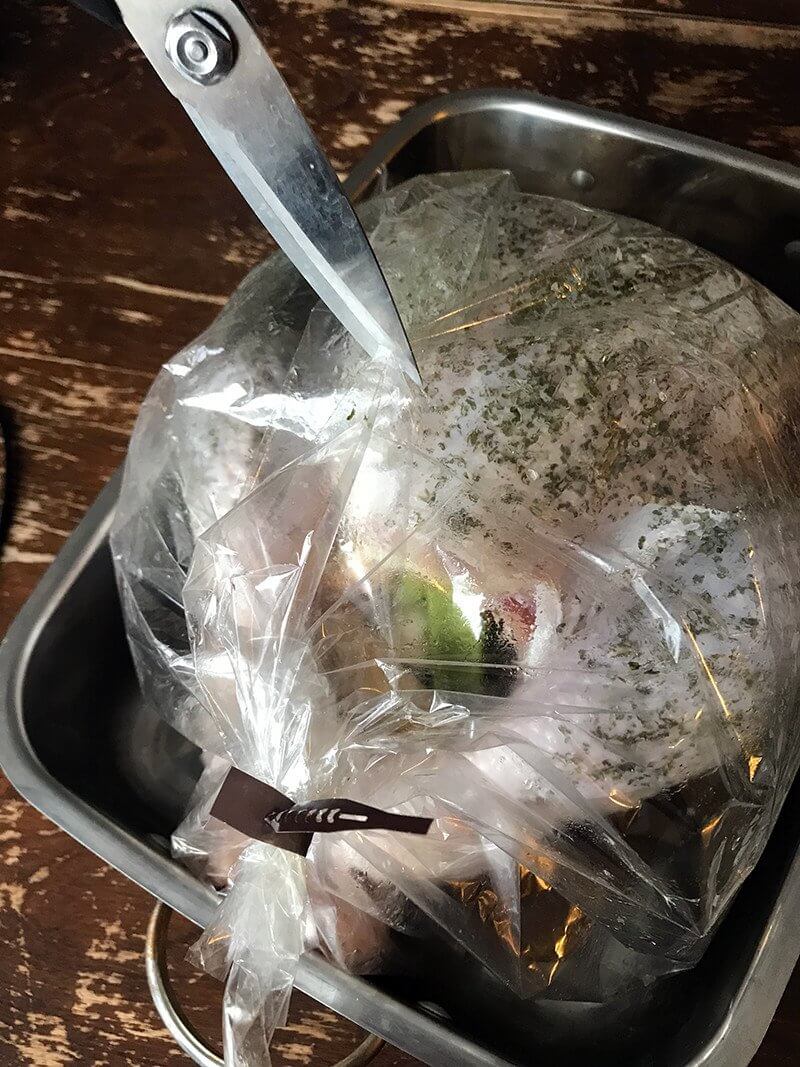
- Place in the oven and cook for 3-4 hours for my 13 pound turkey and up to 5-6 for a larger turkey. If you notice the breast is getting too brown and crispy. then turn the oven down to 250 °. (The USDA RECOMMENDS that you cook at a minimum of 325°F oven temp, which you can also do and the turkey cooks faster. The choice is up to you.)
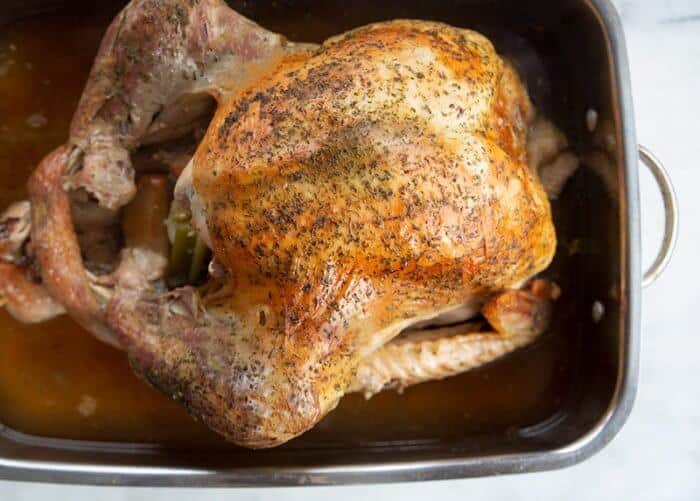
- When the thigh meat reaches a temperature of 180 °F and the breast meat is 165°F minimum, you can remove the turkey. Let it rest for 10 minutes, then remove the bag.
- You can either move it to a platter ( it can be done, with two people and a few forks holding it together in key places) or simply carve it in the pan.
- Use the drippings to make what is the BEST turkey gravy you will ever eat.
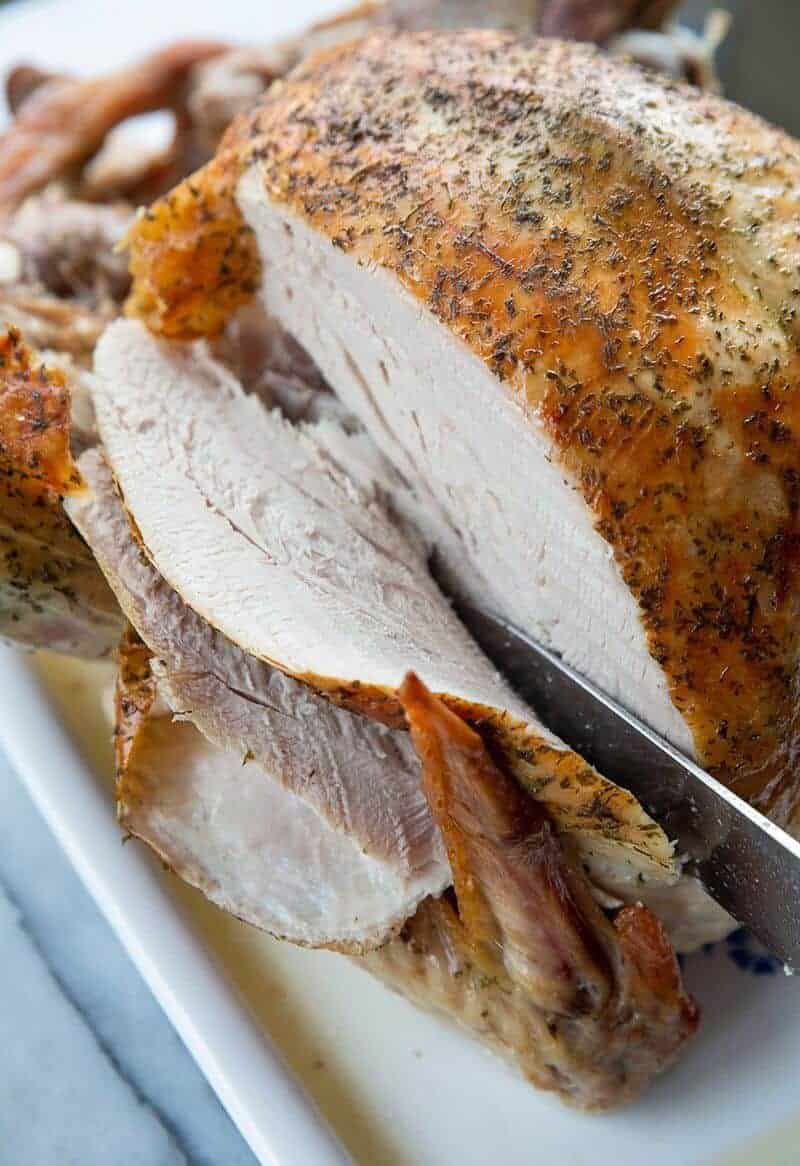
The secret to why this turns out so well is that the olive oil and salt still manage to crisp up the turkey skin while the steam from the broth actually braises the turkey, not roasts – and braising is one of the best ways to cook any meat. Braising is also pretty much the only way that you are going to get moist breast meat and cook the legs to a proper temperature at the same time (the bane of turkey roasting.)
More Side Dishes to Serve with Oven Roast Turkey
Here are a few tried, tested and true side dishes to serve with your roast turkey!
- Oven Baked Turkey Stuffing – As you can see you don’t stuff this roast turkey, so you are going to need to make dressing/stuffing on the side. This is a great recipe for it!
- Mom’s Homemade Stove Top Stuffing – My ABSOLUTE favourite turkey stuffing recipe ever!
- Instant Pot Mashed Potatoes – I make these monthly, not just for holiday meals.
- Rosemary Garlic Smashed Potatoes : Mix it up a bit and try smashed potatoes this year.
So everyone go and give Alecia a follow on her social media and say thank you for the best turkey recipe ever! Happy Cooking!
Love,
Karlynn
How to Cook the Juiciest, Most Tender Oven Roast Turkey
Ingredients
- one 15-25 pounds turkey
- 1 tablespoon sea salt flakes or coarse salt
- 1 tablespoon parsley
- 2-3 tablespoons olive oil
- 1 litre carton turkey broth
- 1 turkey sized oven safe roasting bag
- 1 small white onion, peeled and quartered
- 1-2 stalks celery ,washed and cut into sticks
- 1 apple, de-seeded and quartered
Instructions
- NOTE : This method cooks your turkey a LOT FASTER than usual! The USDA doesn't recommend cooking under 325 ° F However, this method steams the turkey and it will get crazy hot inside the bag. If you want an all day turkey, turn the heat down. IF it's cooking too fast, turn the heat down, the residual steam will keep it cooking. The choice is up to you!
- Pre-heat your oven to 300 °F.
- Pat the tops and sides of the turkey dry with paper towels and throw them out.
- Place your turkey so that it’s completely in the oven bag BUT so that the opening is slanted more towards the top instead of straight across . Take your chosen onions quarters, celery, apple etc and place them into the turkey cavity.
- Take one tablespoon of sea salt flakes or coarse salt and a tablespoon of parsley and mix them in a bowl. IF you have a larger turkey you can double this. Set aside for now, you just had to get this ready because now your hands are getting dirty again!
- Take a bottle of olive oil and drizzle a small stream across the skin on the breast of the turkey and some on the thighs and legs. Gauge how much you need to cover the surface area in a nice coating. Put the bottle away and roll up your sleeves.
- Rub the olive oil all over the turkey skin, getting it covered well. You don’t have to do the bottom.
- Take the salt/parsley mixture and rub it all over the turkey in an even layer. The olive oil will help it stick. It should look like the photo above. Then of course, wash your hands and move on to the next step.
- Pour the turkey or chicken broth into the bottom of the bag, making sure not to wash off the spices.
- Use the little tie that comes with your oven bags and seal the bag. Cut small holes into the top of the roasting bag to let steam out.
- Place in the oven and cook for 3-4 hours for my 13 pound turkey and up to 5-6 for a larger turkey. If you notice the breast is getting too brown and crispy. you can cover the top with tinfoil.
- When the thigh meat reaches a temperature of 185 °F and the breast meat is 165°F minimum, you can remove the turkey. Let it rest for 10 minutes, then remove the bag.
- You can either move it to a platter (it can be done, with two people and a few forks holding it together in key places) or simply carve it in the pan.
- Use the drippings to make what is the BEST turkey gravy you will ever eat.
Notes
- The USDA RECOMMENDS that you cook at a minimum of 325°F oven temp, which you can also do and the turkey cooks faster. The choice is up to you how you want to cook it.
- NUTRITIONAL VALUES shown are only for a slice of turkey breast meat, and NOT for the entire turkey or any gravy you make!
- You are only restricted in turkey size by what fits into the bag and closes up to cook! If it fits, it cooks!
- Add more cooking time on for larger turkeys.
- If the top of your turkey is getting too brown, cover the top with tinfoil.
- You can choose whatever vegetables you want to place in your turkey cavity, I like an apple, celery and an onion. Whatever you put in there WILL affect the taste!
Nutrition

PIN THIS RECIPE to your DINNER RECIPES and HOLIDAY RECIPES Boards and Remember to FOLLOW ME ON PINTEREST!


Margaret Hess says
Please carefully consider the safety of cooking in any method in plastic no matter what plastic and chemical companies say. Research is discovering that plastic is toxic. Think about the scam of non-stick pans which now university research and governments are telling us not to use as well as other things 3M’s Teflon chemicals are used for, such as water proofing or stain resistant clothing, furniture, curtains, etc. Nano particles of plastic from water jugs and bottles, agricultural weed control plastic, plastic wrap, plastic refrigerator and freezer bags and containers, etc. These particles are now seen in our blood and organs. Little wonder cancer rates are sky rocketing. Please take care for yourself, your family and all who read your website.
Dianna says
You mention that you cook the Turkey slow all day, but the recipe says 300 degrees for a 14 pound Turkey for 3-4 hours
Karlynn J says
I do at least a 22-24 pound turkey, so I personally cook it all day slowly because it’s a much larger turkey. A 14 pound one takes 4 hours, larger takes longer.
Lawrence Marioneaux III says
tender and juicy
Jeanette says
I’ve been using the oven bags for my turkeys for several years now and thought I had a good turkey – that was until I tried your recipe. It really is the juiciest. Even the white meat was moist. I agree with some of the comments – you need to check the temperature with a thermometer to know when it’s done, not just go by the time.
Maureen Norris says
Good day Karlynn
May I please ask a couple of questions?
You didn’t stuff the turkey but can it be stuffed while using the bag?
Do you cook it with a lid on?
Thank you for your wonderful recipes!
Maureen, Waterloo Ontario
Karlynn Johnston says
Hi Maureen,
It is best to do the stuffing outside of the turkey, perhaps ins a slow cooker, as it will get soggy if you cook in in the roasting bag with all of the liquid and steam!