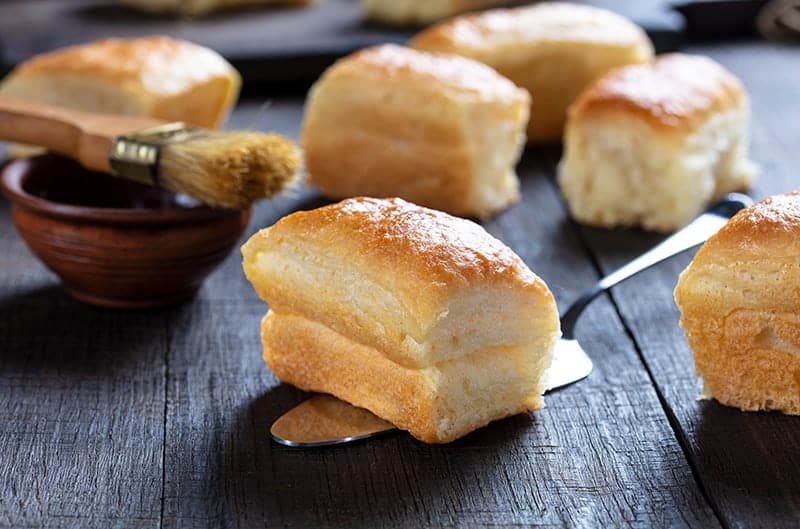
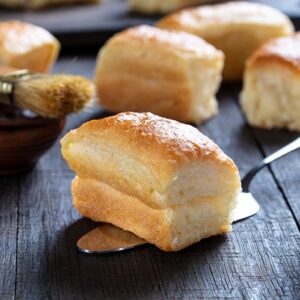
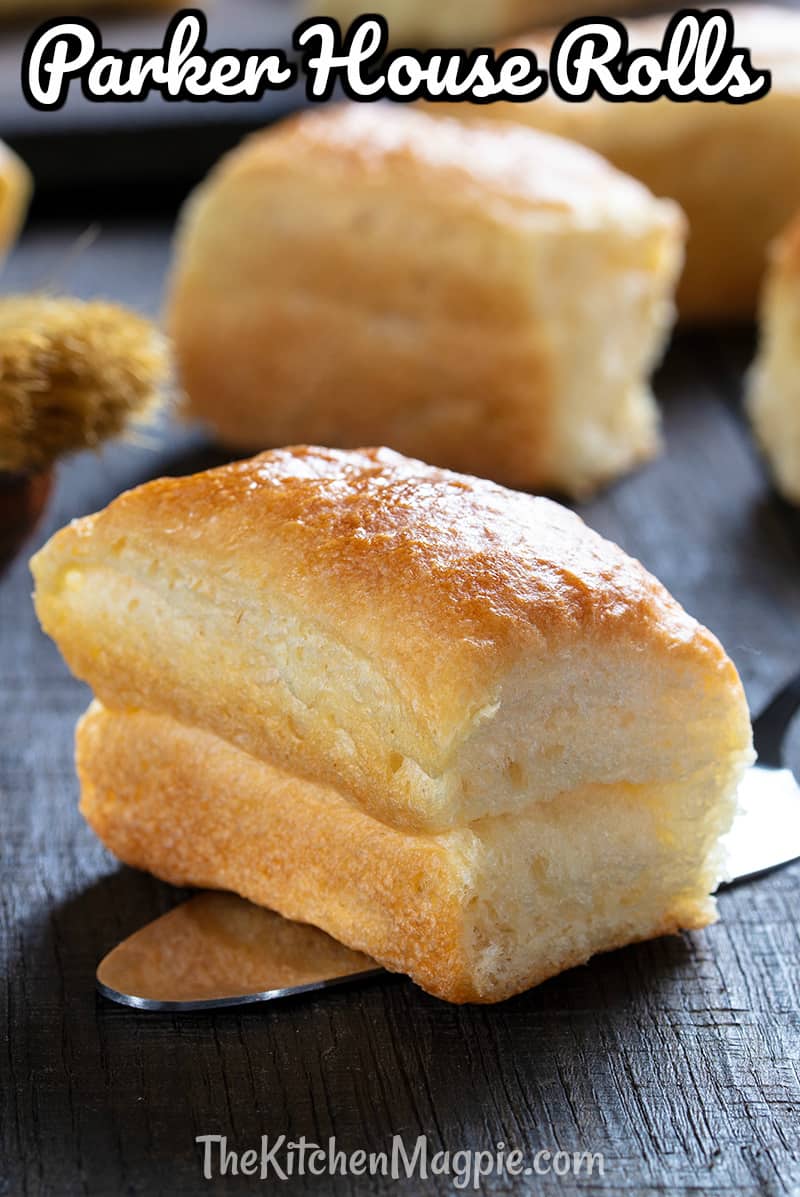
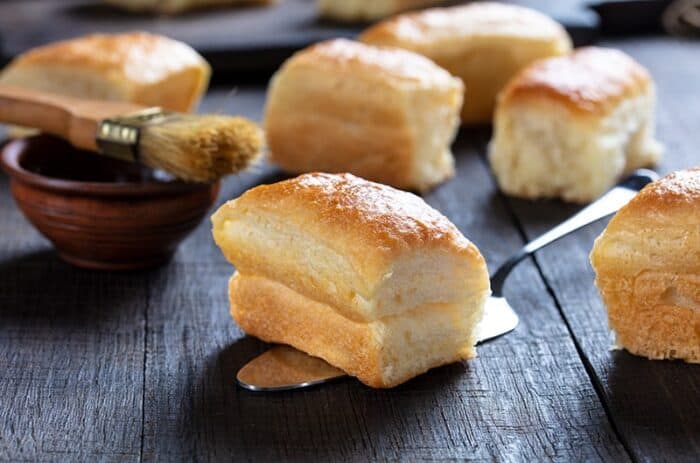
Parker House Rolls are deliciously soft, buttery dinner buns that were made famous by a hotel. The reason that these rolls are so beloved is that they are buns made by folding the dough over itself, and within that fold you have brushed melted, salty butter! You can see how they will pull apart perfectly!
Where did Parker House Rolls come from?
Parker House Rolls got their name as they were invented in the Parker House Hotel in Boston in the 1870’s. They have been a popular dinner roll recipe ever since.
While the old hotel is no longer around, a new one, bearing the same name was rebuilt in the 1920’s and still exists here.
What makes Parker House Rolls different from regular dinner rolls?
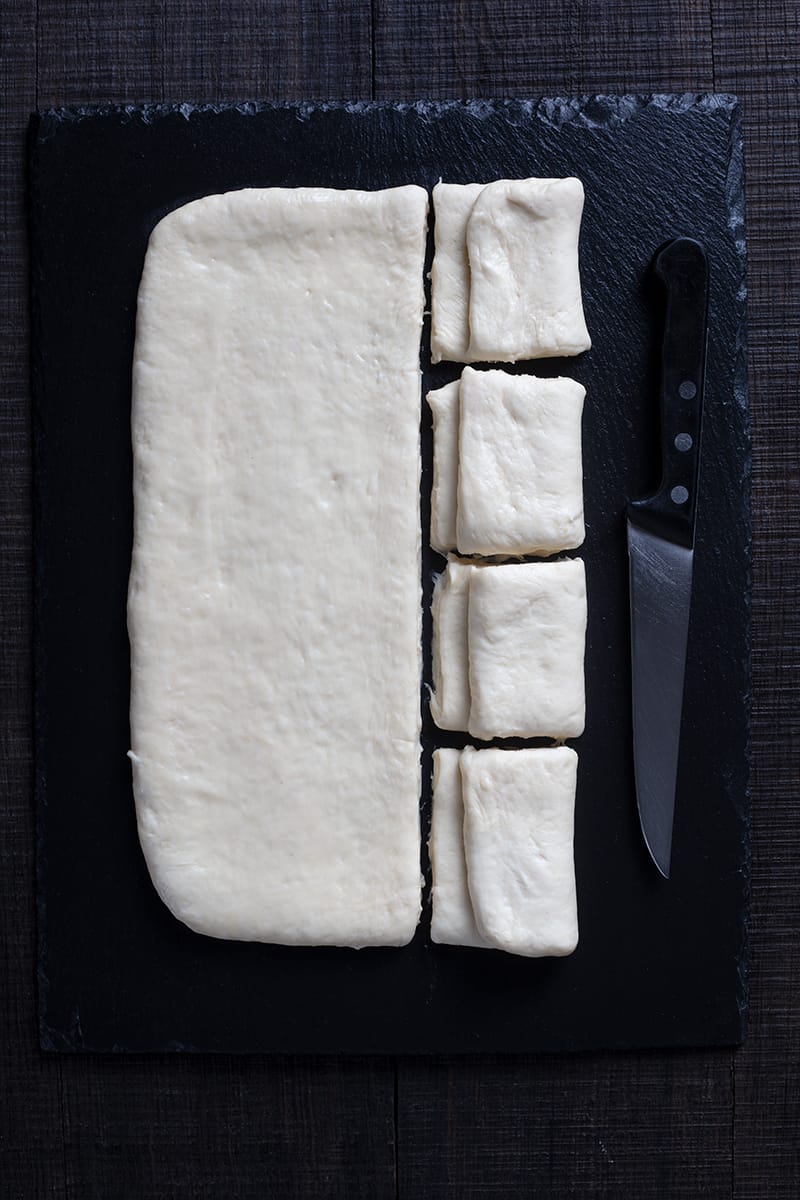
Parker House Rolls are unique in their taste and look from standard dinner rolls. The trick to making Parker House Rolls is the way they are folded. To accomplish this, you cut out rectangles and then fold them over leaving a bit of an edge (see the photo below). This way, when they bake up, they have a unique look and shape which you’ll see pictured here.
They are reminiscent of little loaves of bread from one side. They are also a sweet bread with a buttery flavor to them, making them one of the best dinner roll recipes out there. If you like these, you’ll also like my Honey Butter Dinner Rolls.
This recipe is somewhat derived from the dough used in my Monkey Bread recipe given that it also is a sweet dough. The process has been altered slightly of course to suit this recipe but the base comes from there.
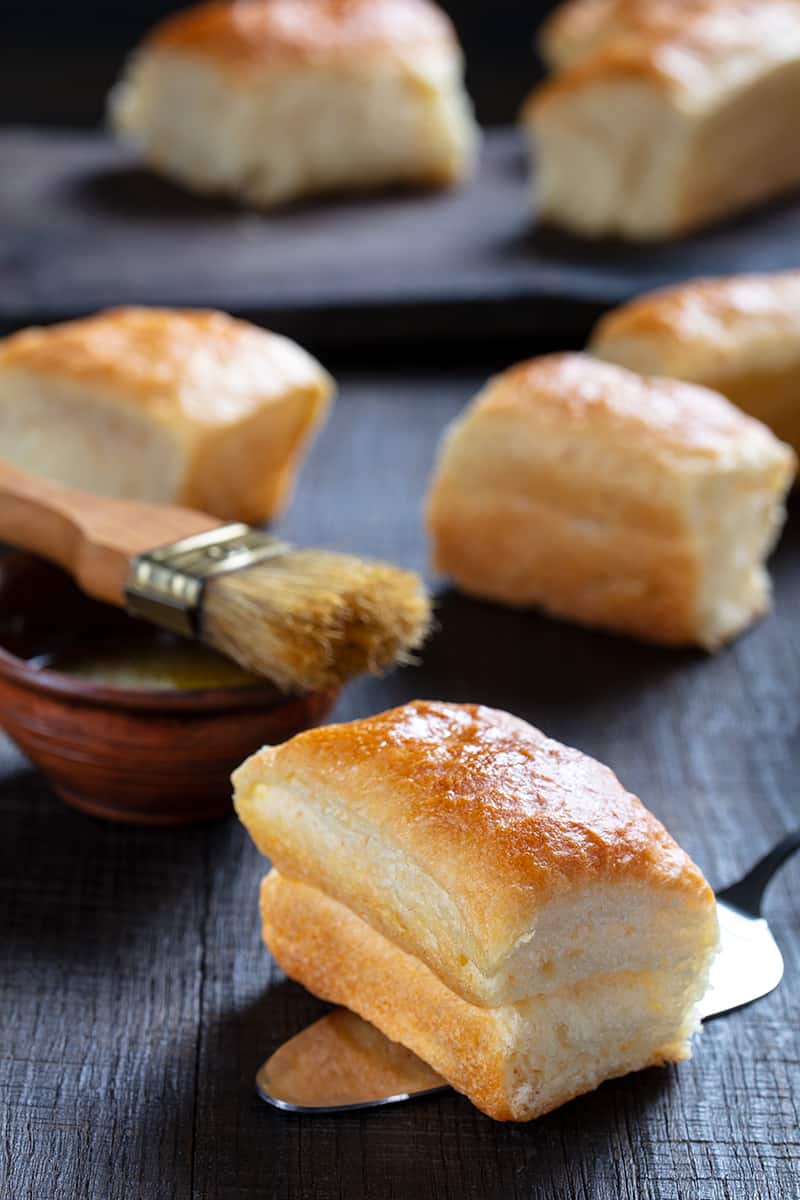
When completed, I recommend brushing the rolls with butter and sprinkle with sea salt for extra flavor.
While the directions may seem complex, just FOLLOW THE PHOTO in the middle of the post! It really is easy, yet it’s hard to convey in words what you need to do with the dough. That’s why there is a photo showing you how it’s cut, then folded, then cut! It’s not hard, the list of directions just makes it sound hard LOL! It’s only a step or two more than normal buns that you pull apart and shape, really, but it’s worth it! If you want a good dinner pairing for these rolls, i recommend making a Pot Au Feu, a delicious french classic!
Happy baking!
Love
Karlynn
Parker House Rolls
Ingredients
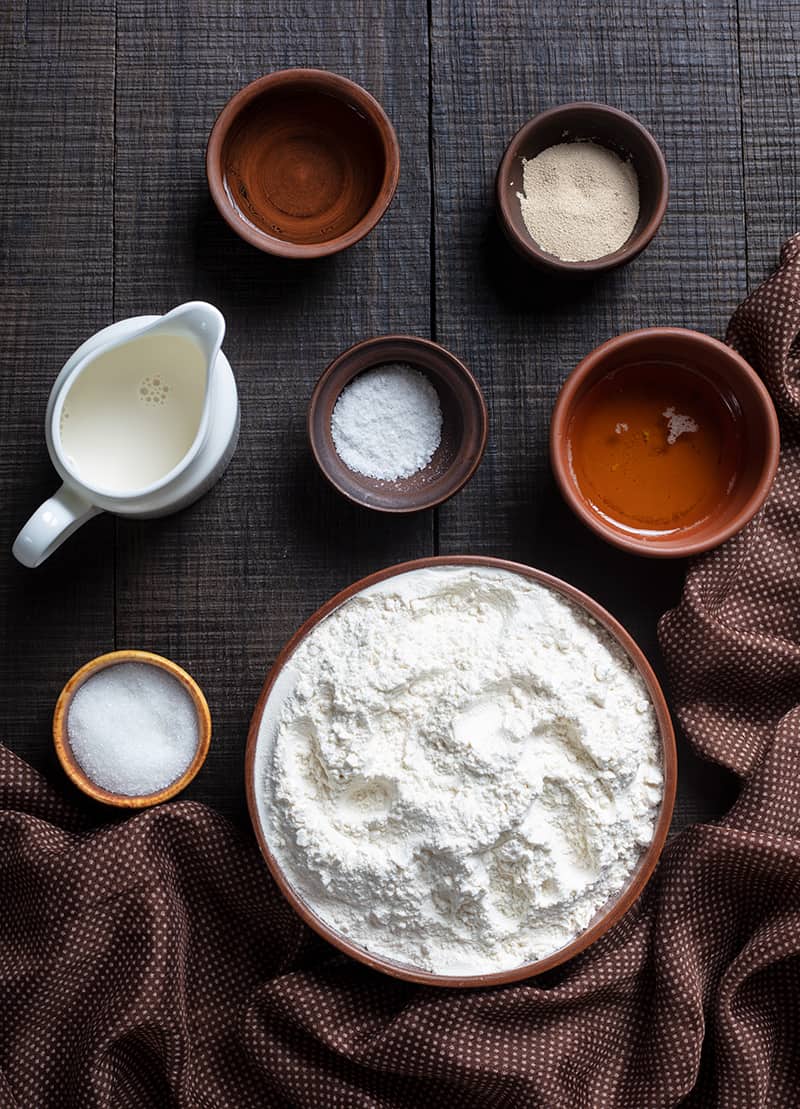
- 2 tablespoons melted butter
- 1 cup of milk warmed to 115 degrees
- 1/3 cup water warmed to 115 degrees
- 1/4 cup white sugar
- 2 1/4 teaspoons of bread machine yeast or rapid rise
- 3 1/4 cups all-purpose flour plus extra for your work surface
- 2 teaspoons of salt
Butter Topping
- 1/3 cup melted salted butter
Instructions
- Preheat your oven for rising, turn it on to 175 degrees then turn it off when it’s heated, this is as warm as it should get.
- In a large measuring cup, mix together milk, water, melted butter, sugar, and yeast.
- If you would like to use a stand mixer, mix flour and salt into the mixer bowl that is fitted with an oiled dough hook. Oiling the hook makes sure the dough doesn't climb the hook.
- Using the lowest setting, start the dough hook going and slowly add the milk mixture. After dough comes together, increase speed to medium and let your dough hook do the work until the dough is shiny and smooth, about 6 to 7 minutes. The dough should be slightly sticky but if it is too wet to come together into a ball, add an additional 2 tablespoons flour. It should just barely stick to your hands, nothing more. Turn dough onto lightly floured counter and knead briefly to form a smooth, round ball.
- If you want to do this by hand, mix flour and salt in large bowl. Make a well in the flour, then add the milk mixture, pouring into the well. Using a wooden spoon, stir until the dough is difficult to stir and it's almost a ball in the middle of the bowl. Turn out onto lightly floured work surface and begin to knead, incorporating any loose scraps back into the dough. Knead until dough is smooth and satiny, about 10 minutes, giving those arms a workout and a half! Shape into a round ball.
- Take the ball of dough and place in a well oiled bowl, covering it up. Let the dough rise until doubled in size, anywhere from 45-60 minutes.
- Now, we don't work with a floured surface as butter is the key to these rolls! Lightly grease a work surface. Divide the dough in half. Take one half and roll the dough into an 8" x 12" rectangle.
- Brush the dough with a coating of the melted butter. This gets folded into the center of your buns, so make sure you get a nice butter flavor in it which is why I use salted butter.
- Cut the dough in half lengthwise, as shown in the photo. Take one half of the dough and fold over, as shown on the right side in the photo. Make sure that the bottom dough sticks out a little bit from under the top edge, just like shown! Cut into 4 pieces, then repeat with the other side, yielding 8 folded buns.
- Repeat with the other half of the dough, making 16 rolls in all. Grease a 9×13 baking pan with butter.
- Turn the buns over so that the long end is hanging over the short (this helps with shrinkage so that the top of your bun is the same as the bottom!) and arrange the buns in 4 rows of 4 in the pan. The short end of the bun (the top of the square as shown i the photo) will go along the shorter end of the pan ( the 9 inch side).
- Cover the pan with a clean tea towel and let the rolls rise for about 45 minutes to 1 hour, until close to being doubled.
- Preheat your oven to 350 °F.
- Bake the rolls for 20 to 25 minutes, until they're golden brown and baked all the way through.
- Remove the buns from the oven, and brush with the remaining melted salted butter.
- If possible, keep the buns together until serving, this helps keep them from drying out and keeps that wonderful softness. Pull apart to serve.
Nutrition

Pin this recipe to your BAKING Board and remember to FOLLOW ME ON PINTEREST!




Barbara Karr says
Thanks for the photo on how to roll, cut, and fold these rolls! I have always had a devil of a time following written instructions. You solved that problem for me. Guess what’s for dinner tonight? Thanks a million. Love getting your emails! Barb
Kathy says
I have always loved these rolls. My maternal grandmother, Elsie May Parker (1896 – 1989), was a descendant of Harvey Parker, the founder of the Parker House. I find it very odd that the recipe wasn’t carried on through the family over the years. I would love to try that out for the authentic flavor. Thank you for this recipe, I look forward to trying it out.