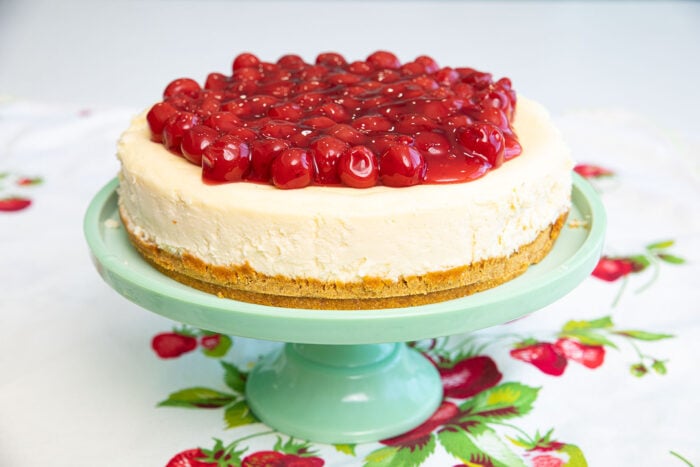
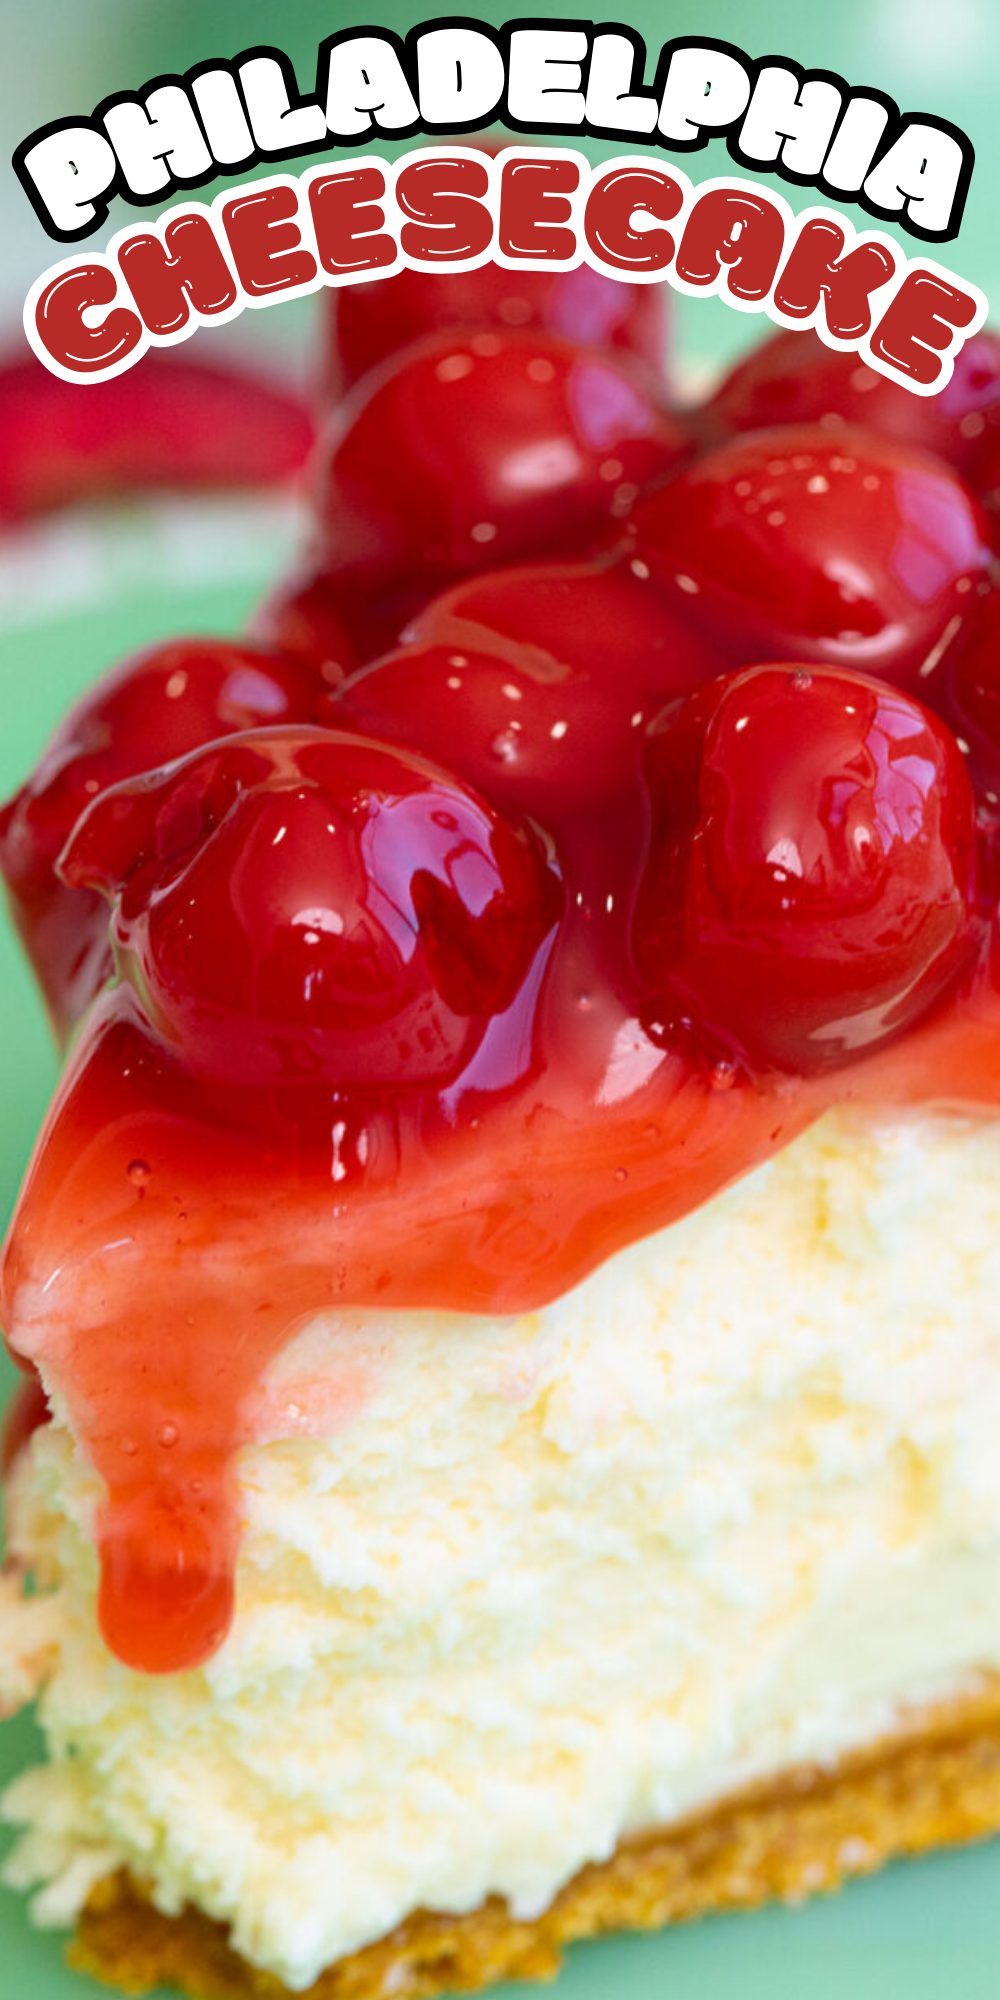
Sometimes, you just can’t beat the classics, like the original Philadelphia cheesecake recipe. Creamy, decadent, and easy to make, there’s a reason this cheesecake recipe has stood the test of time and is still a favourite for many home bakers. However, there are a couple new tips and tricks that you can use to make this really the BEST Philadelphia cheesecake recipe ever!
Why I Think You’ll Love This Philadelphia Cheesecake Recipe!
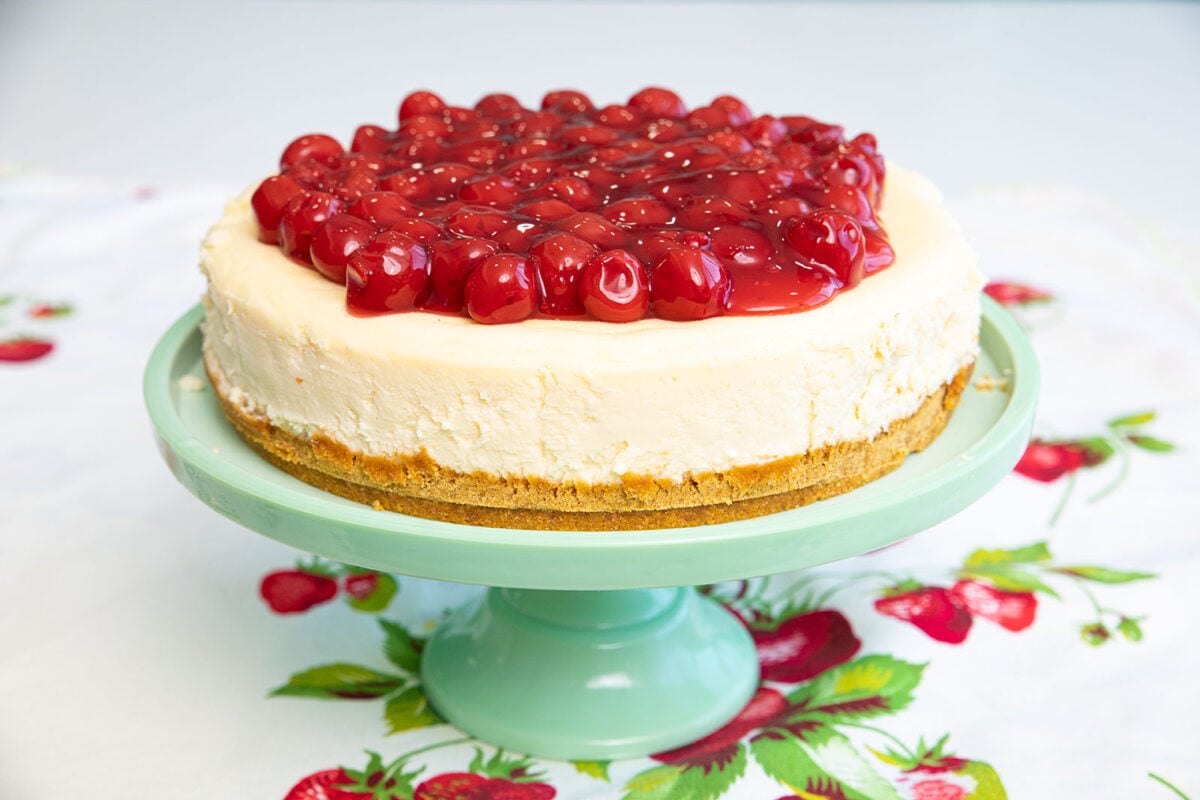
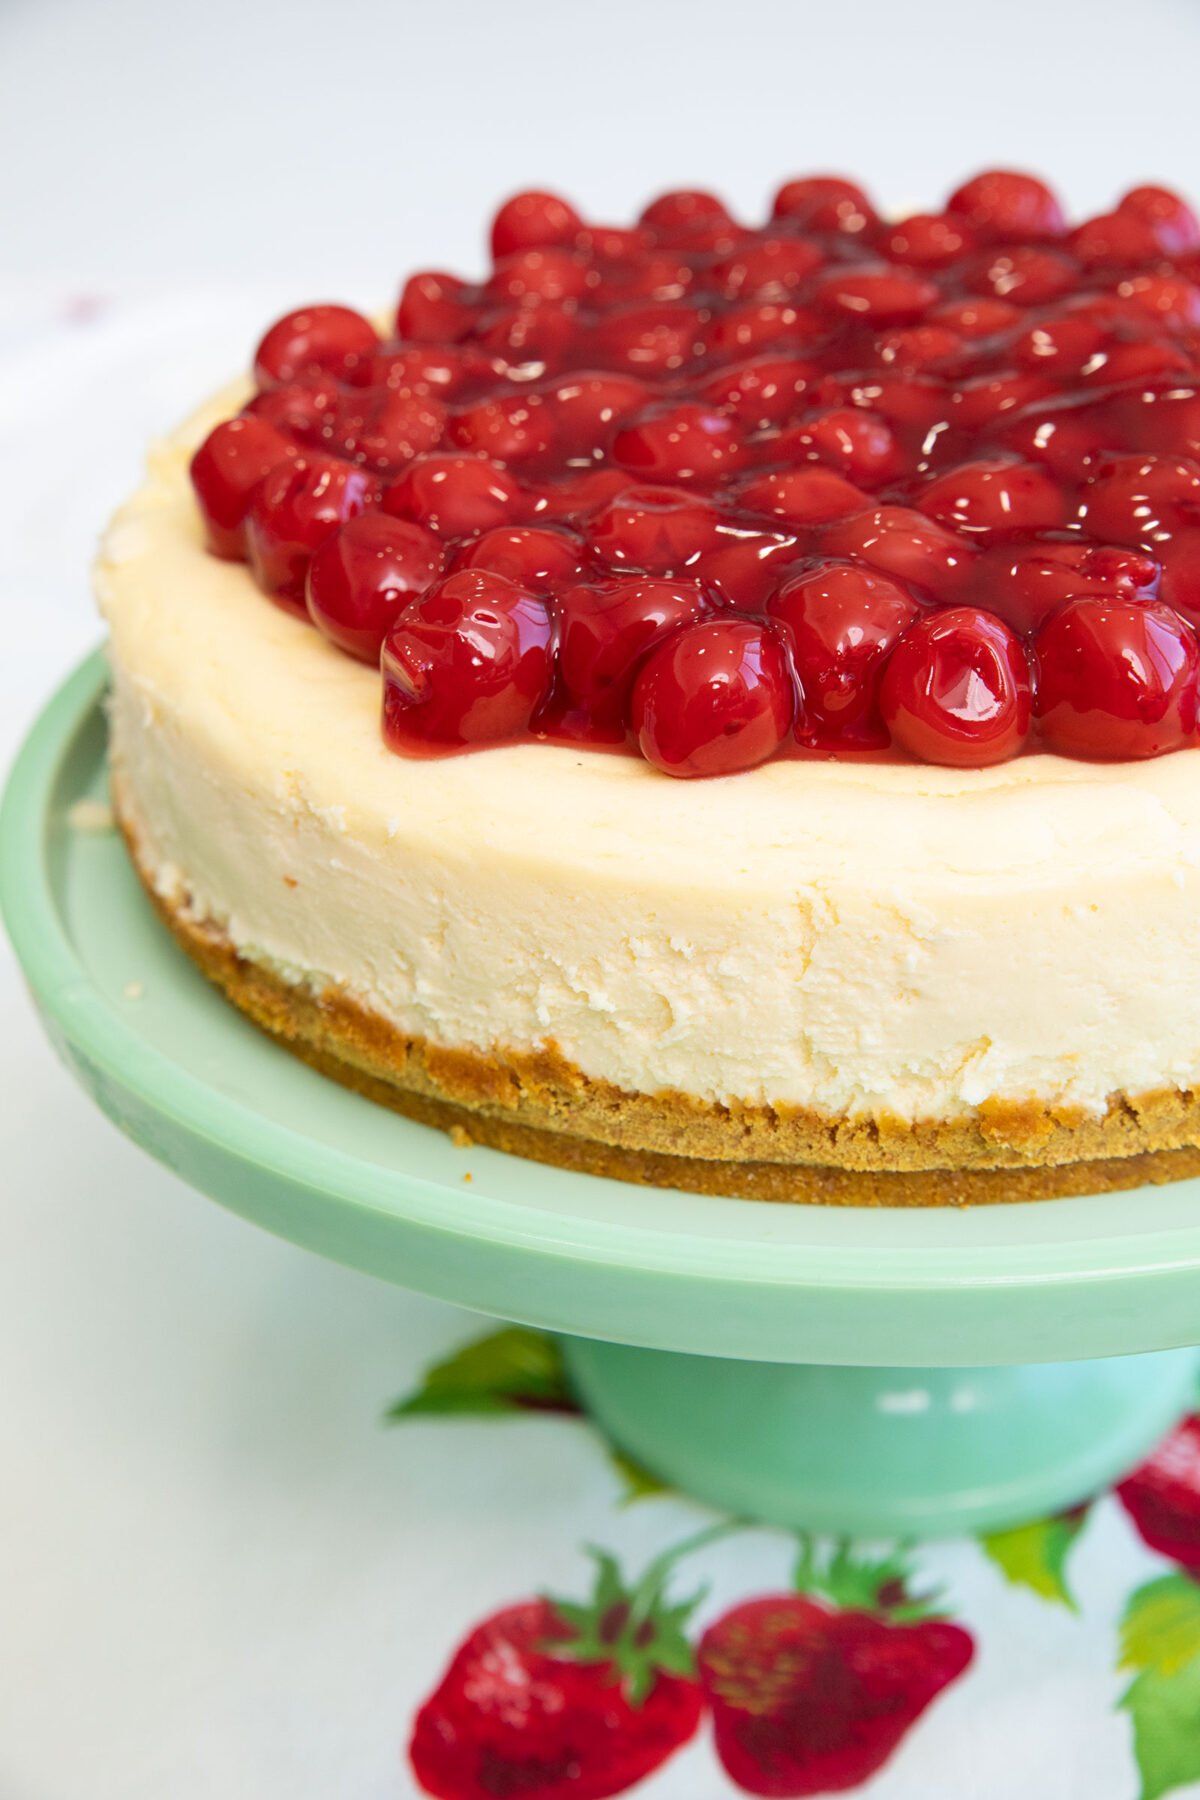
- This is the perfect creamy, vanilla-flavored cheesecake to top with your favorite flavor of pie filling! While I went with the classic cherry, this would be amazing with blueberry or even apple!
- I consider this a no-fail recipe as long as you follow my baking trick of placing it in a water bath in the oven.

The Classic Philadelphia Cream Cheese Recipe from the Package
There are really only two things that I have changed to this retro recipe; I feel that it must be baked in a water bath for the best cheesecake you will ever make, and I also add more vanilla to really have that nice base flavour. I don’t find that one teaspoon of vanilla is enough, I add another teaspoon for my personal preference.
Tip for the Cream Cheese
The most important thing when baking or cooking with cream cheese that has to be blended with other ingredients is that the cream cheese must be soft. This even applies to recipes like my cream cheese alfredo sauce recipe or my cream cheese frosting. If the cream cheese is hard or cold, you will have small chunks of cream cheese that don’t blend into the mixture.
Those little chunks will affect the baked texture and creaminess of a cheesecake like this one.
How to Prevent Your Cheesecake from Getting Soggy
Most people’s problem is water leaking through the springform pan and into the cheesecake. There are a few tips and tricks to prevent this!
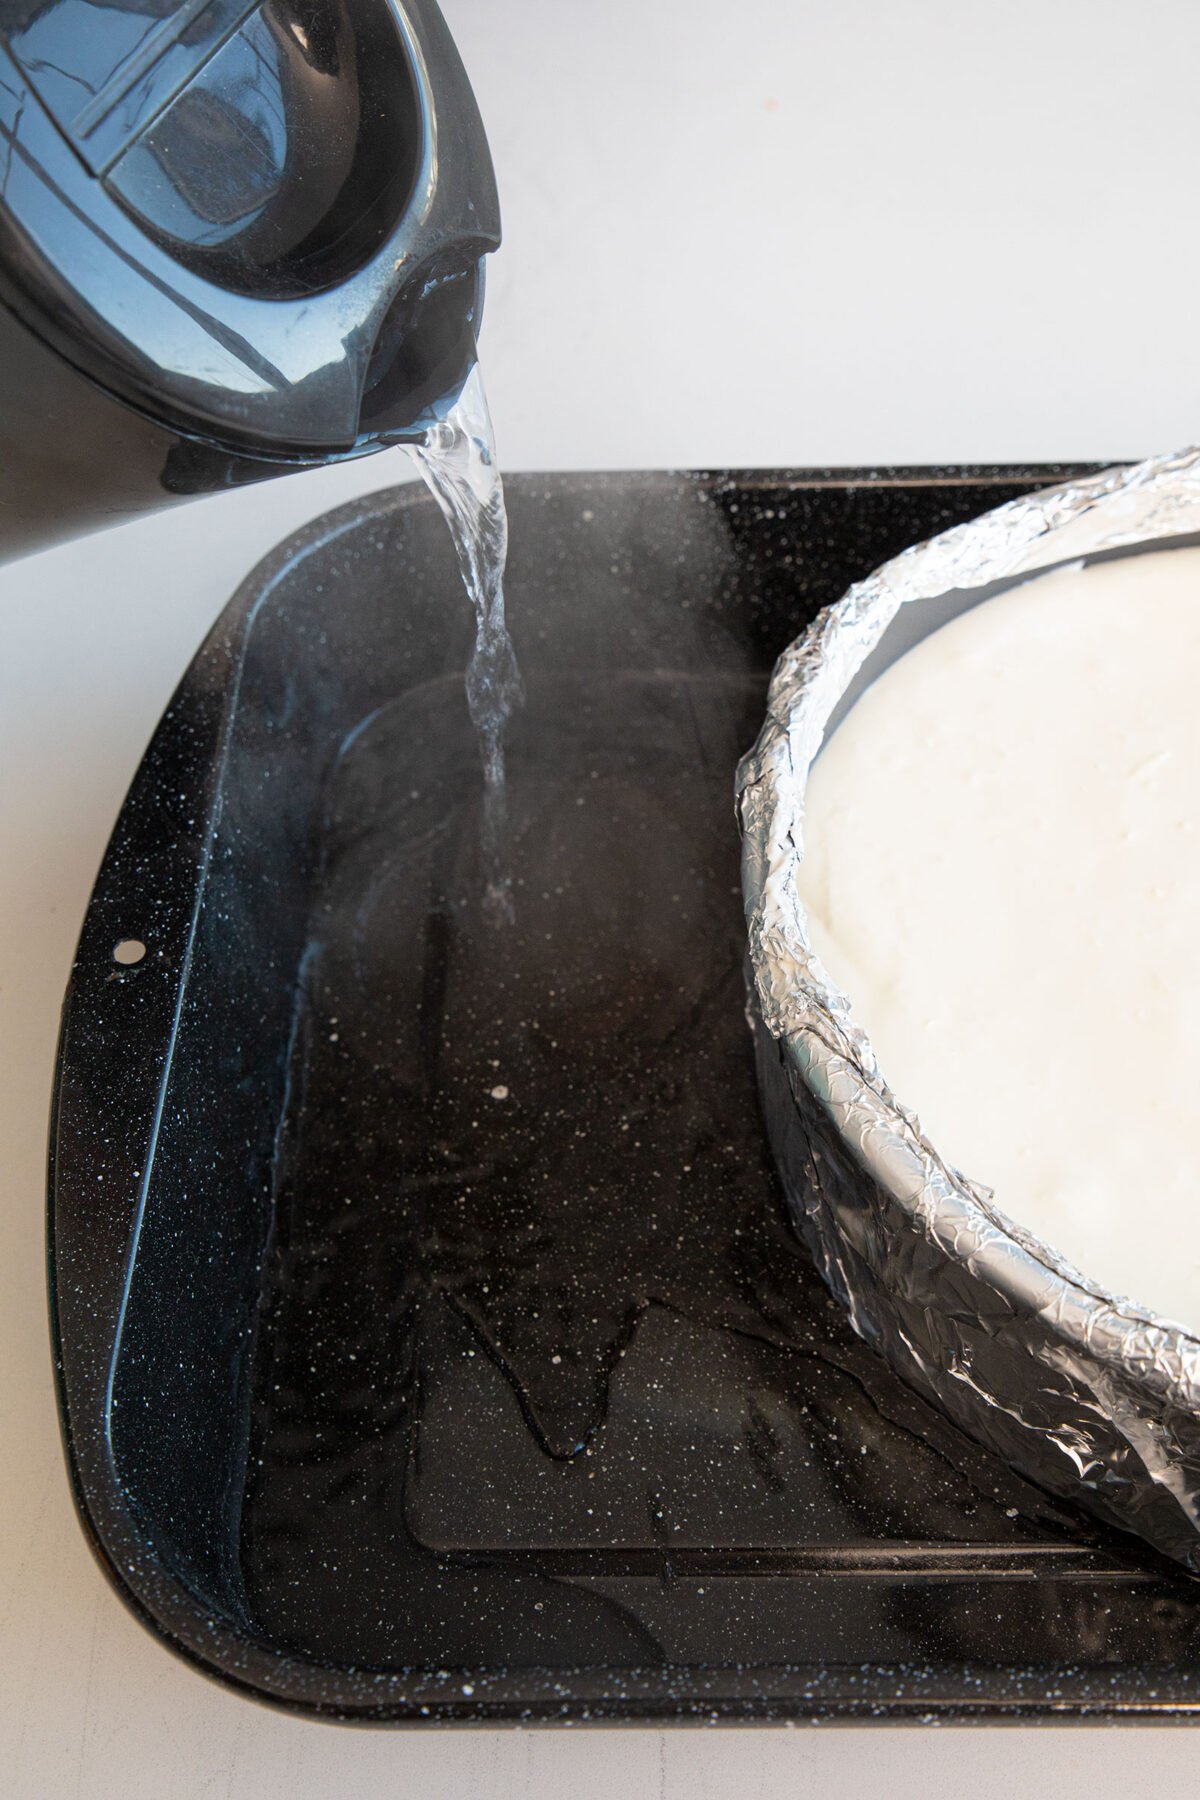
- I have good luck wrapping two or three layers of heavy-duty aluminum foil around the springform pan. To do this, however, your pan CANNOT BE BENT. You must have a springform pan that snaps together perfectly.
- If you want extra security, use aluminum foil and place the pan into an oven-roasting bag for turkey. The roasting bag will not melt and will also keep the water out.
- You can place the springform pan into a larger pan and then into the roaster. Fill the ROASTER with water, not the pans, and the water will be kept out.
How to Store the Cheesecake
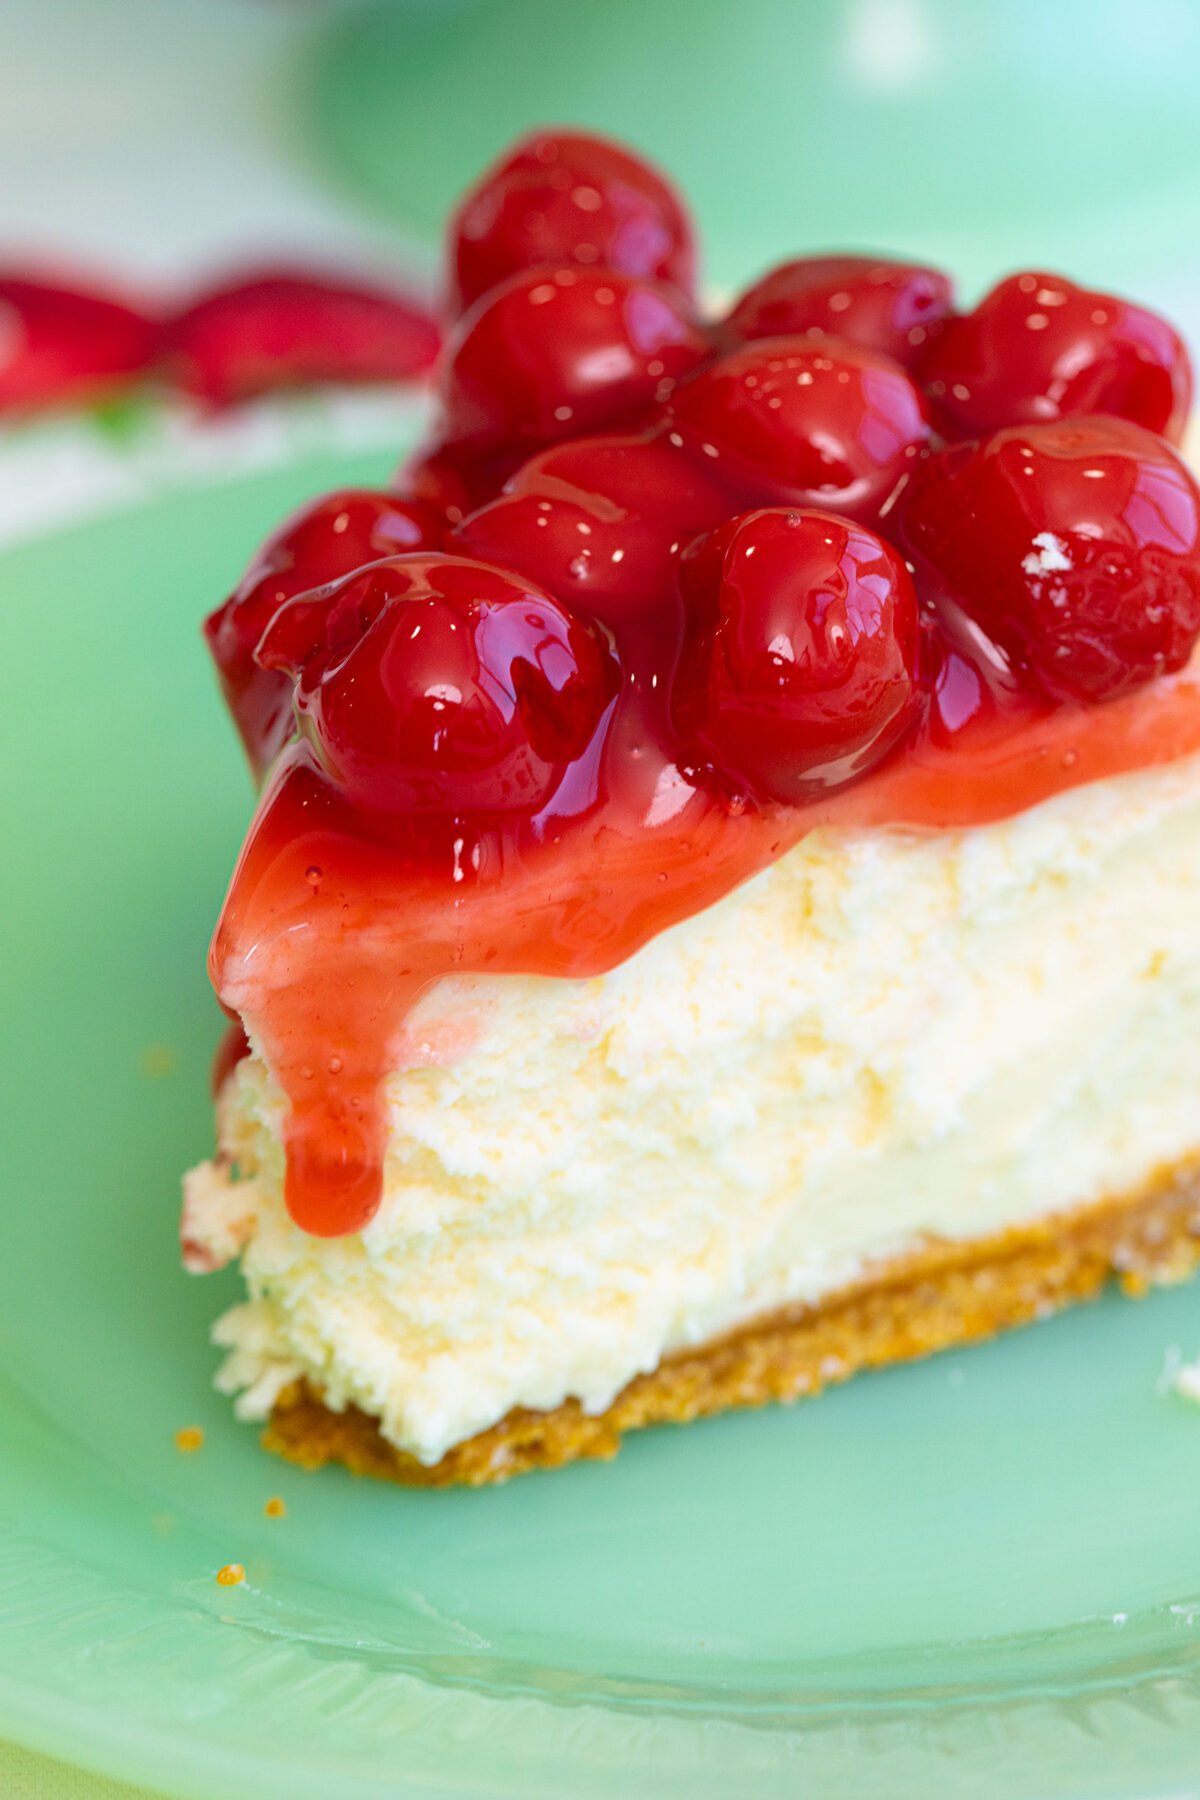
Cheesecake tends to get soggy after a few days, so it is best when stored in the refrigerator for up to 2 days. You can store it longer for up to 5 days, but the texture and quality won’t be as good as the first two days. Cover the cheesecake with plastic wrap or in a closed container.
You can store it without the topping, leave the topping off the cheesecake, and top the individual pieces when serving instead. The cheesecake quality will last longer without the topping!
Happy baking!
Love,
Karlynn
More Dessert Recipes
Philadelphia Cheesecake Recipe
Ingredients
Graham Cracker Crust
- 1-½ cups graham cracker crumbs
- 3 tbsp granulated sugar
- ⅓ cup salted butter melted
Cheesecake
- four 8-ounce packages Philadelphia cream cheese softened
- 1 cup granulated sugar
- 1 tsp vanilla see notes
- 4 large eggs
Instructions
- Preheat your oven to 325°F. Get out a roasting pan that is large enough to hold a 9-inch cheesecake pan.
- Wrap the springform pan in heavy duty aluminum foil tightly, to prevent water from getting into the pan while it bakes.
- Combine the crust ingredients until completely mixed together, then press onto bottom and slightly up the sides of 9-inch springform pan.
- Beat the cream cheese until smooth. Slowly add in the cup of granulated sugar, beating on low until all of the sugar is combined. Mix in the vanilla.
- Add in the eggs, one at a time, mixing on low speed after each egg mixing just until blended.
- Carefully pour/spoon the filling over the curst in the bottom of the pan, being careful not to disturb the crust. Place the pan into the middle of the roasting pan.
- Boil enough water in a kettle so that the cheesecake pan sits in one inch of water. Pour the water around the cheesecake pan, being careful not to splash into the cheesecake.
- Bake for 55 minutes or until the center of the cheesecake is almost set. It should be slightly jiggly. Remove from the oven and cool for 20 minutes. Then remove the pan from the water and continue to cool.
- Run a knife around the inside rim of the pan to loosen the cheesecake.
- Let the cheesecake cool completely then remove the rim. Refrigerate the cheesecake for at least 4 hours then slice and serve.
- Store in the refrigerator covered for up to 4-5 days.







Leave a Comment or Recipe Tip