Shoofly pie is a classic old-fashioned pie with a rich, dense, molasses-flavored filling. Why not experience the uniqueness of traditional Amish cuisine with this crumbly, surprisingly delicious, sugary pie?
Rather than buying your pie crust (though I use premade all the time!) you can try The Best Pie Crust Recipe as the base of your pie and learn How To Make A Perfect Whipped Cream to top your pie.

Shoofly Pie
Named for a brand of molasses and originating from the Pennsylvania Dutch, this sweet, dense, sticky shoofly pie is a straightforward, yet delicious pie that requires almost no time at all to make. It freezes well, and is perfect as a dessert for any occasion, or even just as a sugary snack!
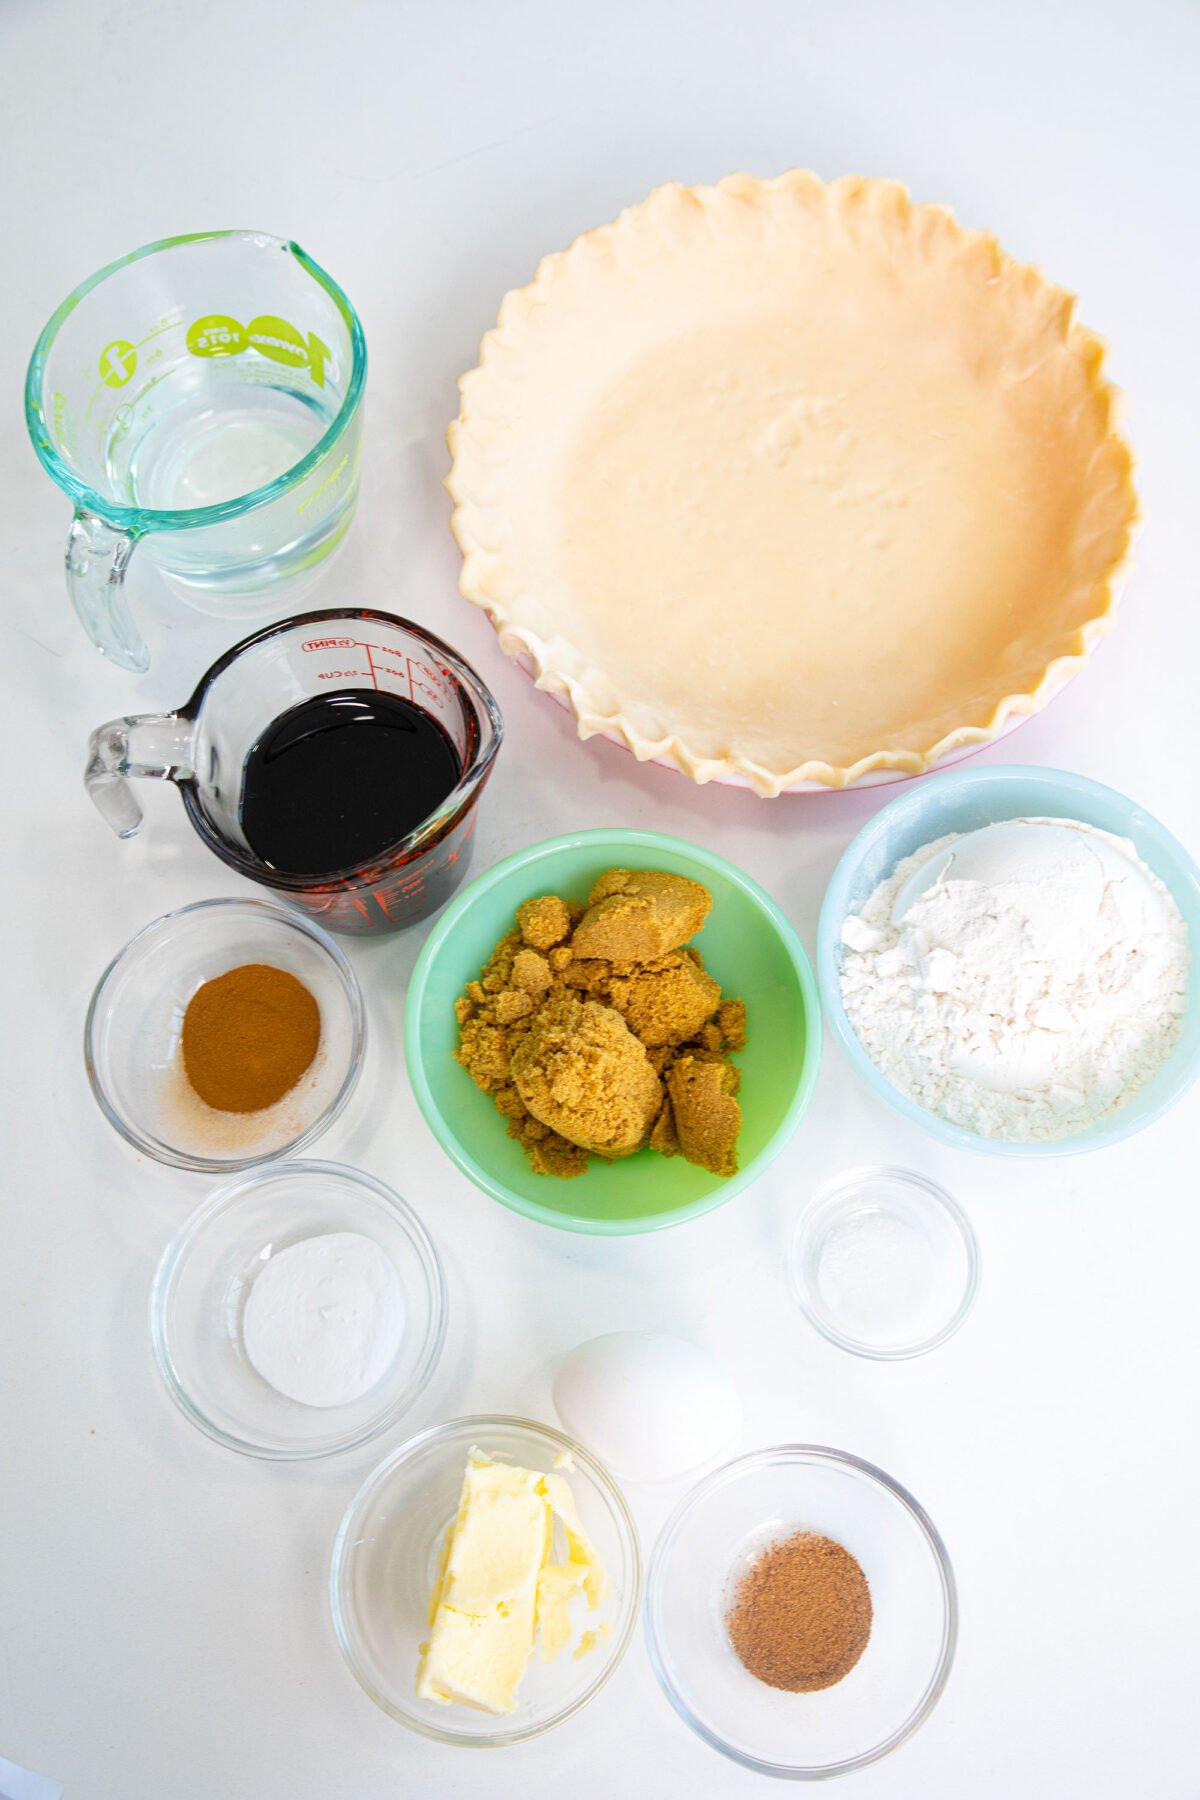
What Does The Baking Soda Do?
The baking soda in this recipe produces a little bit of lift because it reacts with the molasses’ natural acidity, which is why you can use baking soda instead of baking powder.
That little bit of lift adds a nice texture to the molasses and does the all-important job of neutralizing the leftover acidity in the molasses. If you skipped the baking soda, not only would your pie not really have any lift to it, but it would also taste way too acidic and tart, so definitely don’t leave it out!
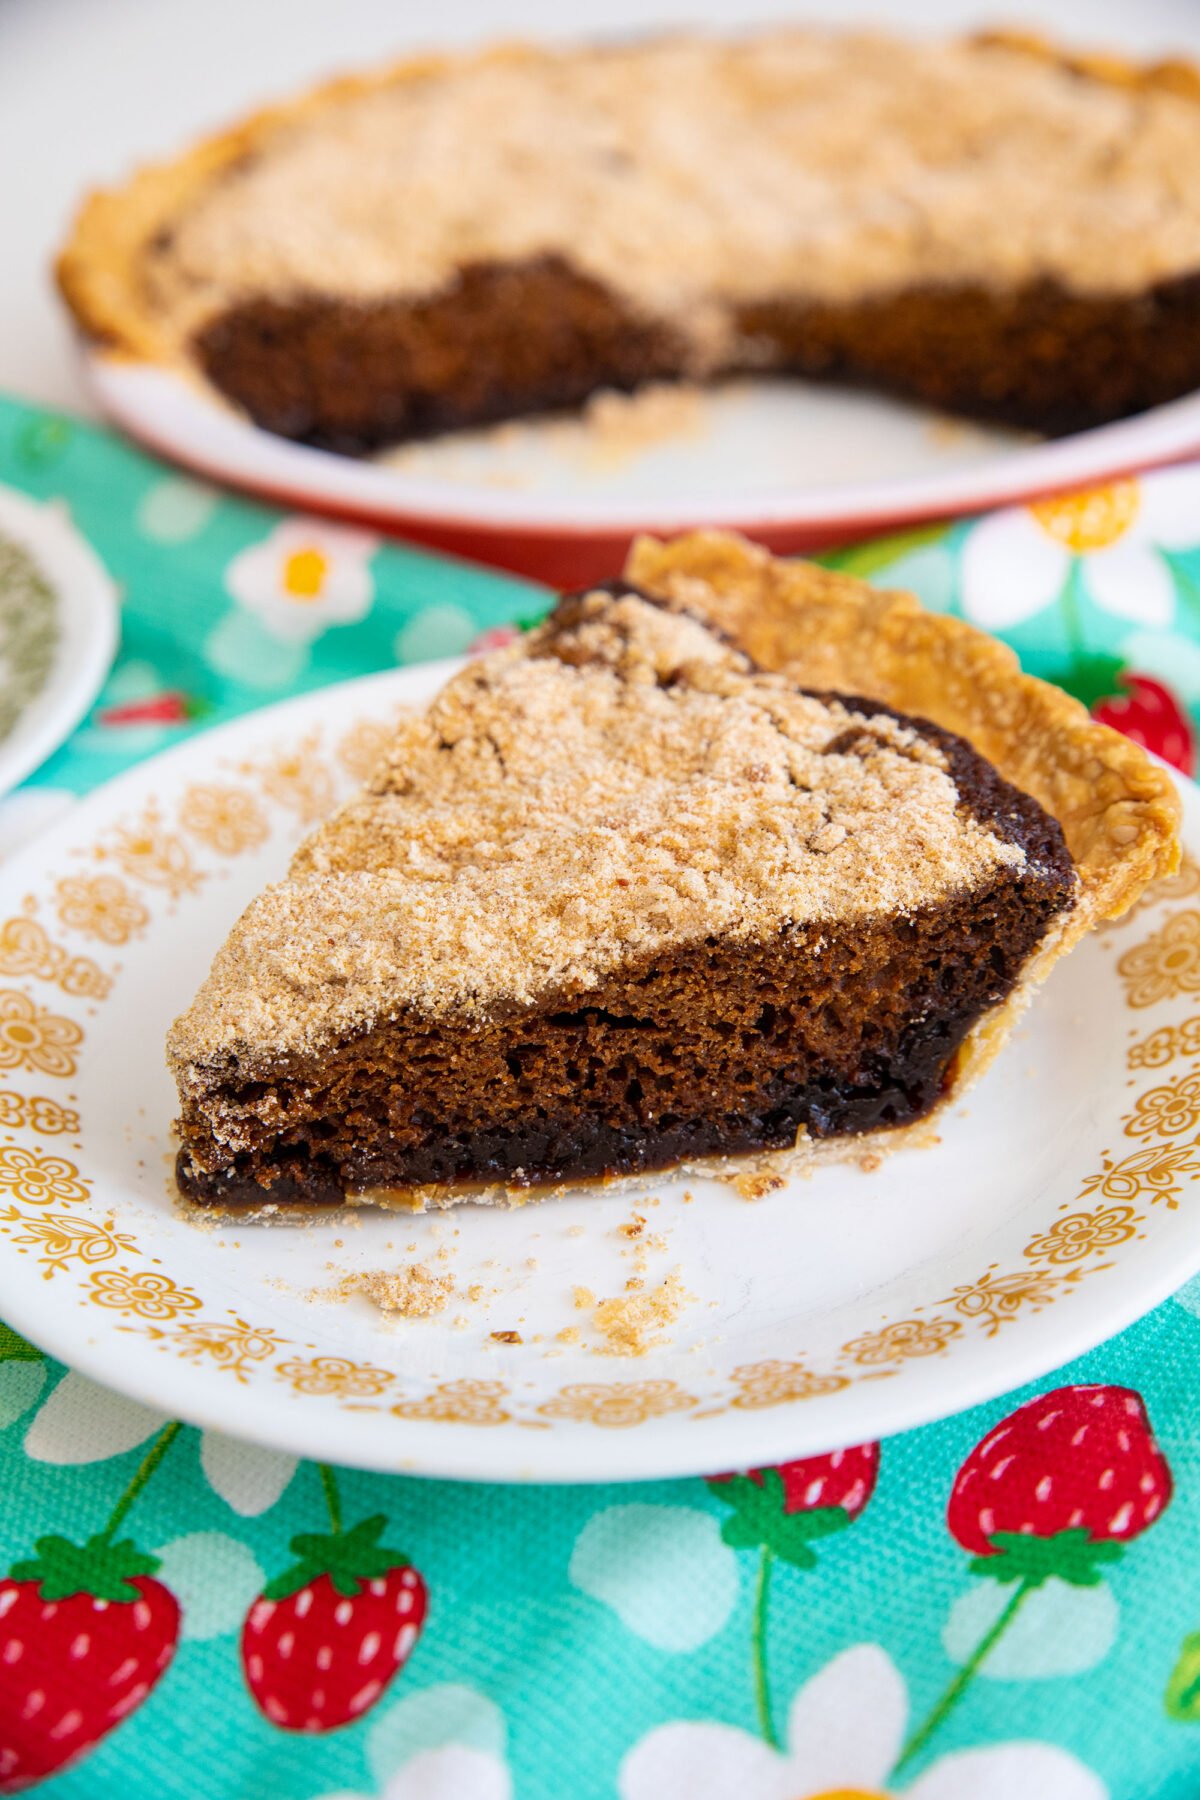
Layering the Filling Ingredients
When adding the flour to the mixture, you need to be slow and methodical, only adding the flour mixture in a thin layer. This is critical because if you tried to add it all at once, you would end up with giant flour lumps in your shoofly pie, and anyone biting into it would get a massive mouthful of nothing but raw flour.
By adding it layer by layer, you ensure that the flour gets the chance to hydrate and soak into the molasses. You also want to ensure that the butter you have cut into the flour doesn’t just settle into one particular part of the pie; if you just dumped it all in, you might find that the butter separates out of the mixture, congealing into one mass of melted butter, leaving the rest of the pie dry.
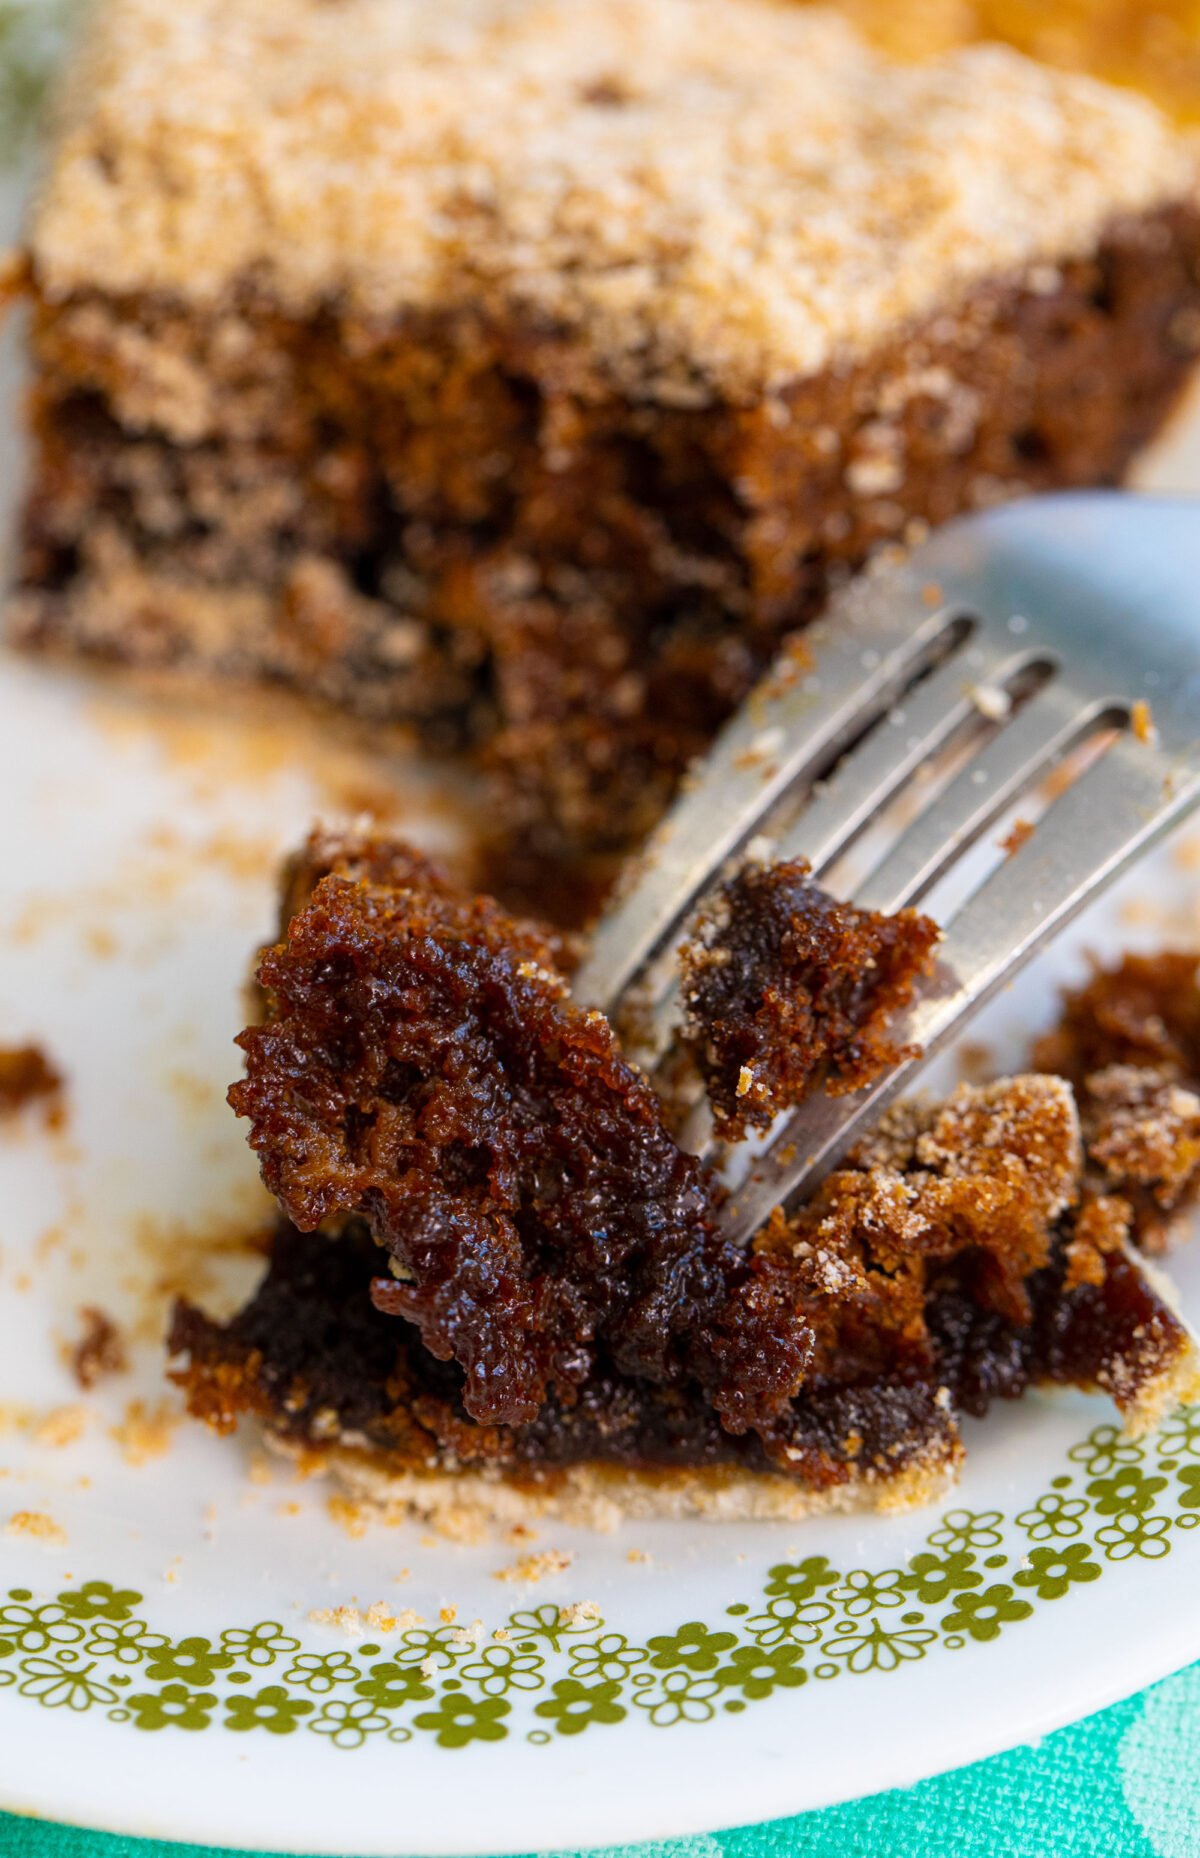
How To Serve Your Shoo Fly Pie
Shoo-fly pie is one of those pies that have historically been served on its own; in fact, it was usually expected that you eat it with your hands! However, if you want that little extra special flavor to pour over the top, here are a few suggestions for delicious toppings for your pie.
A pie-topping classic for a reason, a simple can of whipped cream adds creaminess and flavor to an already delicious pie. If you’ve got some heavy cream lying around, you could even whip up your own!
- Vanilla Ice Cream
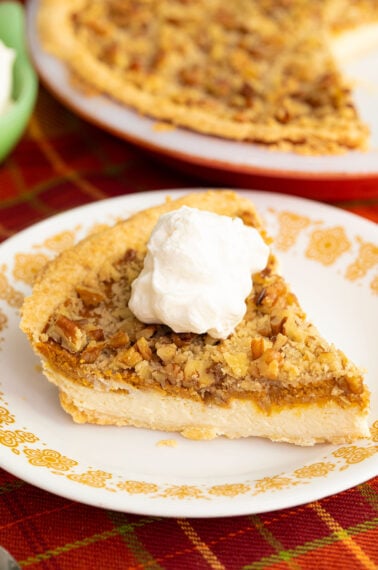
An even simpler option, a few scoops of vanilla ice cream add a huge amount of flavor to this pie and is probably the closest thing to a traditional topping imaginable for a shoofly pie.
This shoofly pie has an interior that is like a toffee cake, and layering the flour and the liquid parts helps this bake up perfectly. It is so sliceable you could eat it with your hands with no problem, this would be a great pie for a picnic or camping where you don’t want to use plates as much! Slice and eat on a napkin!
Happy baking!
Love,
Karlynn
More Delicious Pies

Shoofly Pie
Ingredients
- One 9 inch prepared pie crust (unbaked)
- ¾ cup hot water
- ½ cup molasses
- 1½ teaspoon baking soda
- 1 large egg (lightly beaten)
- 1 cup flour
- 3/4 cup brown sugar packed
- ½ teaspoon ground cinnamon
- ¼ teaspoon ground nutmeg
- ¼ teaspoon salt
- 3 Tablespoons butter
Instructions
- Preheat your oven to 400°F.
- In a a medium-sized bowl whisk together the flour, brown sugar, cinnamon, nutmeg, and salt. Once combined cut in the butter until the butter is small crumbs.
- In a 4-cup capacity glass measuring cup mix the hot water, molasses, and the baking soda and stir well.
- Sprinkle 1/3 of the flour mixture into the bottom of the pie crust into an even layer. Pour half of the molasses mix onto the flour. Spread another 1/3 of the flour mixture on top again. Pour the remaining molasses mixture on top. Finish the pie by sprinkling the last 1/3 of the flour mixture on top.
- Bake the pie for 10 minutes then reduce the heat to 350°F and bake for another 20 minutes more. Check for doneness. The pie is cooked properly when the middle of the pie is firm when the plate is lightly shaken.
- Remove from the oven and let the pie cool and set for at least an hour before slicing and serving.
Notes
- This is a dense pie that holds together so well that it could be eaten by hand! It has a gooey cake-like interior.
Nutrition




Sandra Hahn says
Do not see where egg is added in this recipe
I looked at other recipes for direction and pie in oven as I comment
Sue Peery says
This is the pie of my childhood. My grandparents were Pennsylvania Deutch and I’m looking forward to getting this out of my oven in 20 minutes or so.
Just an aside, I added the egg to the molasses mixture as that made the most sense.
Thanks for the recipe!