I’ve always wanted a full sleeve tattoo and recently, I took the plunge and decided to start the process and get one. I found a recommended Tattoo artist (@MitchelMonster) and had my consultation.
As a huge Nintendo fan, I wanted a full sleeve that showcased some of my favourite Nintendo characters together in a mash-up. In my discussion with Mitchel from Atomic Zombie, I gave him an overview of my favourite characters, what kind of scene or general feel I was looking for and left the rest in his capable hands.
The characters I chose were:
- Link (the toon version) from Legend of Zelda
- Mario (duh!)
- Kirby
- Boo (the ghost from the Mario games)
- Bulbasaur or Ghastly from Pokemon
I decided that I would let Mitchel get creative and come up with a unique tattoo after providing him with a few general guidelines. To be honest, I wasn’t super helpful or descriptive and probably left a bit too much of the creative part in his hands but from seeing his previous work, I felt that he would come up with something awesome, which he did.
I had several options for how I wanted to proceed with the tattoo. You see, a full sleeve takes quite a bit of time and can, in some cases, take over a year if you can only sit in the tattoo chair for an hour or two at a time. In my case, I opted to do one 12-8pm session in the chair each month (yes, I’m crazy) so that I could get it done quicker than it would normally take.
Things not to do the night before your tattoo appointment:
- Go to a concert that lasts until late in the evening.
- Drink at said concert.
- Get a restless nights sleep because of #1 and 2
- Go to your appointment slightly hung over.
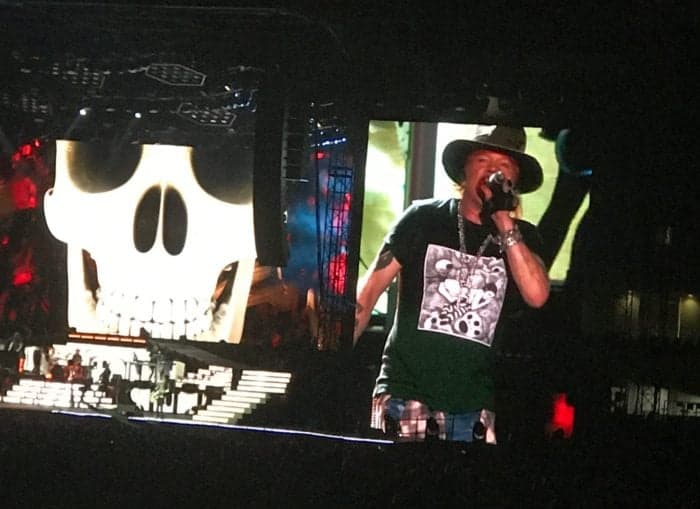
I tell you this because I basically did all of the above. Karlynn and I went to the Guns n’ Roses concert the night before.
The next day I was NOT feeling rested but it was the day of my first tattoo appointment from noon until 8pm or so.
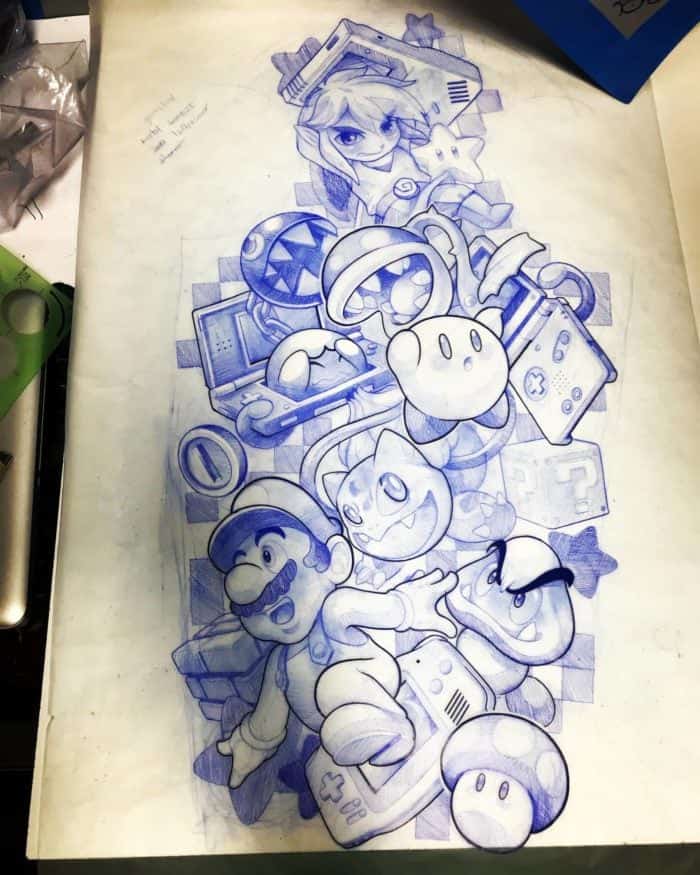
I went in anyway because I had committed to do so and was pleasantly surprised to see Mitchel’s amazing mock-up of my brand new sleeve tattoo:
Like I said, dude is talented. I was super thrilled to see the amazing work that was going to end up on my arm. I especially love how each of the characters is coming out of a Nintendo handheld. Everything from the original Gameboy to a modern Nintendo DS was depicted. It looked absolutely amazing!
If you haven’t done so, read my post entitled How to Prepare for your Tattoo and don’t make the same mistakes I did!
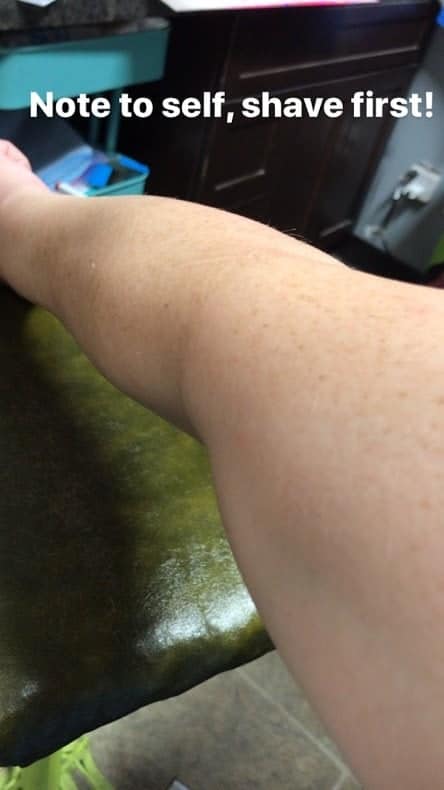
I did not prepare properly for my tattoo, as stated, so I ended up wasting two razor blades while Mitchel shaved my arm for me. This is something you should definitely do beforehand.
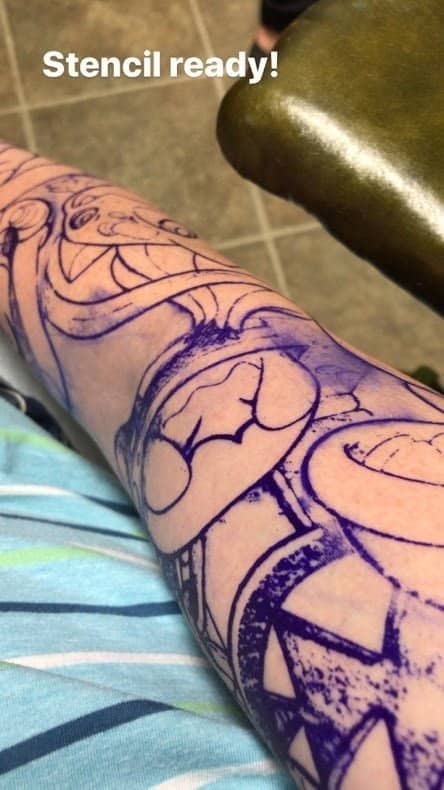
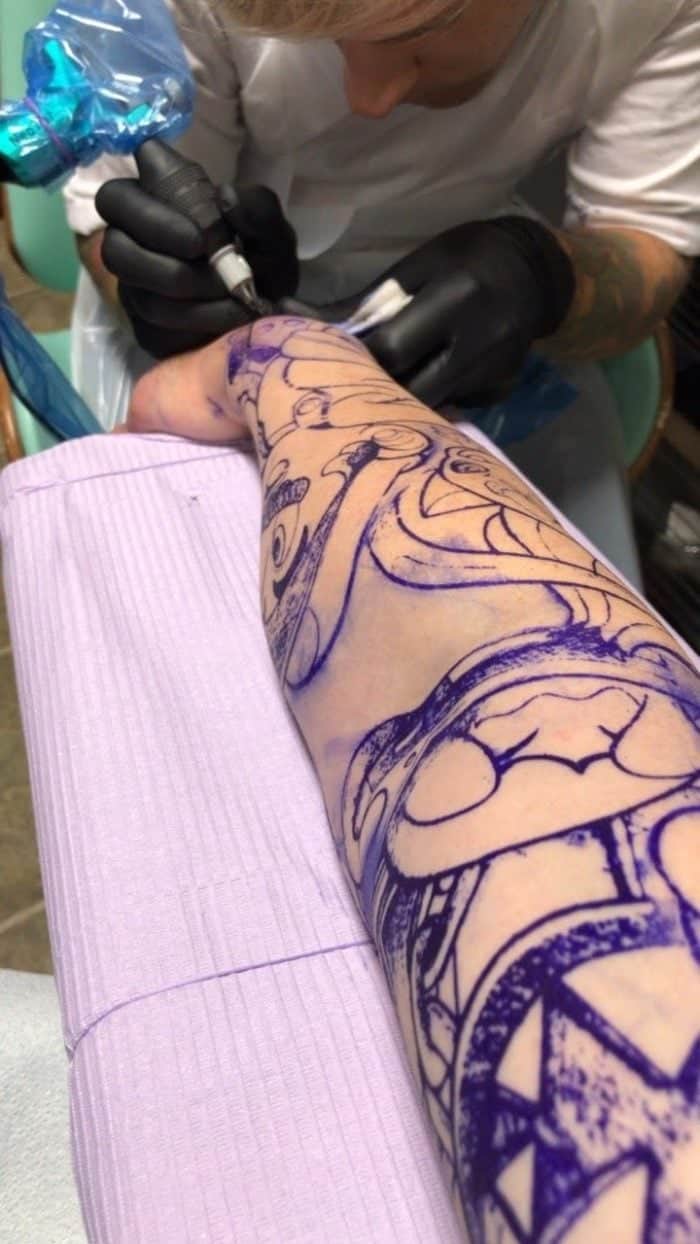
The session started with Mitchel preparing the stencils for the tattoo and placing them strategically on my arm in the proper order to build the art you see above properly.
Here’s how my arm looked with the stencil applied before the tattooing process began:
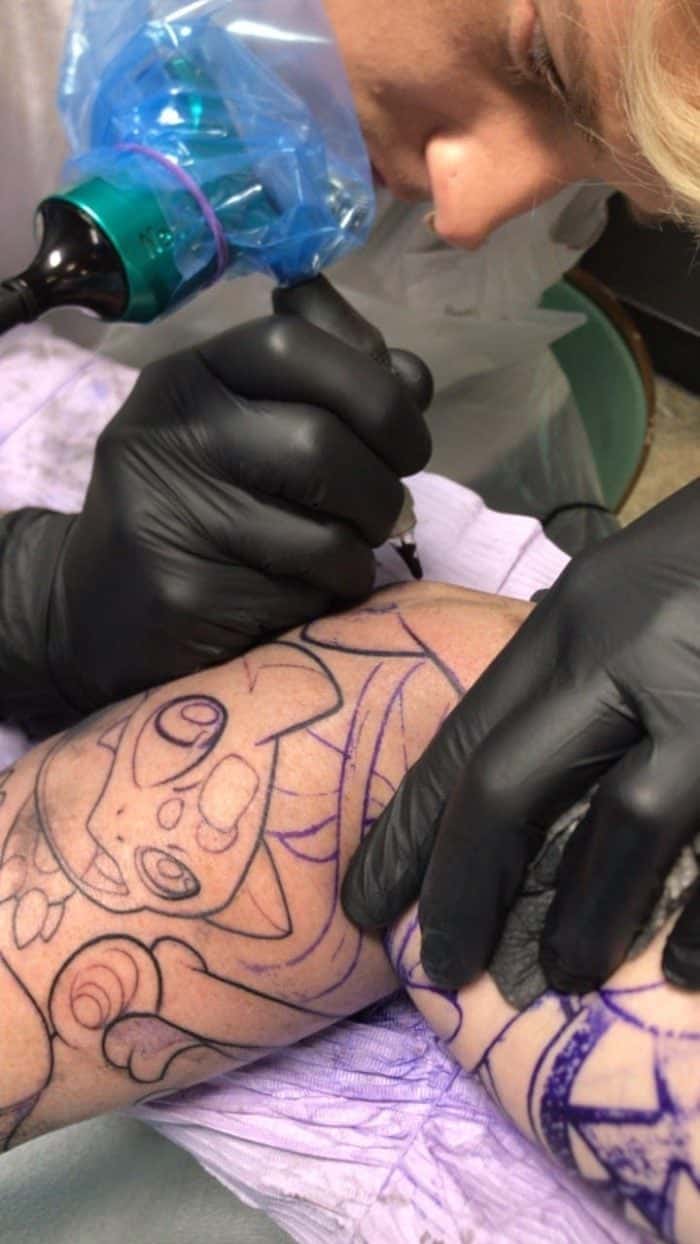
I shared these pics during the process on my Instagram as things progressed. Once the stencil was complete, he began the tattooing process.
I’ve decided that there are three areas that hurt the most (at least for me).. they are the wrist, the elbow and the inner bicep. The inner bicep being one of the worst. During the session, my arm snapped up and I honestly had a moment where I thought I might knock the machine from his hand.. I had to put my hand in my pocket to stop reflex action.
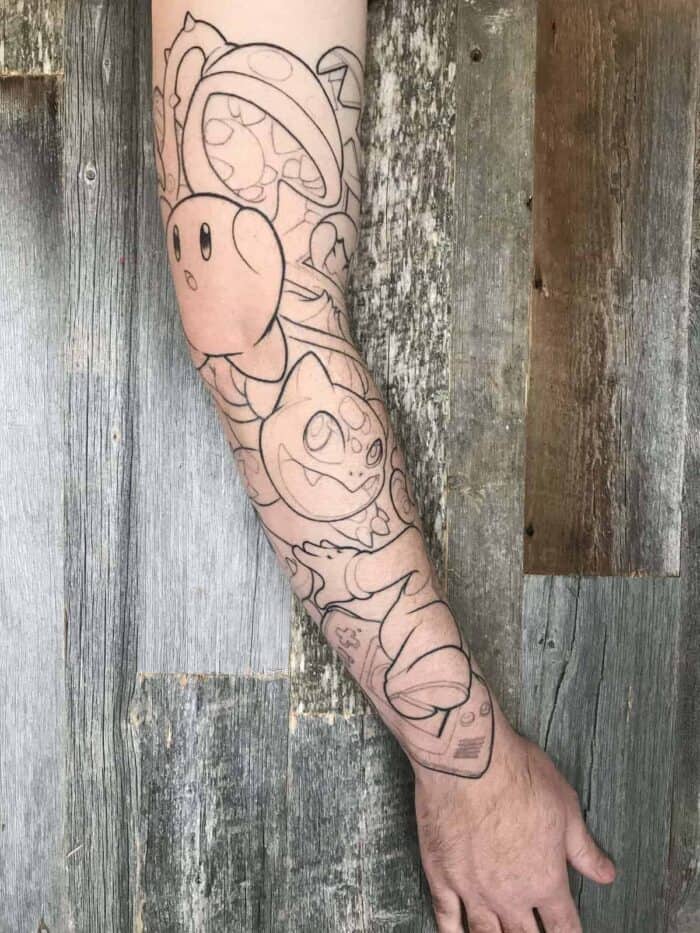
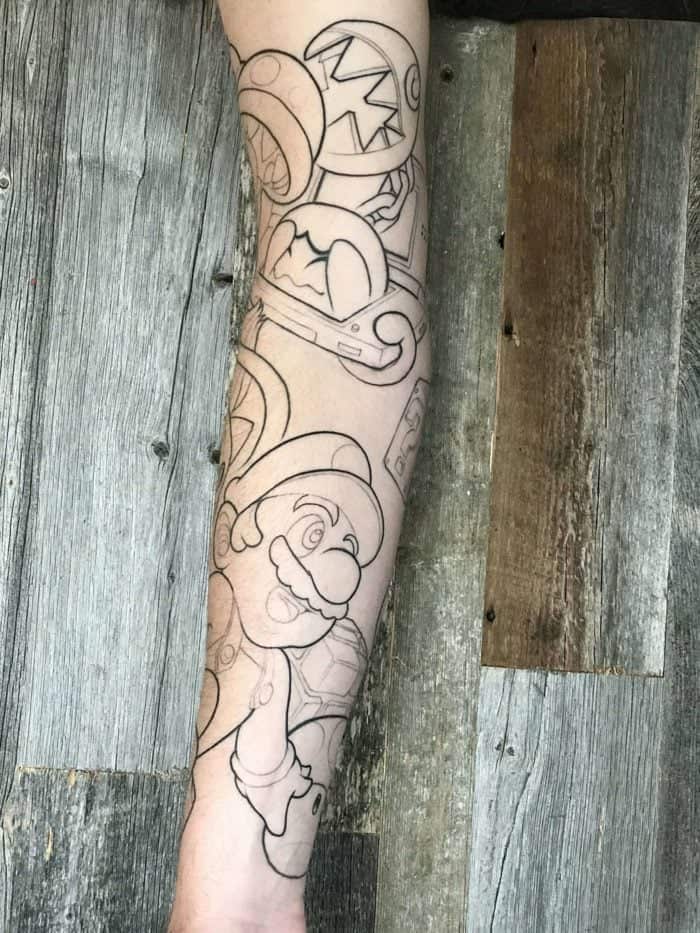
The night was quite long and because I wasn’t properly prepared, I was starving and exhausted by the end of it. I am, however, super happy with the results. Here’s how my tattoo looks after the first session:
As you can see, there are still components left to be completed such as the shoulder (where Link will be) and some buttons, etc on some of the game systems. I’m pretty pumped about how it’s looking and I’m heading back tomorrow (it’s been one month since my first session) to get the line work completed and have some shading begun if time permits. I’ll keep you updated on the process by updating this post as things progress. If you follow me on Instagram, you can stay tuned tomorrow between 12 and 8pm MST on my Instagram stories to see pics (and maybe some video) of the process as it happens.
I’d like to point out that I’m wearing my big boy pants and have decided to not go hungover tomorrow. Go team Mike!
Thanks for reading and feel free to post your comments or questions below!
Mike





Sean says
How’s the tat? I am heading in today to start a cover-up. Going to be a half to three quarter upper sleeve memorial tattoo.
Russ Ellenberg says
Recipe tip – always looking for a twist for sandwich spreads or dipping sauces.
Mix about half and half Dijon Mustard and Maple syrup (not pancake syurp) and bring to a boil and reduce slightly. Let cool slightly if serving on meats or completely if using it for sandwiches. Nice on sandwiches but also works well with pan seared scallops. Have also served it over pork tenderloin and roasted broccoli and brussel sprouts.
Thinking about a half sleeve myself. Have professional considerations where a full sleeve might not be accepted.
Nanci says
I’m not a tattoo type person, I don’t have any and don’t particularly like them but yours looks really neat. I guess I like it because of the subject matter. I look forward to seeing the end result!
Mr. Kitchen Magpie says
Thanks Nanci. I originally had thought about getting a horror themed one but realized that it would end up looking gorey which wasn’t what I wanted. I’m a big Nintendo fan so I’m super pumped to complete this one.