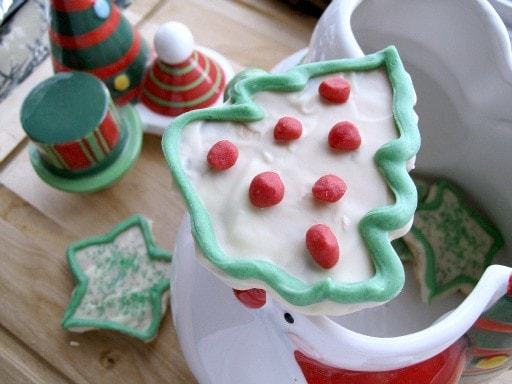
Otherwise known as “Don’t Answer the Door While They Are in the Oven” biscotti.

Bah. I’ll get to that later.
The ones that did turn out are delicious, just perfectly crispy and were so much fun to decorate.
The ones that didn’t taste great but are far too browned to give away to anyone. And I didn’t decorate those, they can be chomped down by the family in their bare, over-baked form.


White Chocolate Cherry Biscotti
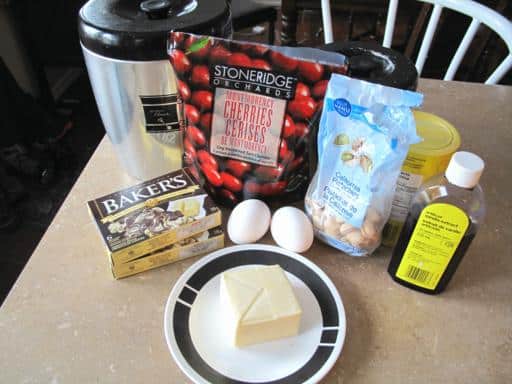
Ingredients
- 2 cups flour
- 2 teaspoons baking powder
- 1/2 cup butter, softened
- 1/2 cup sugar
- 2 eggs
- 1 teaspoon vanilla
- 12 ounces white chocolate 2 6oz. packages chopped and divided
- 1/2 cup sweetened dried cherries
- 1/2 cup chopped pistachios
Instructions
- Kick the tires and light the fires to 325 degrees.
- Whisk together the flour and baking powder, set aside for the moment.
- Cream the butter and sugar together, and when done add in the eggs and vanilla.
- Take 8 out of the 12 squares of chocolate and chop them up.
- Take the cherries and dice them, I did halves and it worked nicely. You also need to chop the pistachios if they aren’t already done.
- Add the flour to the egg/butter mixture, little by little until completely combined.
- Then add in your cherries, pistachios and chocolate and mix until combined.
- Roll out the dough on a floured surface until it’s about 1/4 of an inch thick.
- Cut out your shapes!
- Put them in the oven for 10-12 minutes.
- When they are golden brown, flip them (VERY CAREFULLY!) and time to toast the other side some. They wanted to come apart. What I will try next time is taking them out, cooling them slightly, flipping and then baking them for another 5-10 minutes. Biscotti is dried out, not baked as much. In fact, the log shaped biscotti is baked twice in it’s creation, so it definitely wouldn’t hurt to try one side, slightly cool and flip while they are firmer, then bake again.You can use the remaining 4 squares of white chocolate to simply just melt and drizzle over the biscotti once they are cooled, or if you are a Christmas freak like me, start decorating them madly.
Notes
Nutrition


Leave a Comment or Recipe Tip